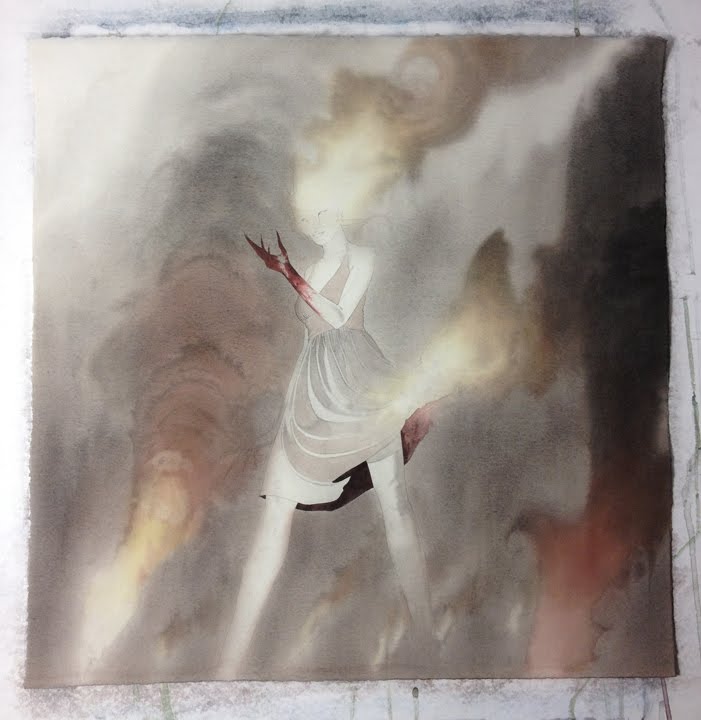
I have a new piece titled “Acquisition” in tonight’s “Blab Show” opening at Copro Gallery. You can see a preview of the show Here.
Below are some work in progress shots, some recent time lapse videos, as well as the process vid that was posted here previously. For those not already familiar with my technique and process here are my basic steps for creating a piece of art. They may seem very obvious, but every now and then I’ll catch myself skipping a step and usually end up paying for it down the road.
1. Thumbnails- Do at least ten of these. Try not to get caught up in details. These are about composition, flow, and getting your creative juices going. Every now and then my first sketch ends up being the best sketch. But most of the time my first ideas tend to be the most predictable and contrived.
2. Refined drawing- I think much of people’s style and influences tend to come out when they are drawing out of their head. I try to maintain some of the freshness that comes in a nice sketch. That said, my finals lie somewhere between my refined drawings and my photo reference.
3. Value study/ color comp- Again, these steps are invaluable in catching and correcting flaws early on and refining your composition and value structure. Of course they also give you a sense of what direction you want your lighting to come from for your photo shoot.
4. Reference- I put a lot of stress on taking photo reference. My work as a student jumped significantly when I started taking my own photo reference. If your working on something architectural or a fantastic creature try creating a maquette and taking photo reference of it. It makes things a lot easier when you actually see how light is bleeding through a translucent object or reflecting off of some shape and lighting the underside of someone’s face.
5. Transfer- YAY! Everyone’s favorite step!
6. Finish- YAY! Everyone’s actual favorite step!
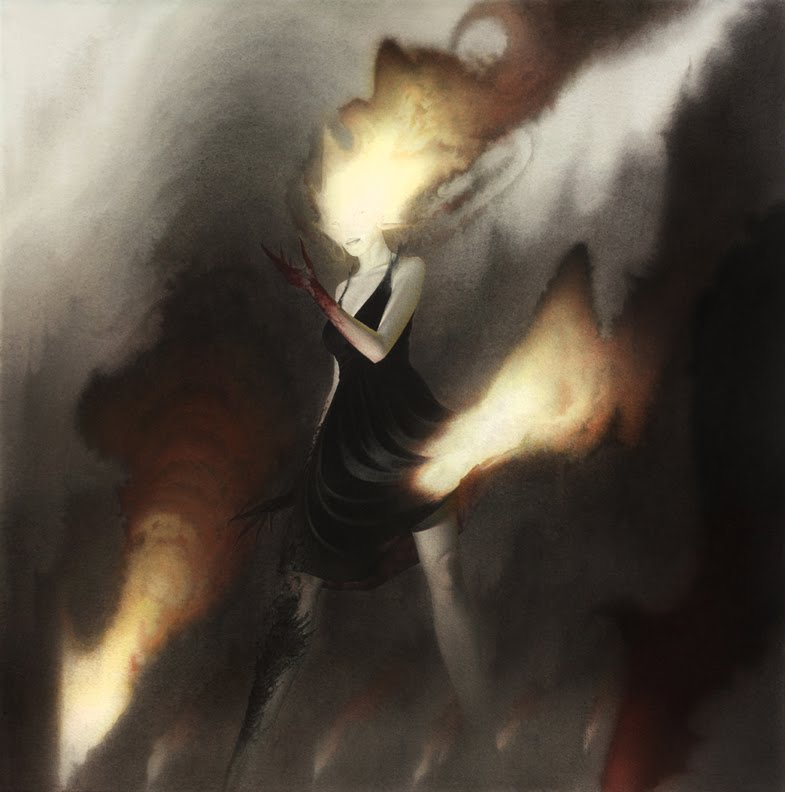 |
| The finished painting. |


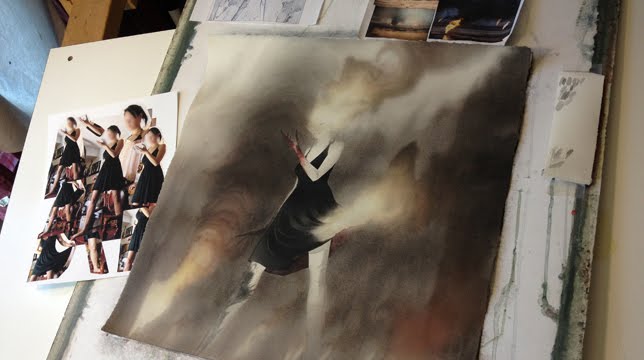
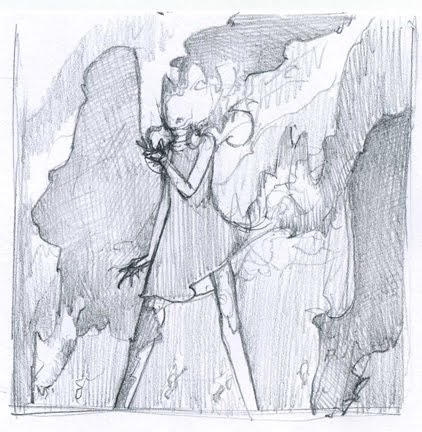

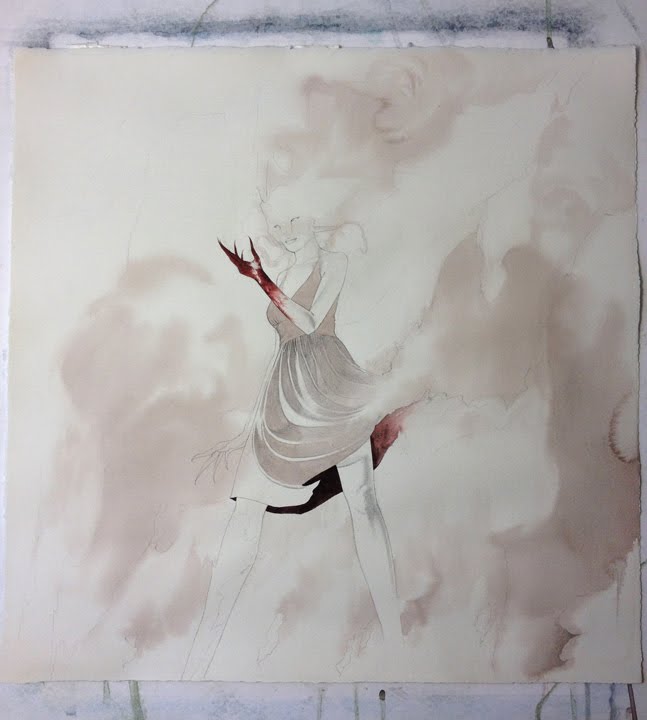



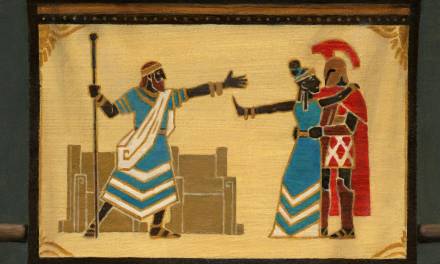
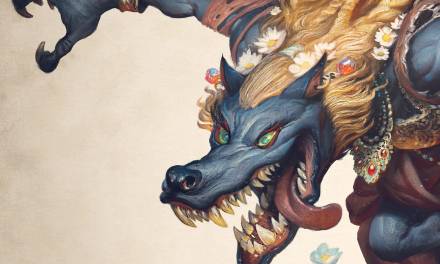

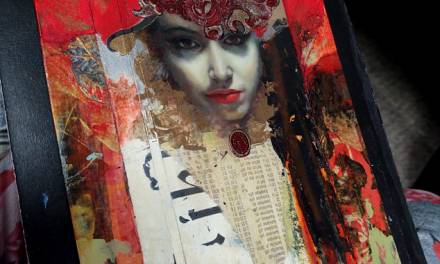

Great work in progress shots. Thanks a lot for those. I needed some inspiration!
-Kit
Thanks for sharing, this is really awesome. Love the time lapse videos!
Thank you Eric, great stuff! I always find your work inspiring. And I have great respect for you just because of your working process, which seems so dauntingly laborious to me!
Whenever I work with highly watered-down acrylics the colors dry very dull and sometimes sort of chalky. It makes it difficult to really see where the painting is going as I'm painting it. It seems to lose some of its punch after it's dried. I'm curious if you have found a way to boost up the chroma somehow?
Love this, Eric. A LOT!
I saw the painting at the Blab show before I saw your post about painting it.
When I was looking at the painting, I had the impression that the flaming parts were a wet on wet experiment and then the subject presented itself. While I was very taken with the painting when I saw it, I am so much more impressed with it after seeing your in-process post! I will now have to back to Copro Nason Gallery and see your painting in a different light, so to speak. By the by, you are in some good company at that exhibit!
Anon 2- If there is an area where I plan on having a punch of chroma at I try to keep the pure white of the paper available. I can achieve really bright color this way by letting the brightness of the paper shine through the washes of paint.
Thanks Arnie! 🙂