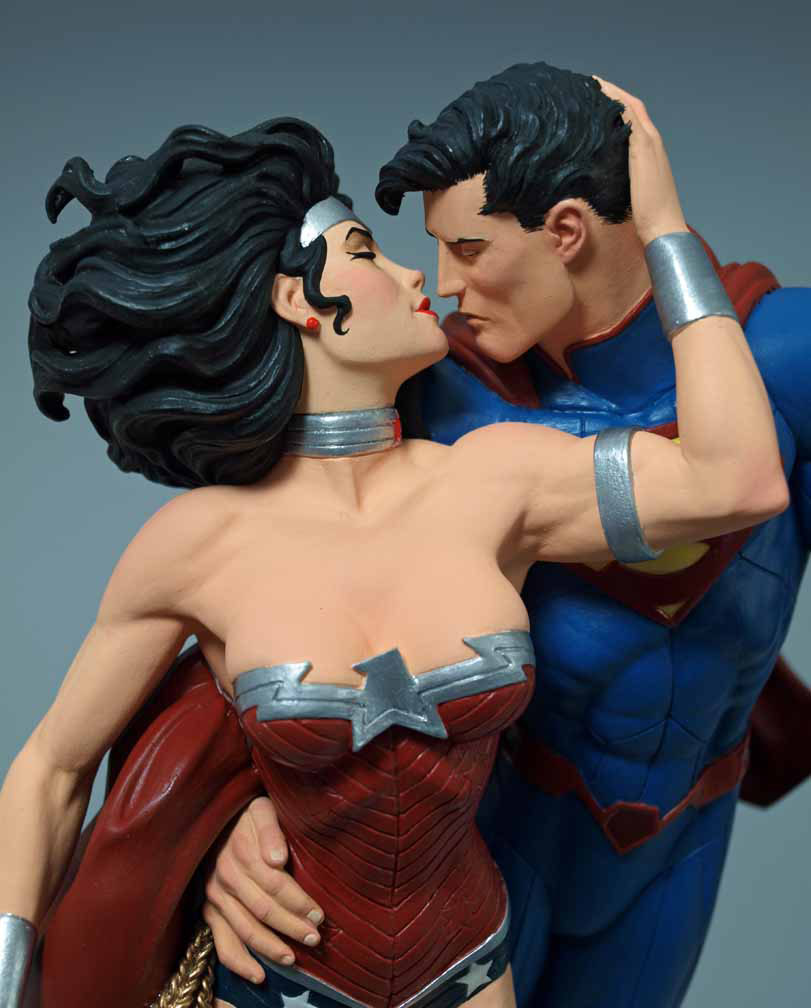
With all the parts cast and cleaned of seams and flashing (See: The Kiss: Part 2), its time to prime to give the paint a good foundation. There are a number of types of primer. I use Model Master, white primer, made by Testors. The droplet pattern is very fine and results in an even surface-less coating. Hardware store primers spray a droplet patter much larger and results in a slightly textured surface which is amplified with layers of top-coat paint. If I have the time, which is rare, I like to let the primer dry overnight.
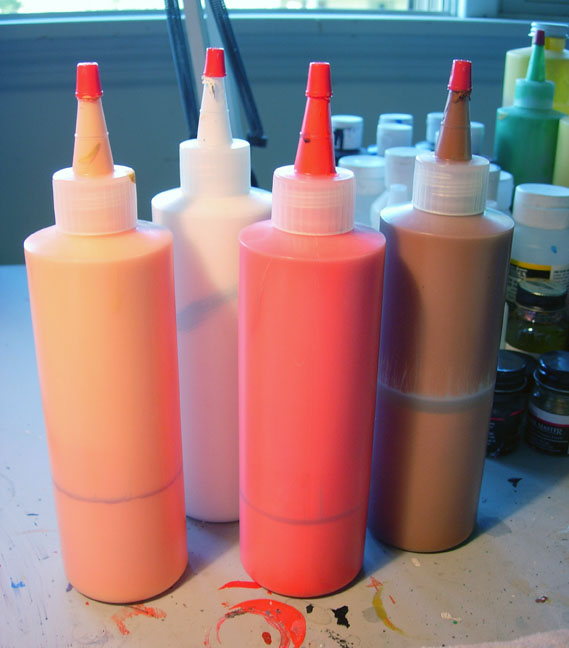
A word about paint. Cel-Vinyl. It made by Cartoon Colour (www.cartooncolor.com). In the old days of paper and pencil and hand drawn animation, cartoons were made up of hundred of painted acetate cels. Inked and painted on the reverse and photographed one at a time. Same paint. The advantage of using cel-vinyl over other paints is its opacity, ease of application and flat-finish. Its water based and brush friendly. Best applied in a series of washes. If you’ve used water colors, you’ll have an edge in starting out. When dry, it accepts a variety of varnishes willingly.
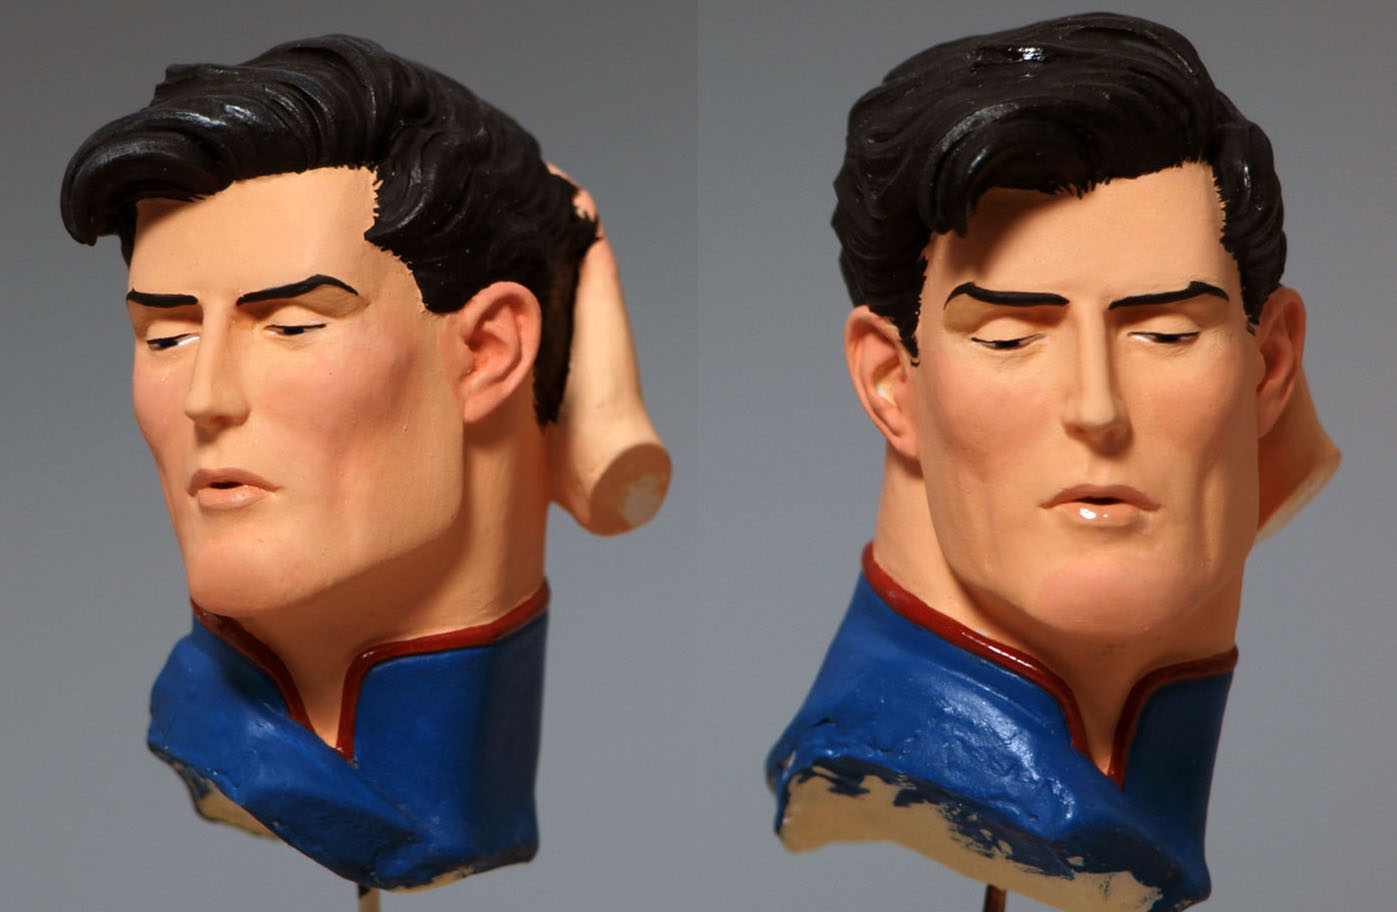
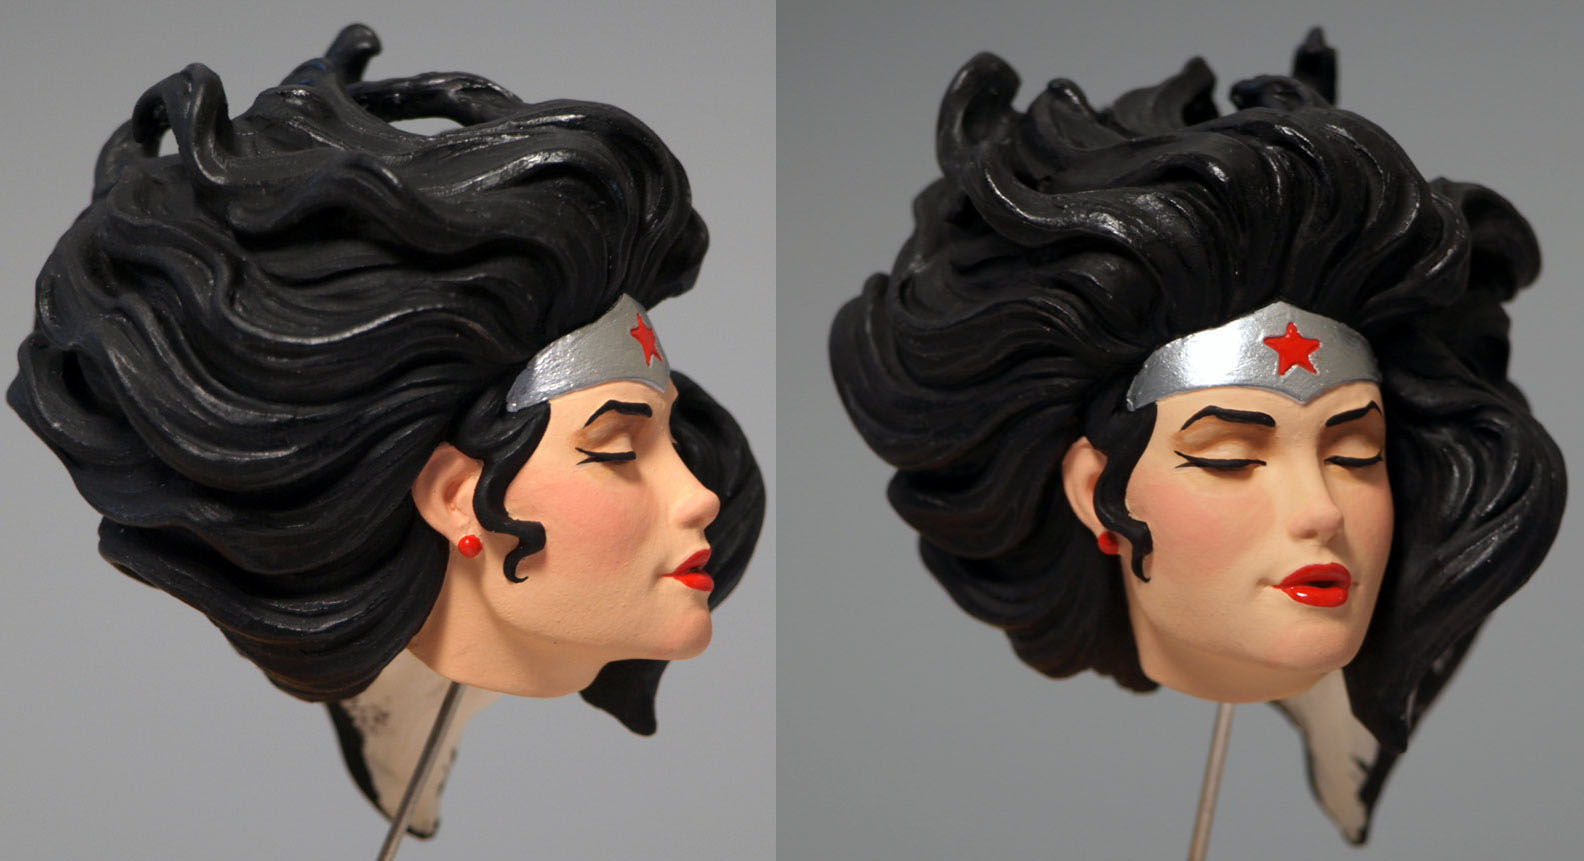
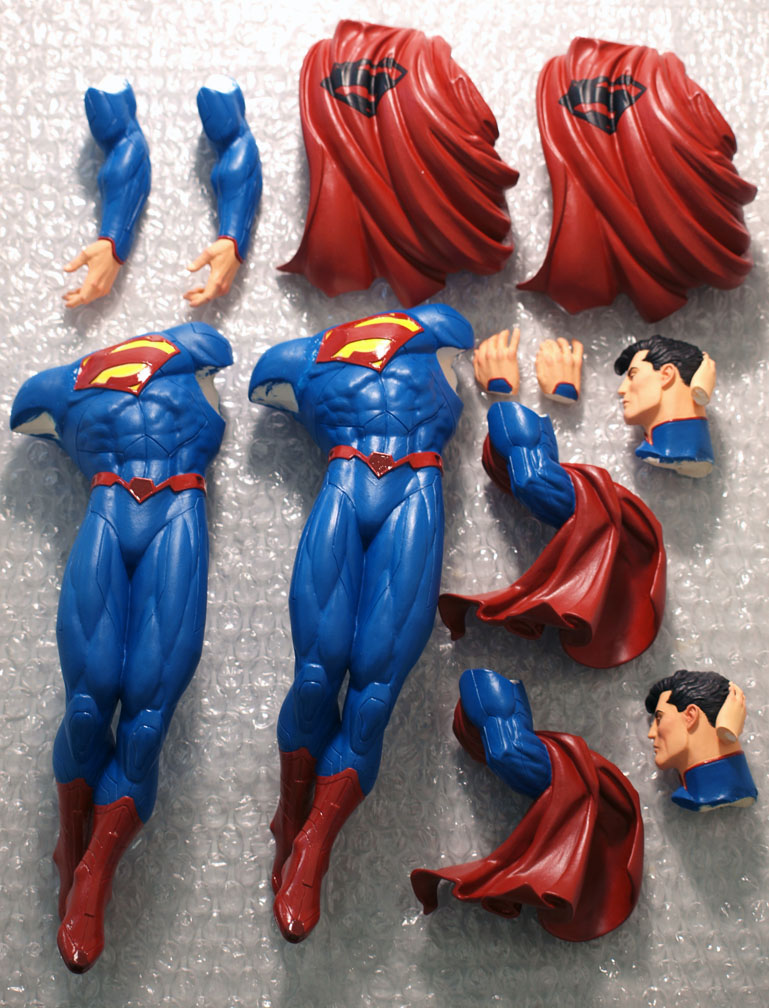
I always paint the heads first. It’s the first thing people look at and takes the most concentration. DC needed two sets of Paint Masters. Each statue was made up of fourteen parts so, twenty-eight painted pieces. Two long days. Thank the Gods for audio books!
With all the parts painted, they all get a seal coat of Model Master lusterless-flat. And they ain’t kidding about the flat part. Cel-vinyl travels. It has a wanderlust that likes to hitch a ride on your finger tips and deposit its stain on other parts. Black is the worst, but certain reds and the infamous magenta are almost as bad. So a good coat of flat keeps everyone in their place and makes for easy handling. Then, its selective top coats. The lips and certain costume details get a gloss coat. The hair gets a dry brush of gloss for highlights. Other costume details will get a coat of satin. Lastly, the metallics.
The cloud base was cast in a translucent off-white resin, airbrushed with a light blue and sealed with the flat varnish. The bodies were assembled in order, kind of like a 3D jigsaw puzzle. With both figures together, time to position Wonder Woman into the base. In production, its likely the figures will be cast in self-colored resin, resin tinted to match the flesh color. With these Paint Masters, I had to be careful not to scrape off any of her leg paint in positioning her. One of the benefits of thermal-cure resin (a resin that generates heat when the A and B sides are combined to cure into a solid) is a little external heat like a hairdryer, will soften it up and allow for repositioning. I softened the cloud section, opened it up a little, slipped her leg into it, ran a few beads of superglue here and there and closed it up around her leg nice and tight.





wow
Great post, thanks for sharing your hard learned techniques.
For anyone interested in learning more about Tim's life, career and technique, there is a great interview with him in the latest issue of Amazing Figure Modeler which is currently hitting the newsstands.
Dan