 |
|
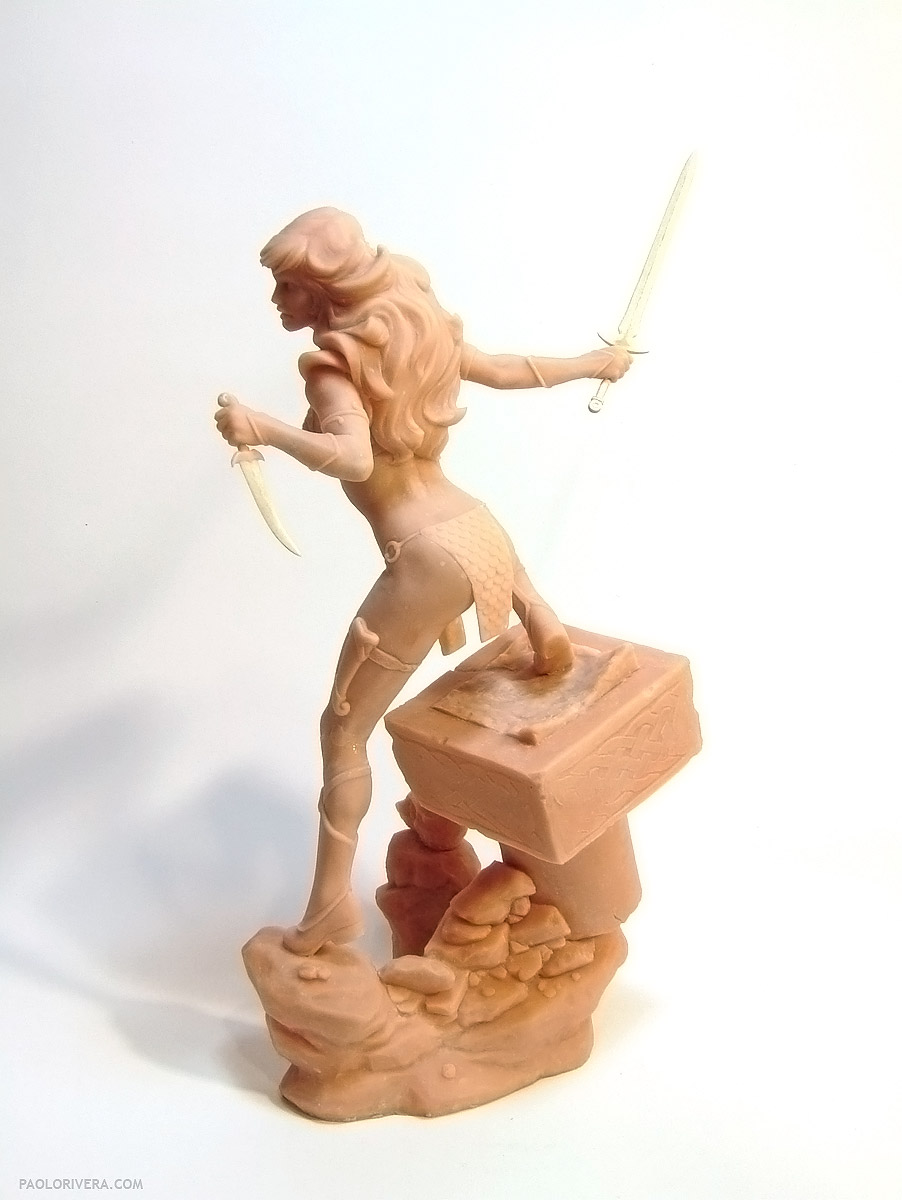
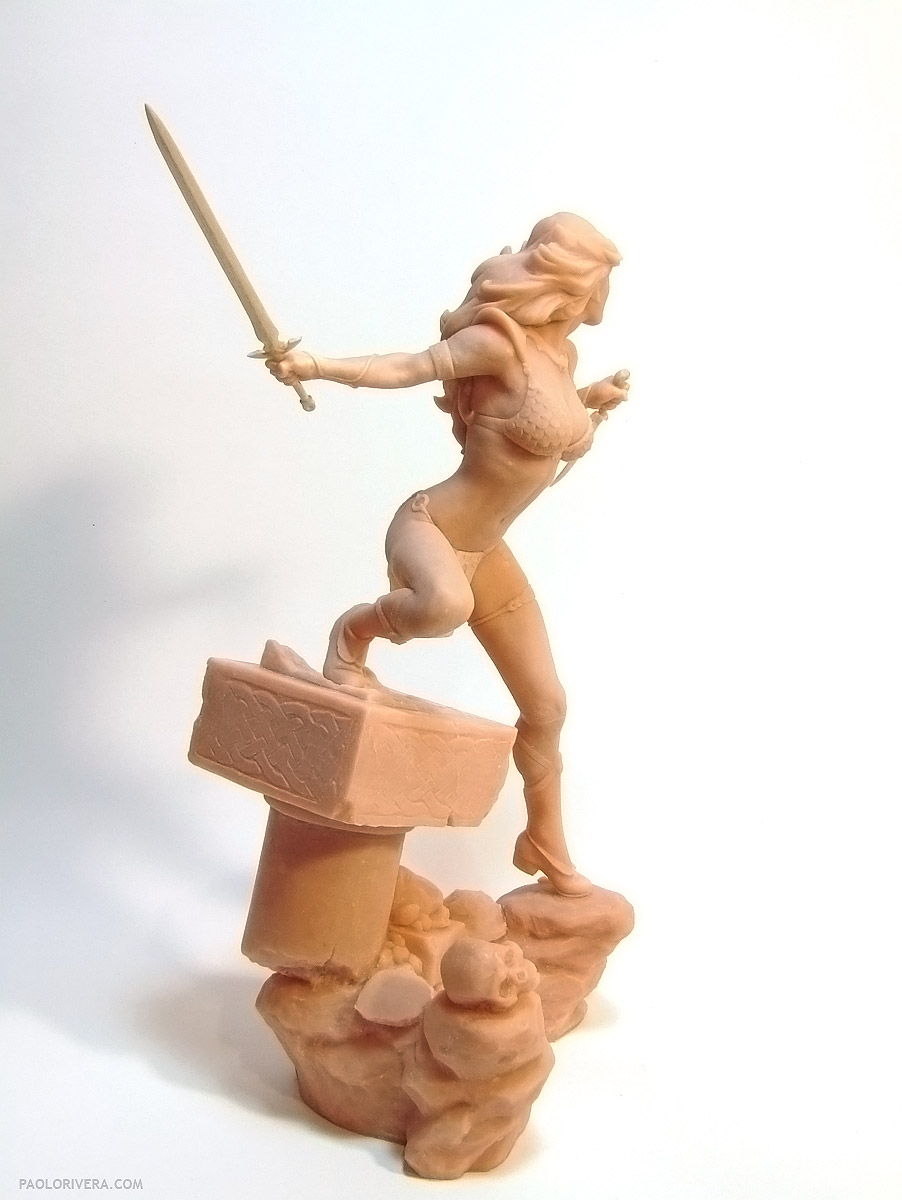
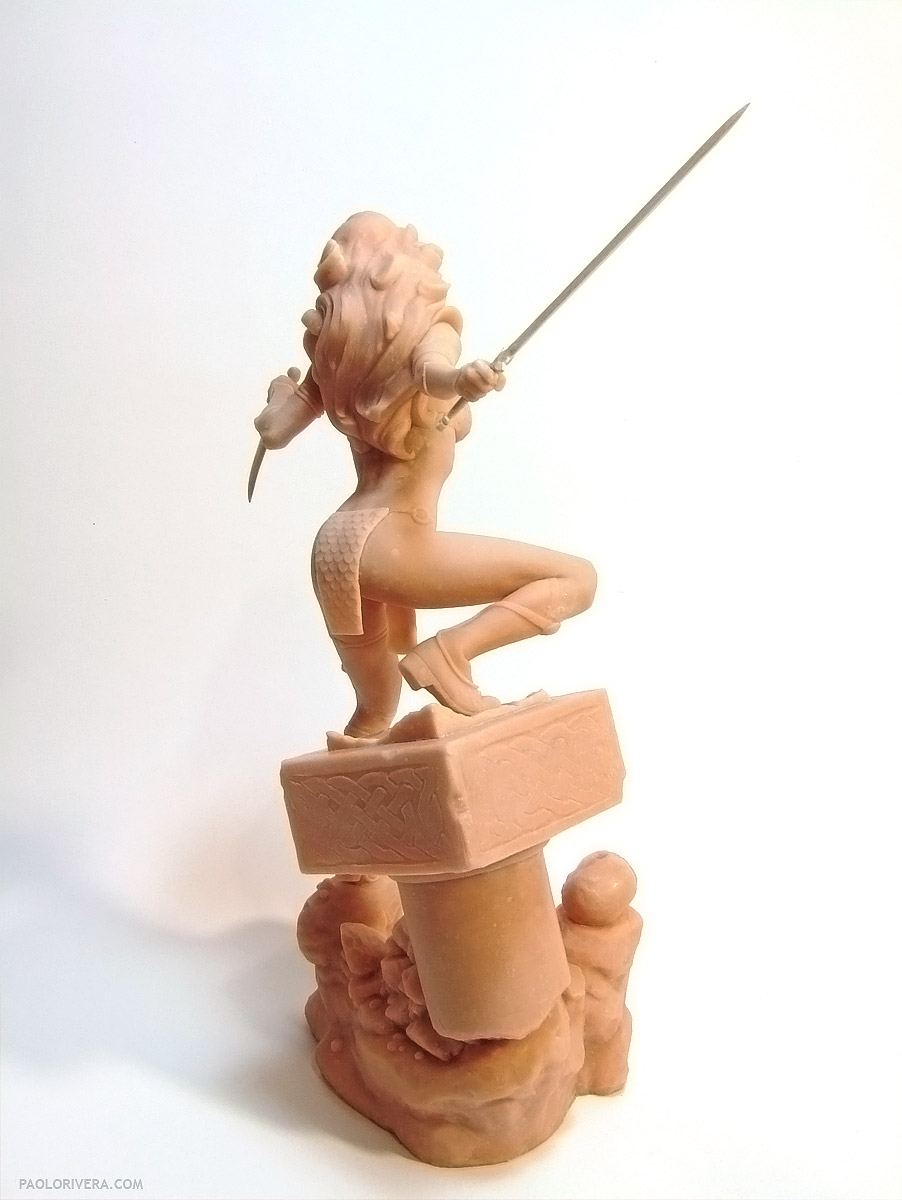
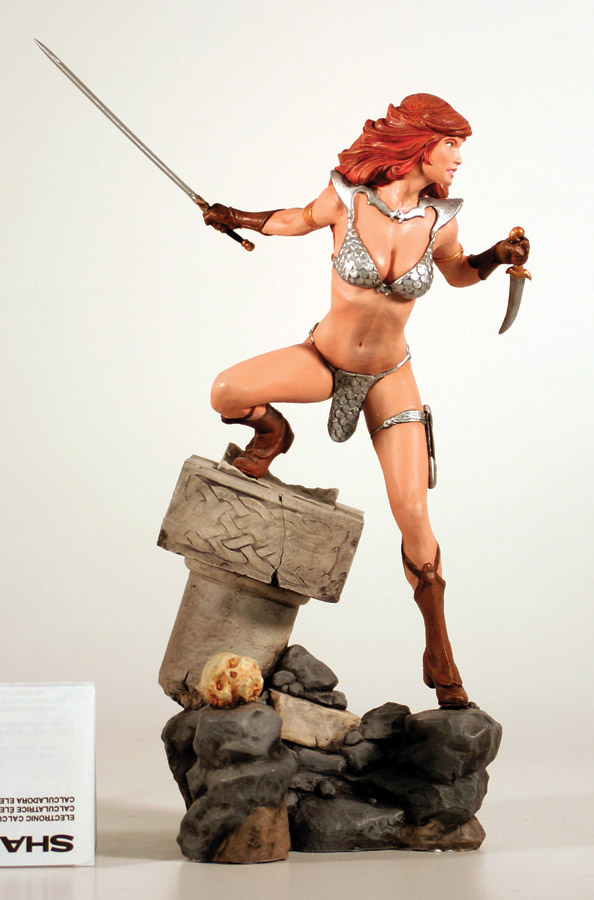
Red Sonja. 2004. Super Sculpey and bass wood, 10″ tall.
|
Way back in 2004, although I was just a year out of art school, I was fortunate enough to already have a solid career as a comic book artist. My first professional gig, however, was a sculpted bust of the X-Men’s Mystique for Dynamic Forces (the same company I still do Green Hornet covers for). When they came back to me with a more involved project, I jumped at the chance, thinking I could easily supplement my painting gigs with a few weeks of sculpting.
As you can probably guess, a few weeks turned into 2 full months of intense noodling. Aside from the challenge of being my first full figure, the mass production process required it to be divided into several pieces — what ended up being 6 in all. I let the professionals do the casting and painting this time, as I had learned my lesson with Mystique.
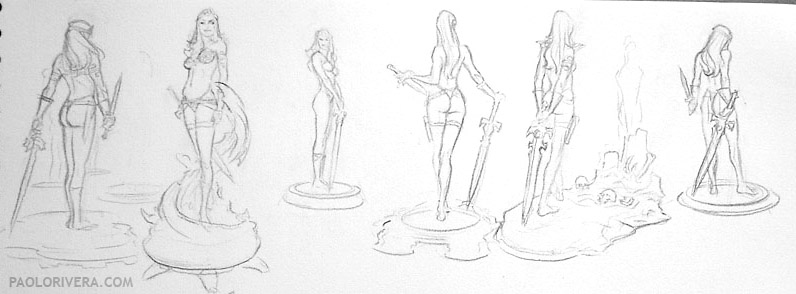
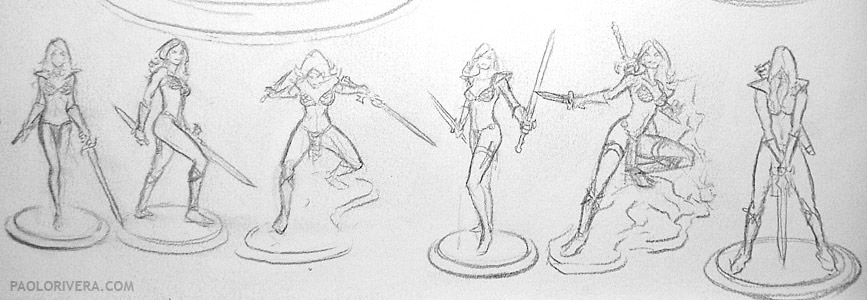
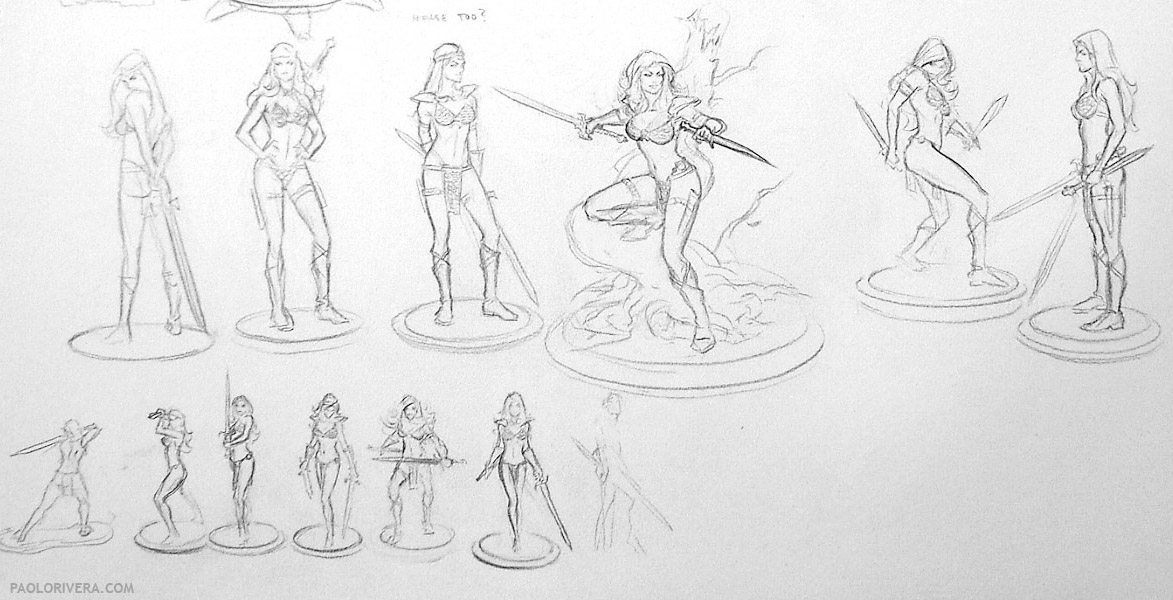
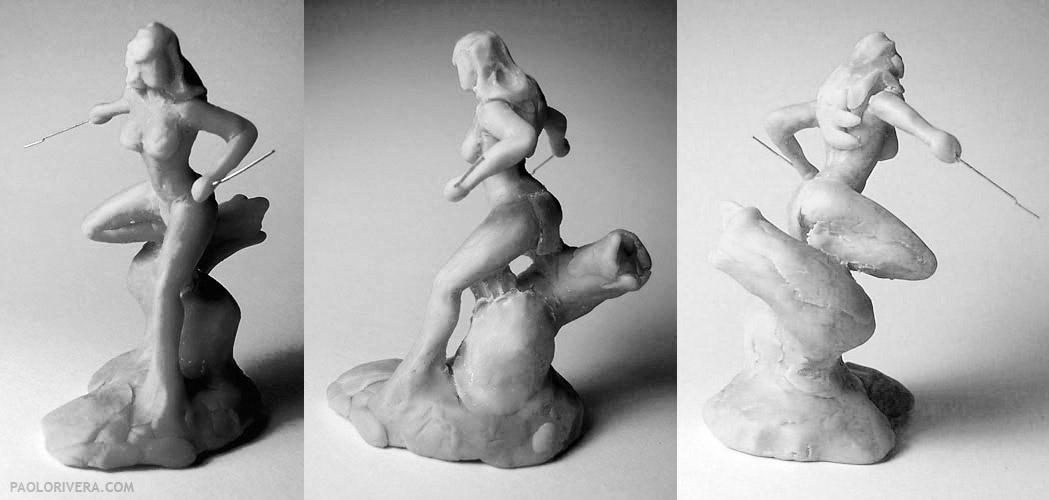
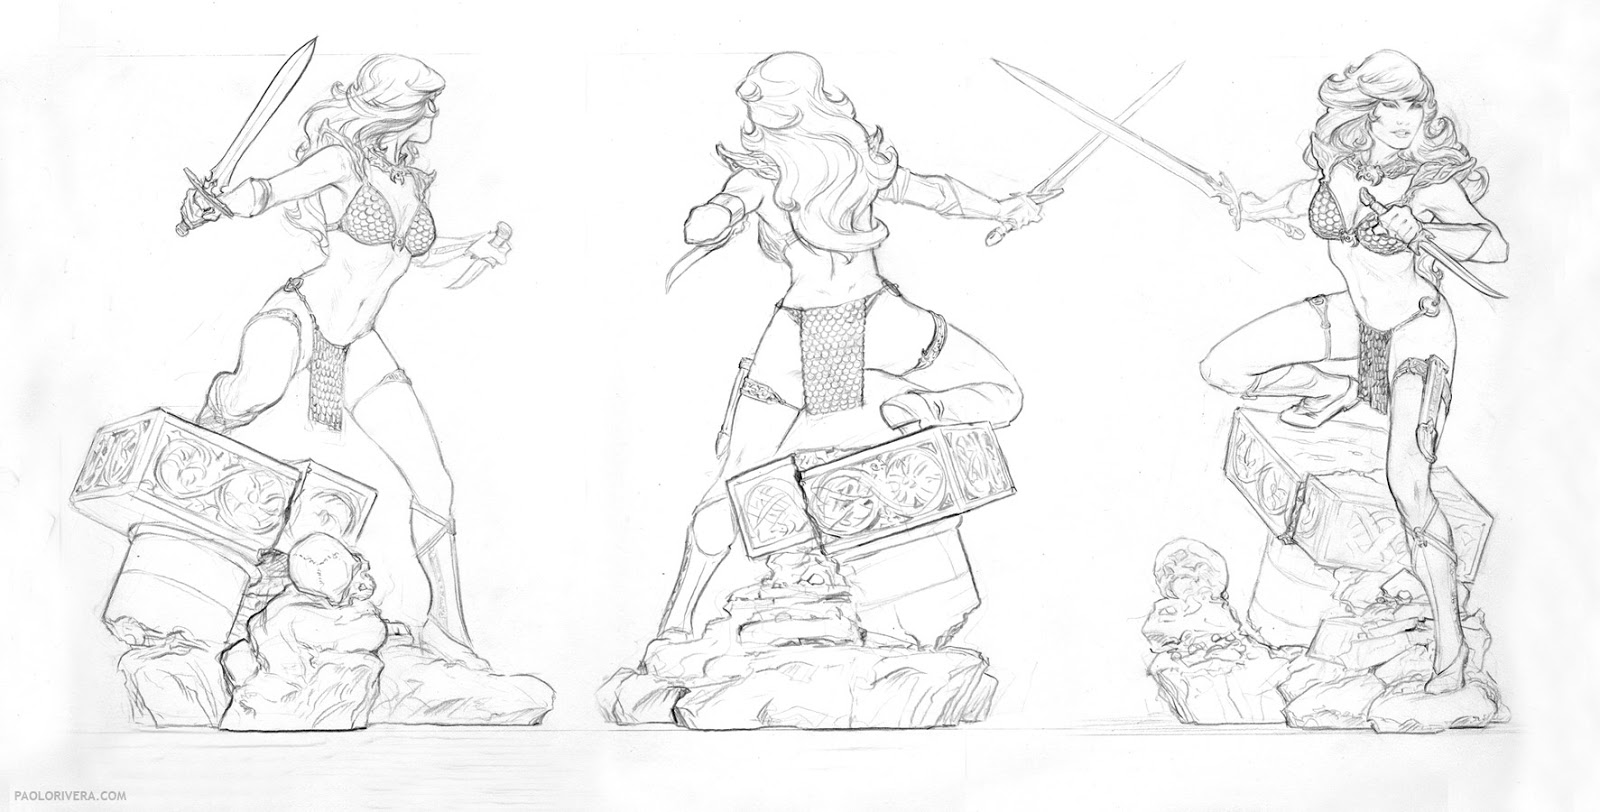
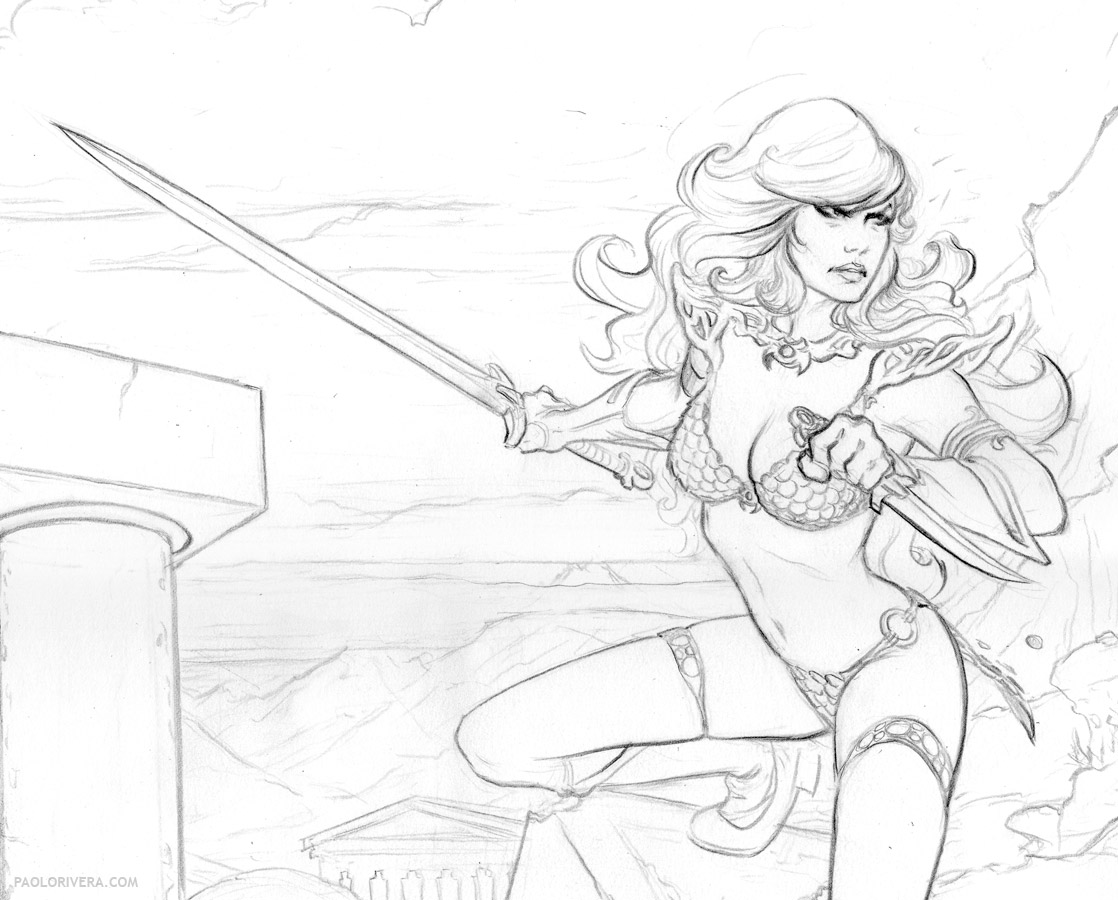
Just like any project, the first step was to sketch out ideas. I submitted several rounds of gesture drawings and, once we decided which one to pursue, I made detailed turnarounds for final approval. I had a tough time visualizing the as-yet-unrealized sculpture, so I made a tiny mockup to facilitate the process.
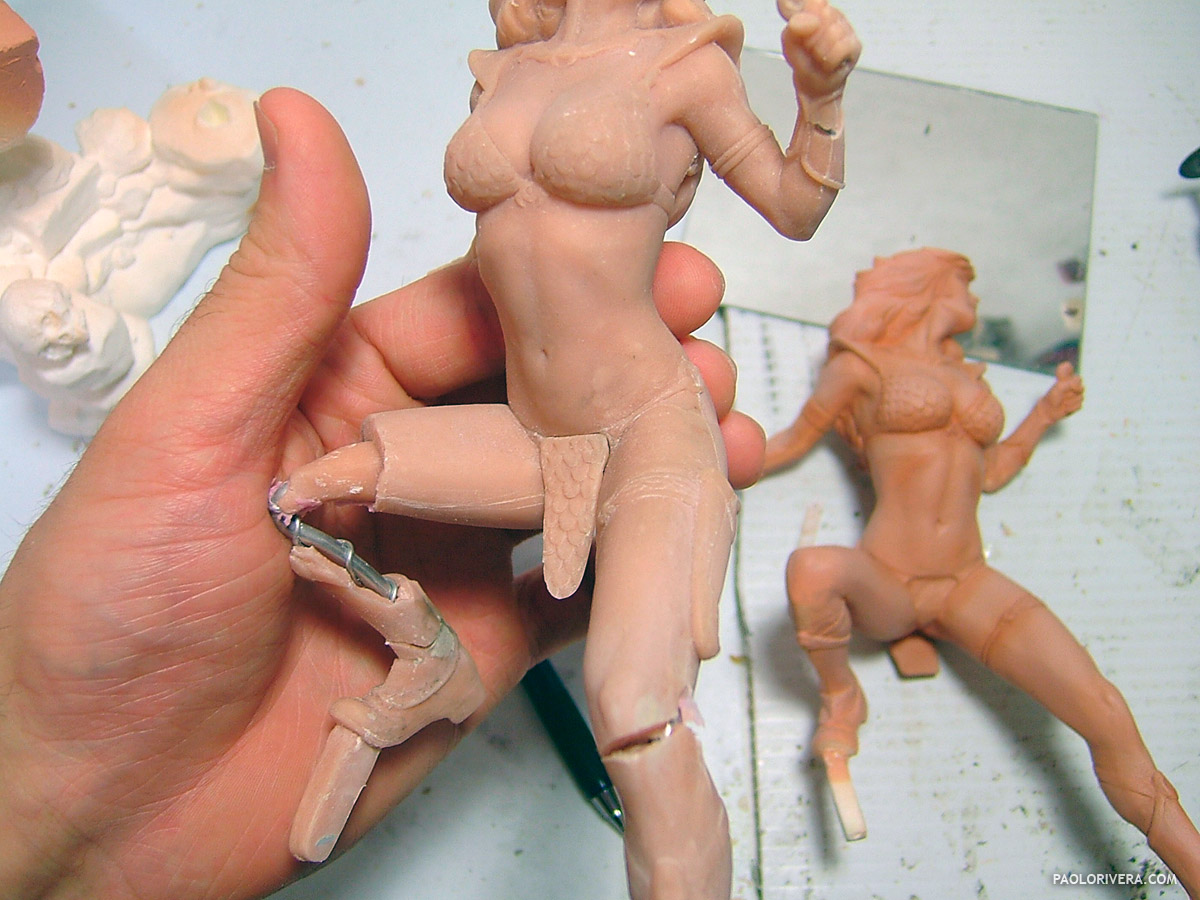
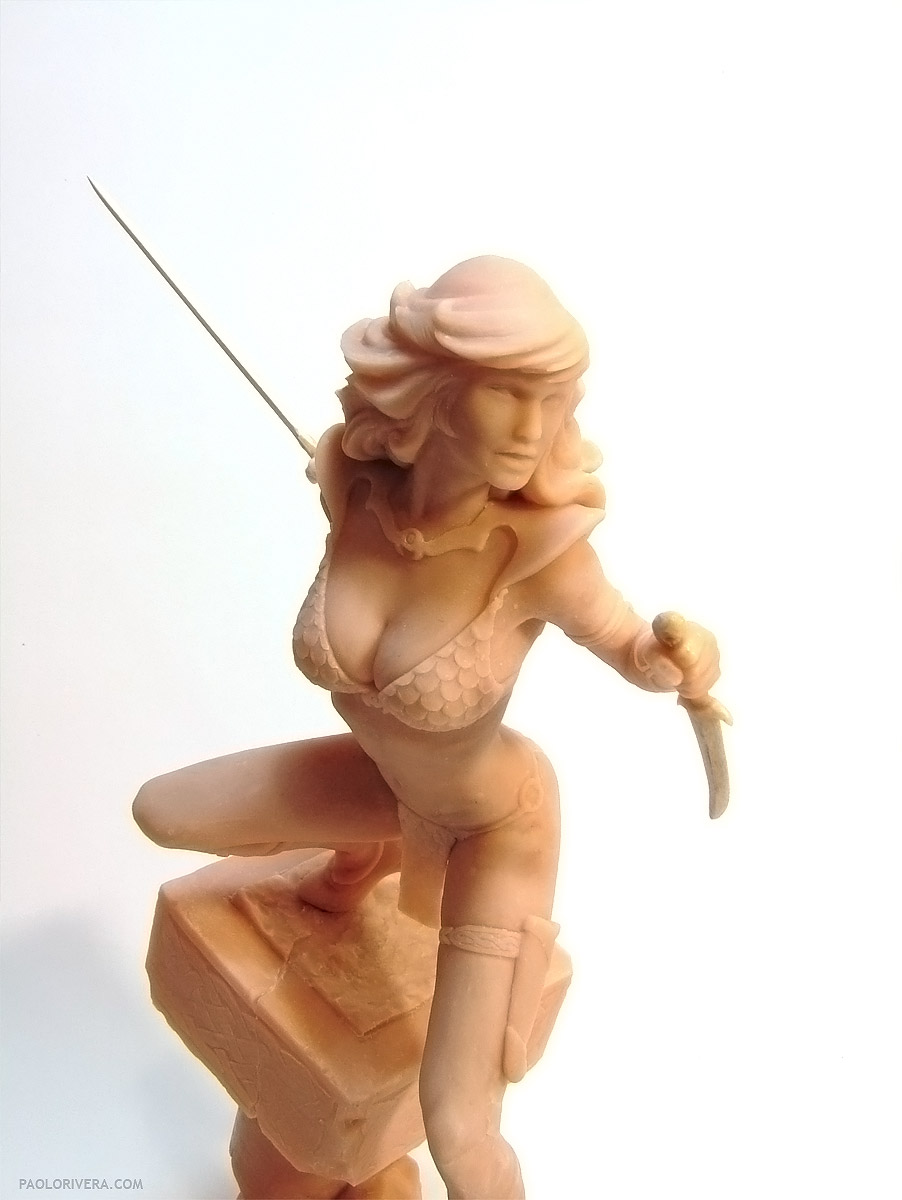
I used Super Sculpey, a polymer clay that you can bake in a home oven (or with a heat gun, which is great for solidifying small, delicate details). Nowadays I would use Super Sculpey Firm, a more detail-friendly, gray compound. The armature is steel wire with aluminum wire wrapped around to give the clay something to hold on to. If I were to do this now (which I will in a few weeks for a personal project) I would use aluminum for the bigger wire since it’s easier to manage, and steel for the smaller, which is strong even at small gauges. The base had some aluminum foil in it to bulk out the major structure.
[youtube https://www.youtube.com/watch?v=-jkTksMH4lg]
As you’ll see in the (slideshow) video, I actually sculpted some things twice — first to get a sense of the proportions and flow of the final figure, and once again during the final pass. There were a couple reasons for this (one being that I barely knew what I was doing). The main idea was to ensure that I didn’t have any surprises during the sculpting process, which allowed me to finish certain areas before moving on to the next.
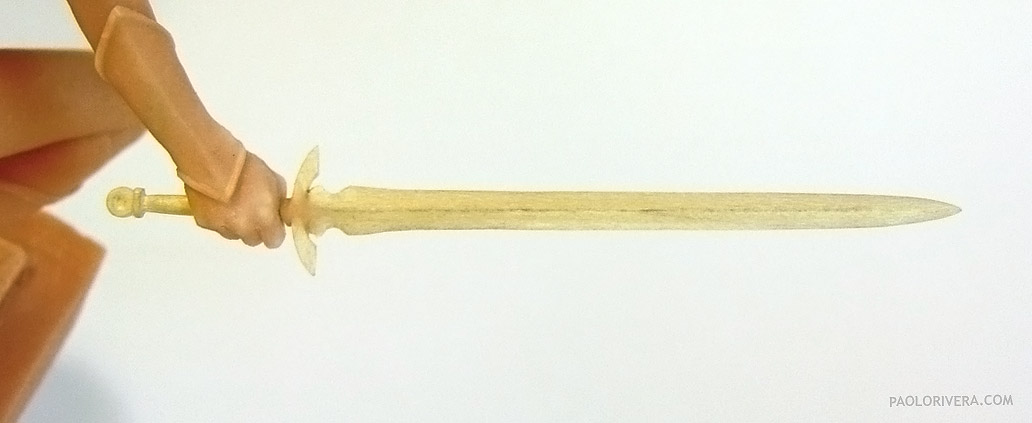
I made the weapons out of bass wood thanks to sound advice from my roommate at the time, an industrial design grad. The tiny implements were ground into shape using a Dremel tool and were split into 2 pieces, handle and blade (a result of which was a less than straight line between them).
The chainmail was formed with a tool that I made out of Sculpey. I don’t have a picture of it, but recently I came across a much more official version touted as a
mermaid tail sculpting tool.
What took the most time (
by far) was polishing. When I got my first sculpting job, they said “no boogers,” meaning everything had to be nice and smooth — almost glossy. Easier said than done. Essentially, every square inch had to be painstakingly brushed to a uniform surface. I used oil (Canola, I believe) to expedite the process, but I’ve seen some people work wonders without (here’s a
prime example).
I took decent photos of the final piece before sending it off and I’m glad I did — the mold-making process was not kind to her, resulting in several cracks to the original. Fortunately, an accurate master copy was salvaged and she went into production.
Because I wasn’t completely faithful to the style guide, I had to make some last-minute revisions. This was entirely my own fault. I didn’t care for the rounded ends of her loin cloth, so I had made them square. They kindly asked me to round them off.
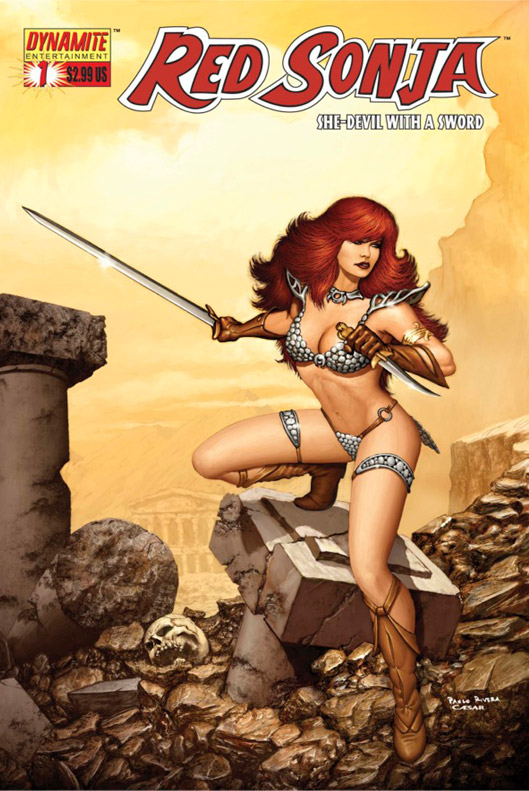
They also asked if I would mind my turnaround sketches being used as a cover for the comic series. I agreed, but only if I could redraw the figure with a little more attitude. In retrospect, I probably should have asked for an additional fee, but my work was essentially done. They had someone else digitally paint over my pencils.
And that was that. From then on, it was out of my hands. I wasn’t crazy about the mass-produced piece, mostly because of the paint job. The master copy (shown above) looked fine, but something was lost in translation to the castings. Also, although this was the most intricate thing I had ever sculpted — and I was happy with its many individual elements — I didn’t care for my overall design. My first foray into professional sculpting, the Mystique bust, was much more elegant in its simplicity. Details are important, but composition is king.
For more on sculpting, please check out these previous posts:
(My fiancée likes to point out that the arch in her back is “totally unrealistic.” I don’t dispute the point, but I would contend that it’s still the most realistic thing about the sculpture.)







that looks awesome
amazing anatomy work!!!
Thanks!
crazy awesome! =)
Boobies!!! 🙂
((ahem)) Yes, you are correct.
Thanks!
I have never tried using canola oil to smooth out my sculptures before, I may have to try that since I always have a hard time creating uniform surfaces with Super Sculpey.
Lighter fluid, isopropyl alcohol, and mineral spirits work well too. Each have their own unique effect on the clay – some more aggressive, some less. The nice thing about these 3 is that they aren't greasy like cooking oil since they evaporate pretty quickly. However, the trade off is that they are extremely toxic and flammable as opposed to cooking oil which you can….eat.
Excellent work, do you plan to cast it?
Yeah, I've tried “odorless” mineral spirits, but I just got tired of inhaling it. For my next project, I'm going to try polishing without a lubricant. It actually worked pretty well during the initial test.
Aside from the fact that they already did, I no longer have the original. I made my own mold for Mystique, creating several casts, but she was one solid piece, which made things much easier. I love the process of mold-making, but at this point I find it much easier to leave it to the pros.
Thank you Paolo, so no chance to buy it as a kit…
Excellent work and i continue to follow your work
Thx