I want to take a small little break from the creation of LMS, and talk about some techniques I do. Sorry if you guys got slapped in the face with a life story out of no where, I just get bored talking about how I paint sometimes, since I feel there are better tutorials and artists out there, who can also explain it clearer than I can (warning, you’ll see later on as I stumble).
But, it’s worth a shot. So I wanted to not only give a little tutorial, but also promote a fantastic school, Stan Winston College. Being a fan of Stan Winston since I was a little blob, I jumped at the chance to work with them. They contacted me to do a Live Demo tutorial of myself painting, while chatting about life and stuff, or answering basic questions concerning the painting aspects. Extremely nice and humbled guys who just wanna teach, and that’s why we’re all here.
Below, I saved specific segments of the image that they had requested, and here I will walk you through how I began it. It’s a basic run-through of how I tend to always start a painting, and is something I’ve been doing ever since the early days, so I hope it’s easy enough to follow along.
I want to express that there are no special brushes out there that make you paint better. If you can paint, you can paint. A brush is just a tool, that can be used to apply specific techniques and what not.
If you want to try out my brushes, follow this link:Here.
Onto the tutorial!
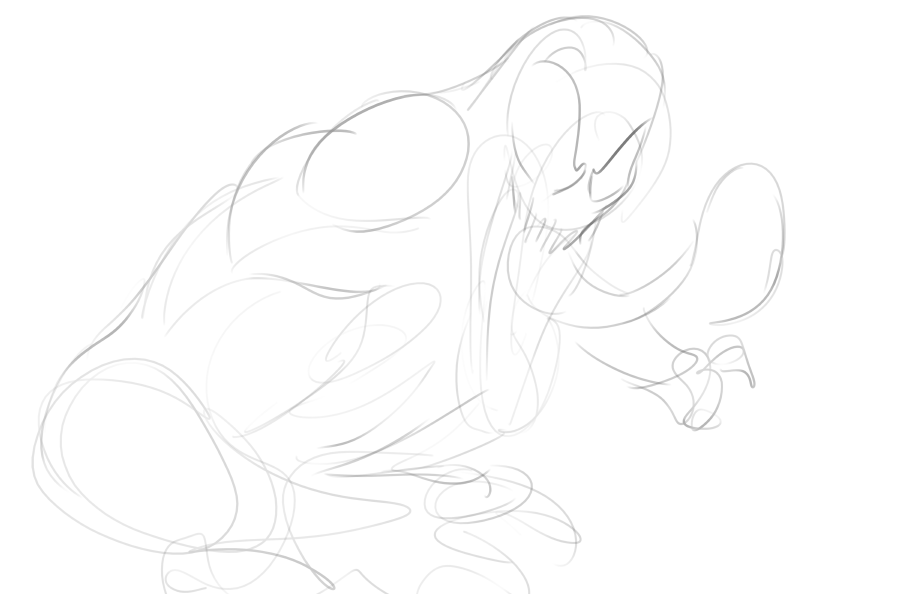
STEP 1: Scribbles
I always begin each piece with a loose, rough sketch. I try not to think as to what the composition is going to be, and simply allow the hand to just wiggle and create weird shapes until something comes together that I enjoy.
After this step, I’ll boost the resolution to about 6000×9000 (9000×12000 for vertical).
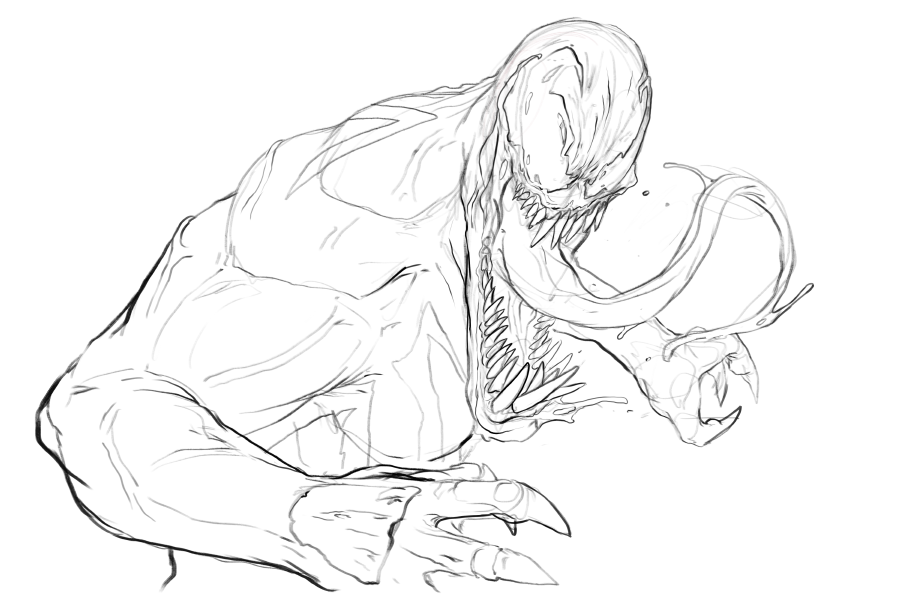
STEP 2: Lineart
Once I have upped the resolution, I will create a new layer on top and fill it with white. I’ll then lower the opacity, and create yet another layer on top, and use that to trace my lines onto the scribble underneath. This is how I do my high-res lines, and it also gives me a lot of room to play with details.
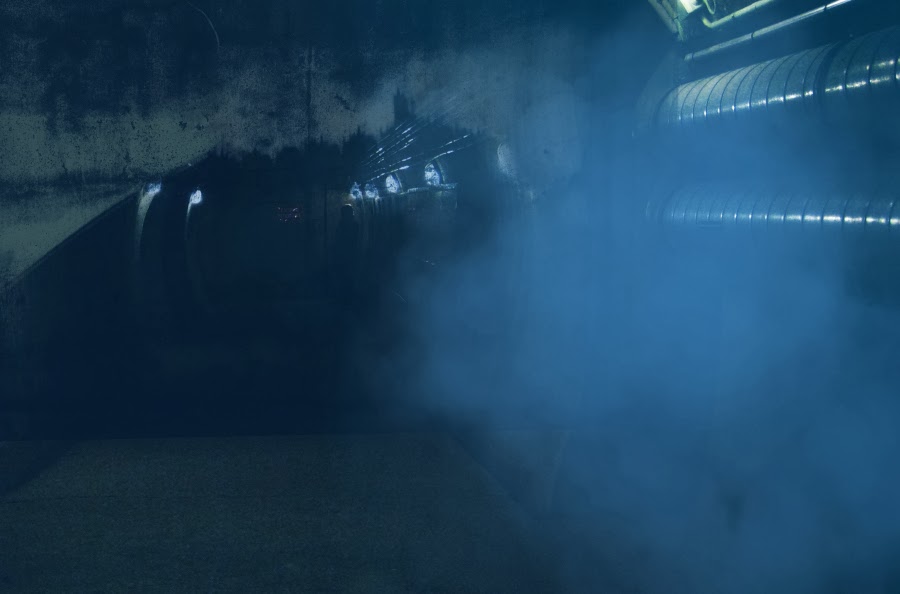
So usually I’ll find some cool photos, smash a ton together, paint some bullshit into it, throw some smoke or cloud or whatever and then tada, I have a background. I have no shame. (Editors Note: My next book will actually have backgrounds painted by myself. My little personal test.)
Once I have that, I’ll blur the entire image with Lens Blur,
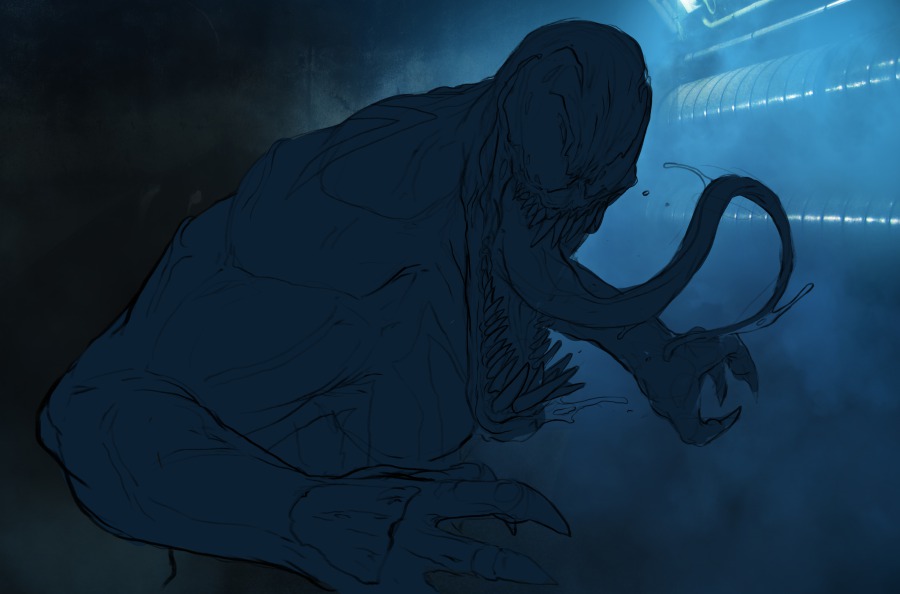
STEP 3: Laying Color
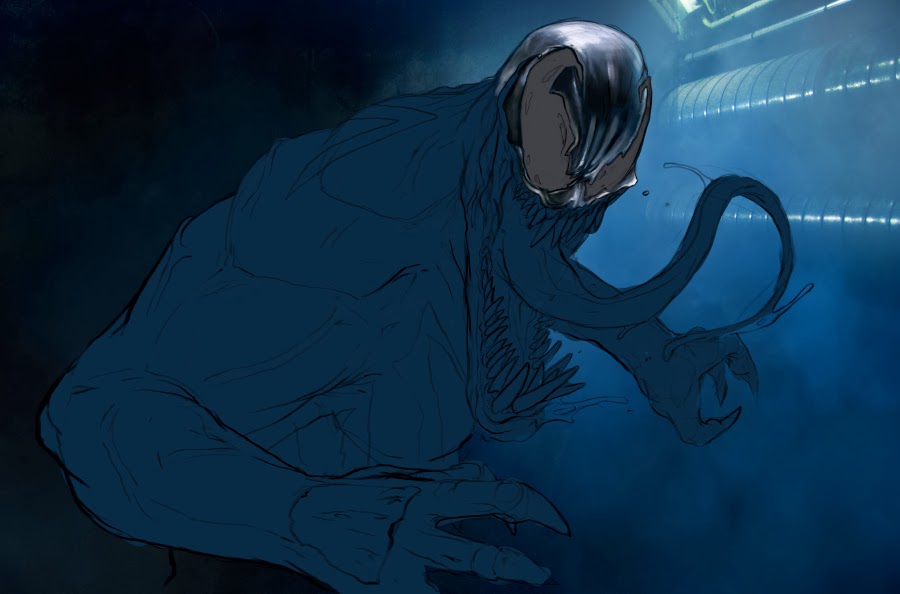
First I’ll lay down one solid color on a new layer.
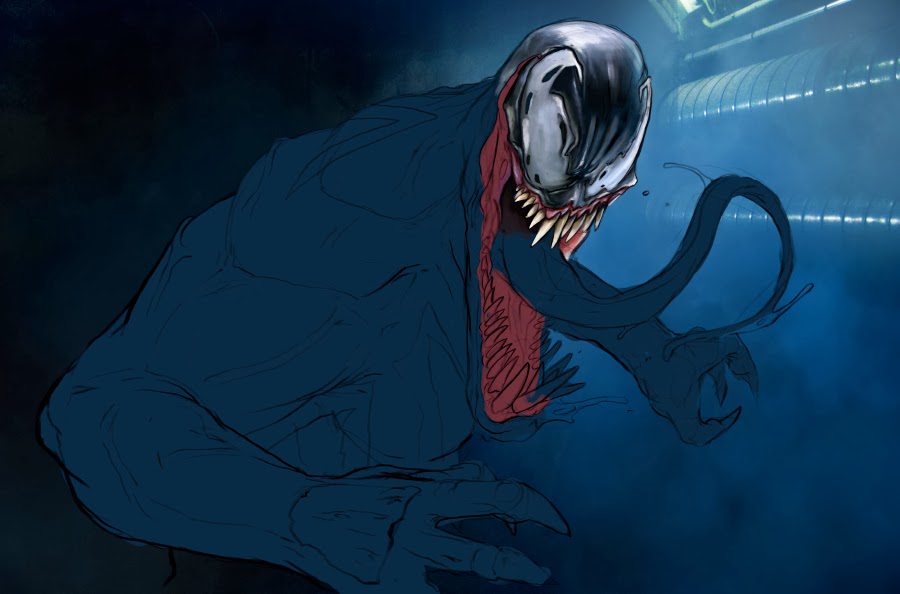
I know that was the most confusing sentence ever, but it somehow made sense in my head. I guess what I’m trying to say is that it won’t look like it does at this stage, towards the end. Which I guess is now obvious…see what I mean about what I mentioned earlier when it came to writing tutorials? 😉
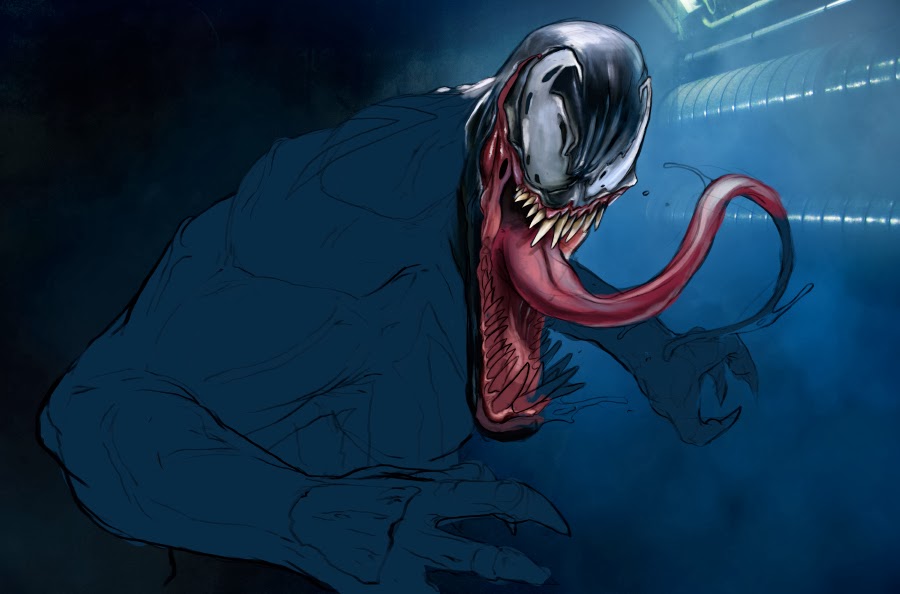
This is where I usually begin to get the itch to render. But if I do, I’ll start to get lazy, my ADD will take over, and I’ll drop the painting. I have to rough out the majority of it to move forward with rendering.
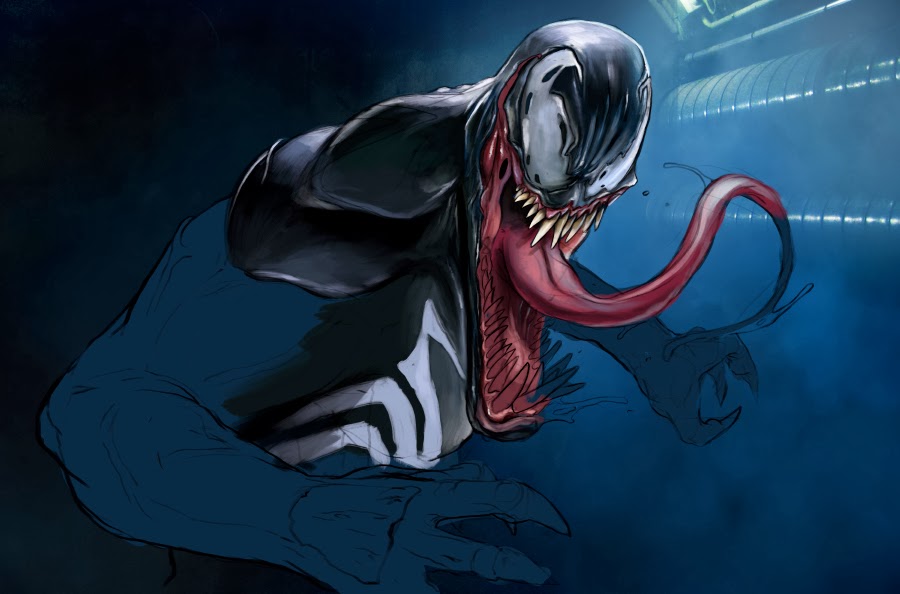
Once I have the full body painted in, I still leave out all the effects, such as saliva, shine and what not. Not to mention rendering the whole piece.
Add a bit of reflective light with the pinks, and then there you go! The rough stage is done! Off for rendering.
Now I hate to leave you hanging, but the rest of the tutorial can be here: Stan Winston School for more! Don’t even bother with mine, there are so many amazing videos on there by awesome artists.
I will be continuing to do more tutorials like this as my arm gets better (just went to the doctor today for tendonitis) and also continuing the LMS story as well.
If there is anything you specifically would like me to talk about, show, etc, please let me know.
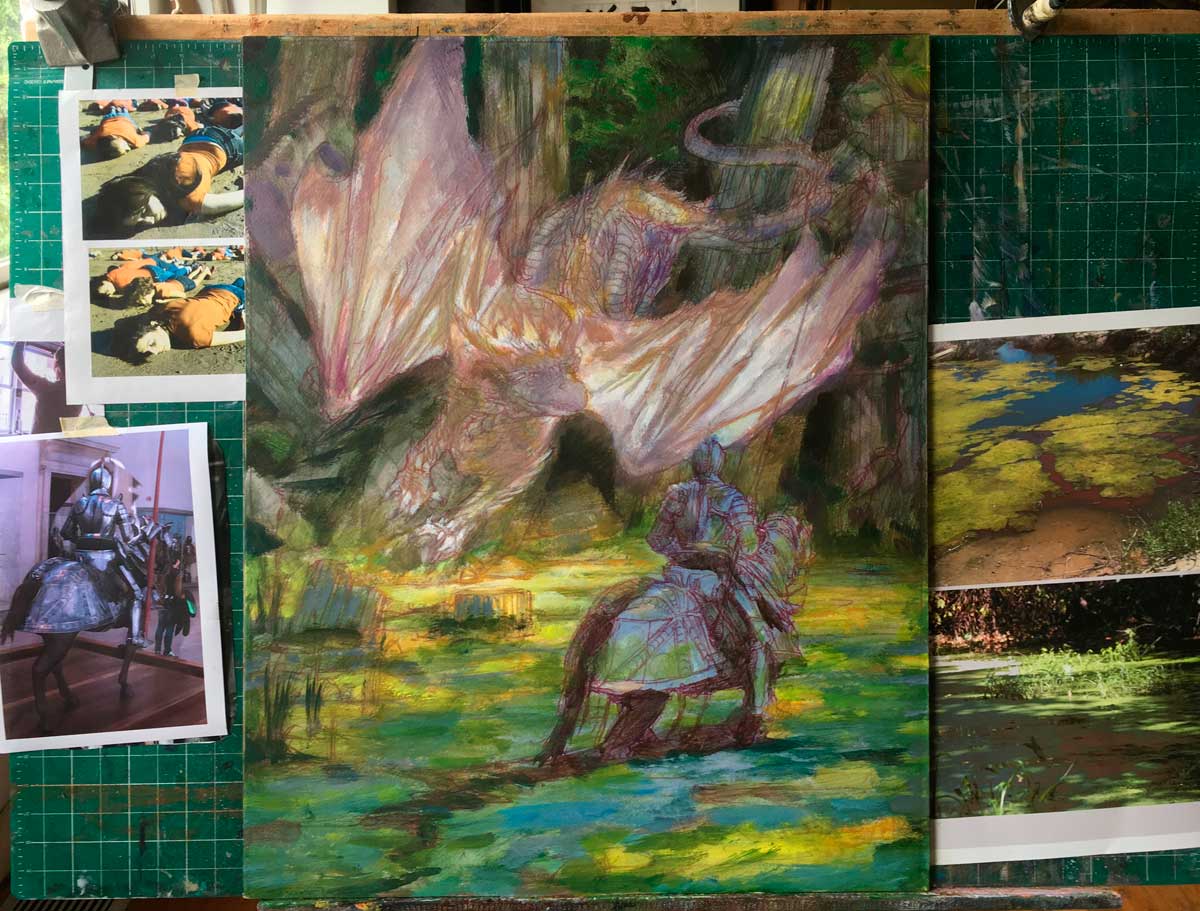
Unfortunately, I lost the entire image due to a crash. This was all that I managed to save, since it autosaved on a crop, Oh such is Photoshop.



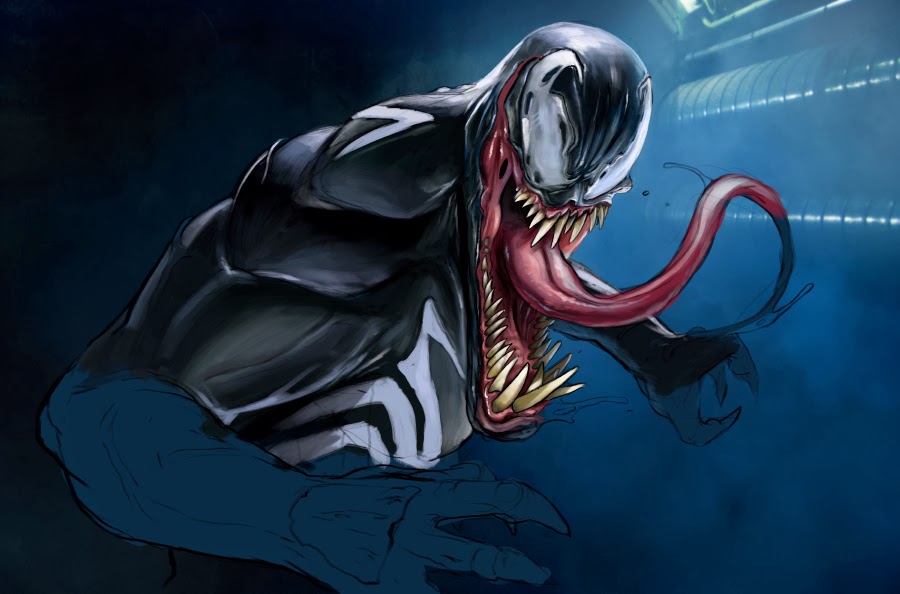
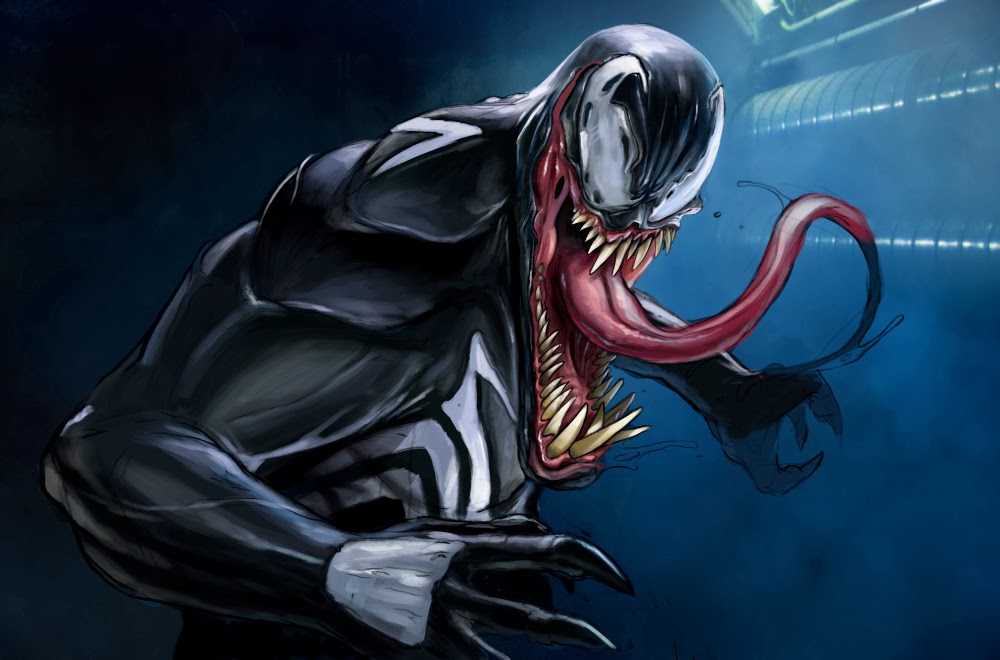
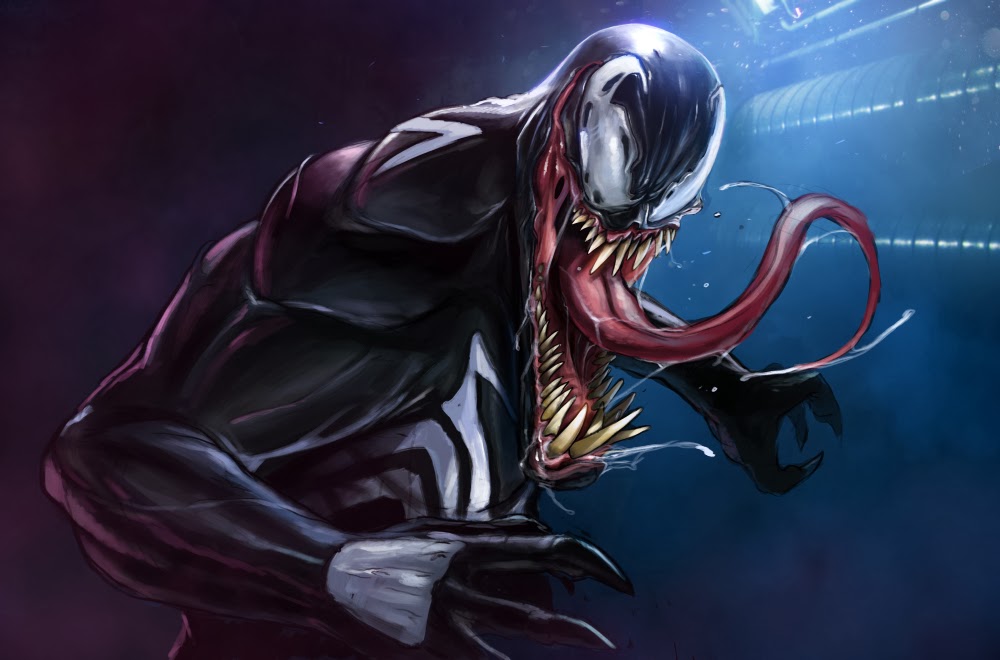
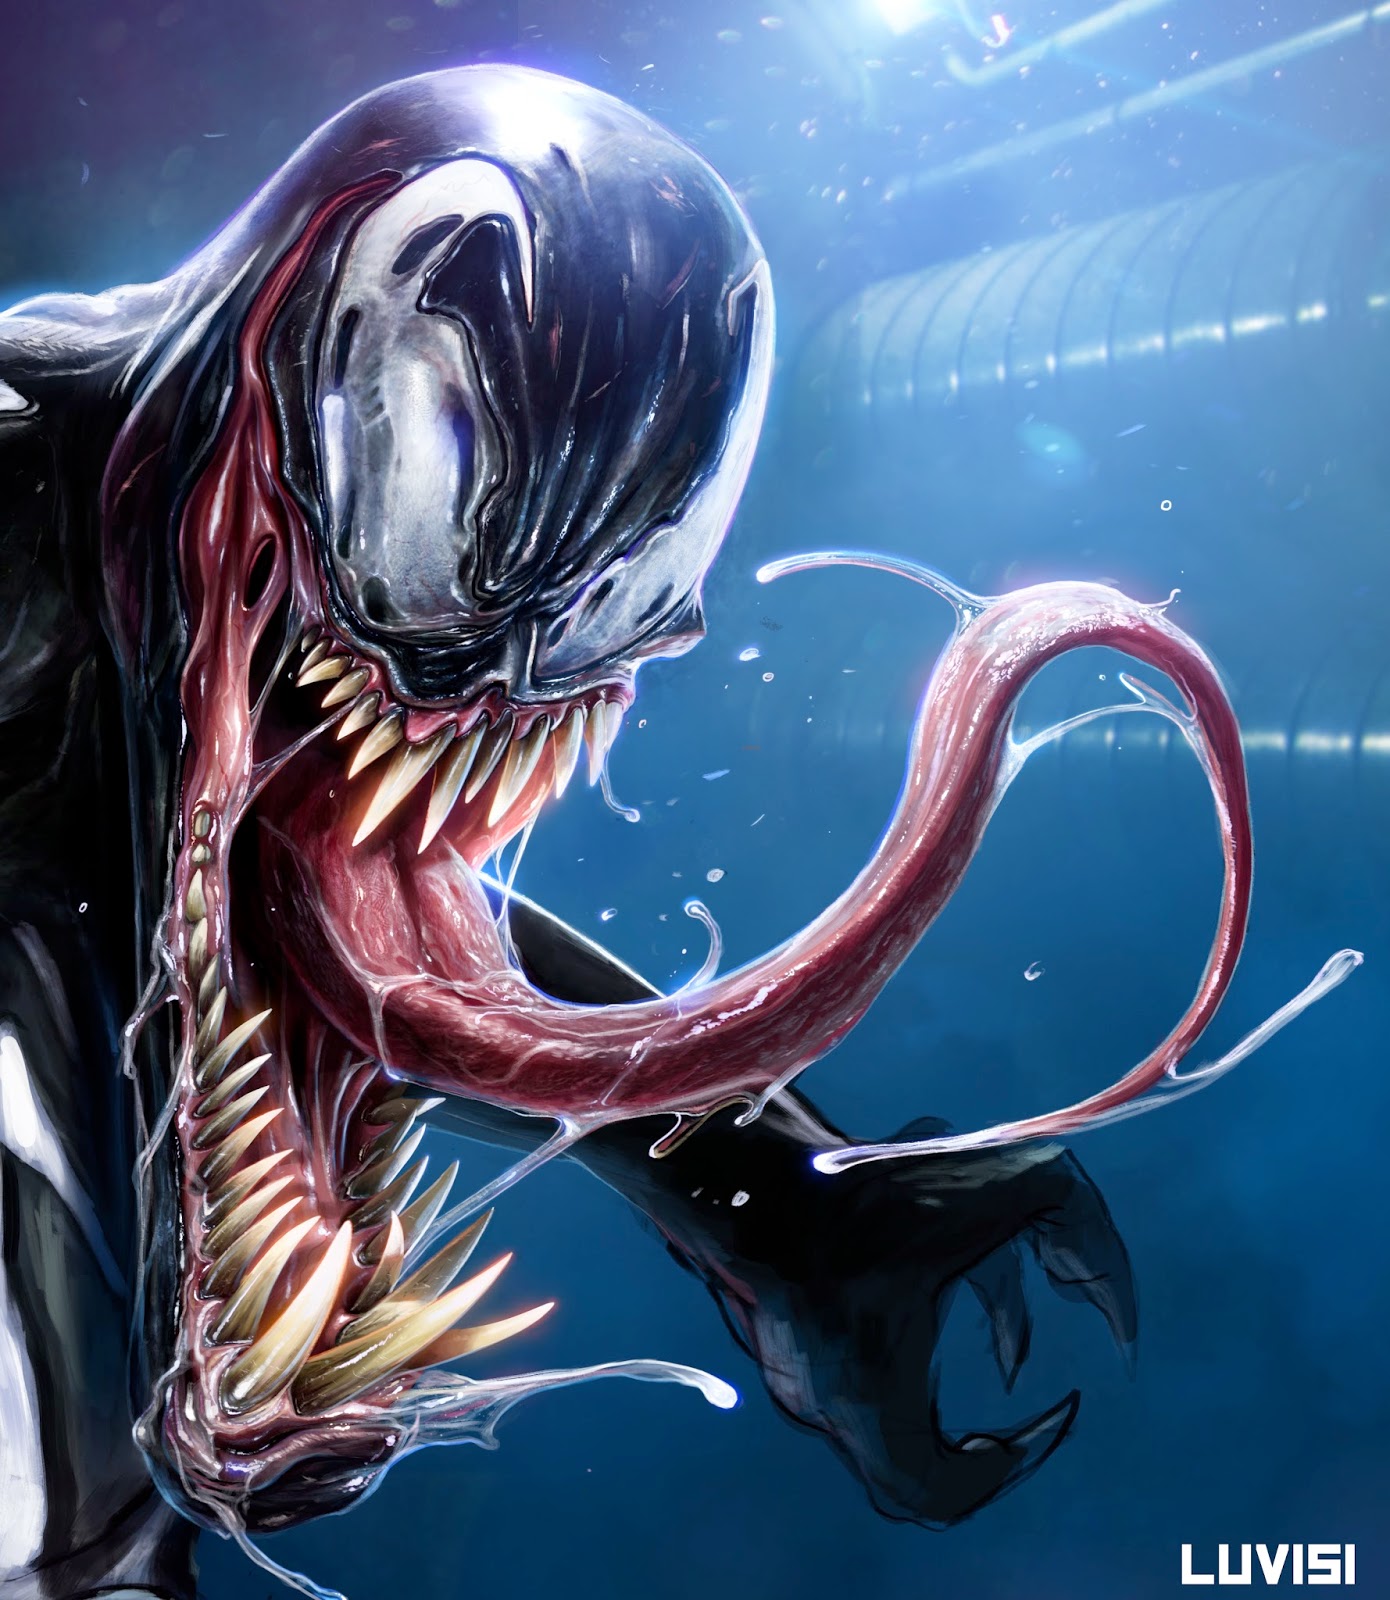
How do you get your drawing/painting to go over the background? Important step I can't find.
Hello Daniel, I have two questions: first, before the tendinitis, did you experience wrist pain when you use the tablet? If so, I am currently having the same problem and I have found useful to try different angles. I usually don't have any pain when I put the cintiq horizontal on the table, probably because it's very similar to the movement i do when using the mouse. Second, how much time did you spend to finish the rough phase? thank you!
That was amazing.
I cannot believe how you are capable of this, but I have one question–
–how did you start?
I remember watching you paint this live! My question: How do you decide on your light sources and stick to them? I can get my values fine when I'm copying something, but I really struggle with it when I'm painting from my imagination, which is something I'm working at.
hello danny! thank you so much for your time and effort for providing us info on your methods regarding making a IP, and making art! been following your work and the work of many others that I've been following other artist from all paths of life plus people that you kindly show from your FB. I do have a question regarding consistently regarding making your IP; I would like to know how you deal with writers block,time management, and of course… priorities ? the reason why I ask this is because I have times where I work a full time job and well getting burned out by it! Its been a struggle for the last few years trying to get some where in the art industry, I'm currently not attending school atm and I've been working a full time job for 3 years now. I'm trying to study and improve on my art so I can start getting myself out there. however other problems come out of no where. dealing with family, being alone… almost no one to talk to. dealing with the same freaking routine that would drive someone insane and so on.Since I know it took you 2 years to make LMS:KBOFABH. I do know that you have a lot of obstacles in your way… I don't know if your able to share that on the next topic. I hope it would be helpful for people like me who been's making his own IP (thanks to you btw) for the last 3 years. hopefully you feel better dude! much love! peace
Dan,
First, thank you for the walkthrough, I always enjoy being able to see another artist's process, I will always learn something new.
Second, all this time, I've thought no one else worked like I did (rough line – boring, flesh out color – boring, render – YAY!, backgrounds – ugh…. or even felt like I did about the process of finishing art and how it all comes together. So, thank you again.
A fellow blogger recommended this blog to me. It's awesome! I'd like to become a follower through blogger. Could you put the “Follow” widget from Blogger in your sidebar when you get a chance? Thanks!
buzztech
plastic raw material
indenting company in bangladesh
A best Bangladeshi indenting firm & agents
Commissioning & trading agents of bangladesh
plastic raw materials importers of bangladesh
duplex board papers importers of bangladesh
high density polyethylene,pet plastic,thermoplastic,types of plastic
If you mean the solid white sketch in step 2 (line art), you set your line art layer mode to 'multiply' in Photoshop and the background will show through. Then you can paint underneath that layer for your base tones. Does that help?