 |
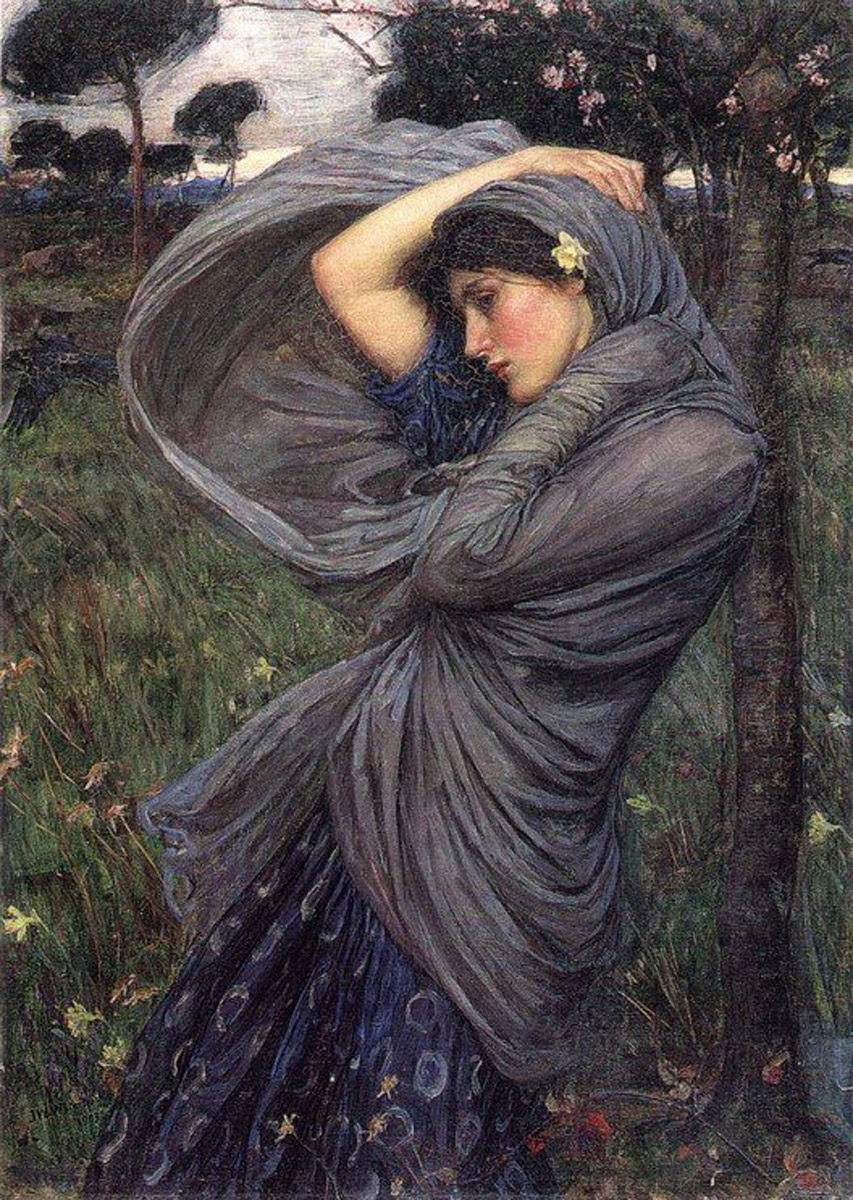
| Boreas |
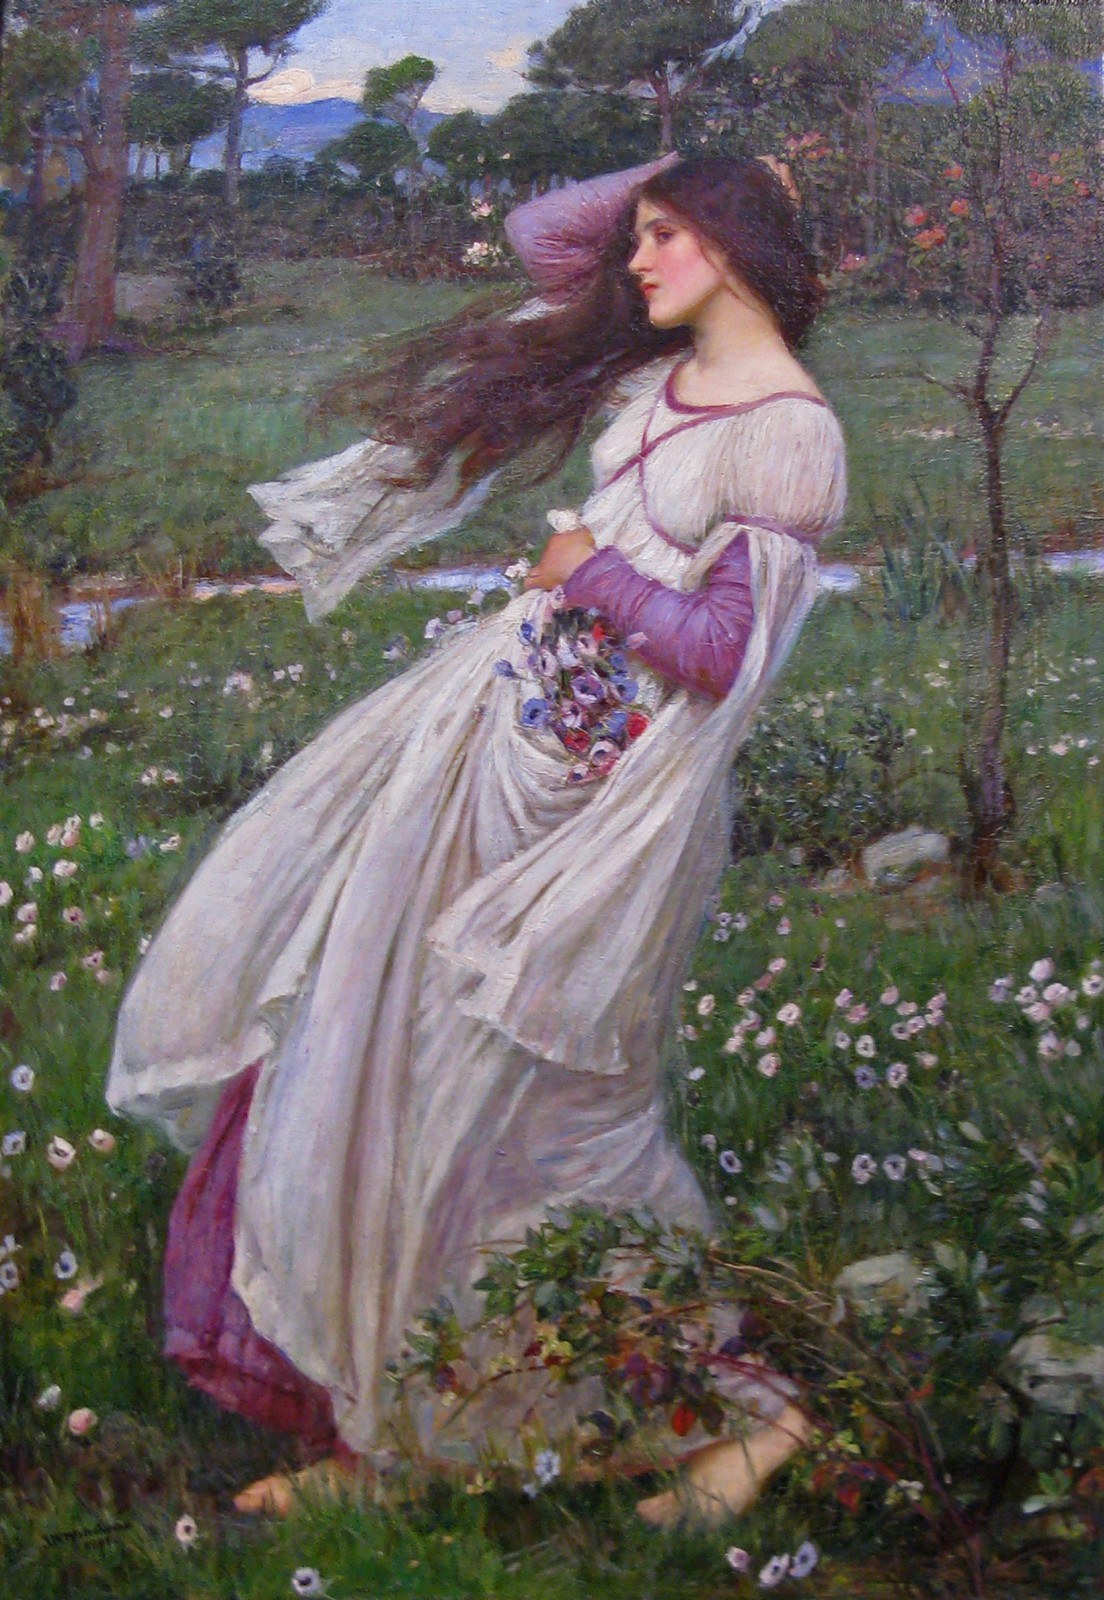 |
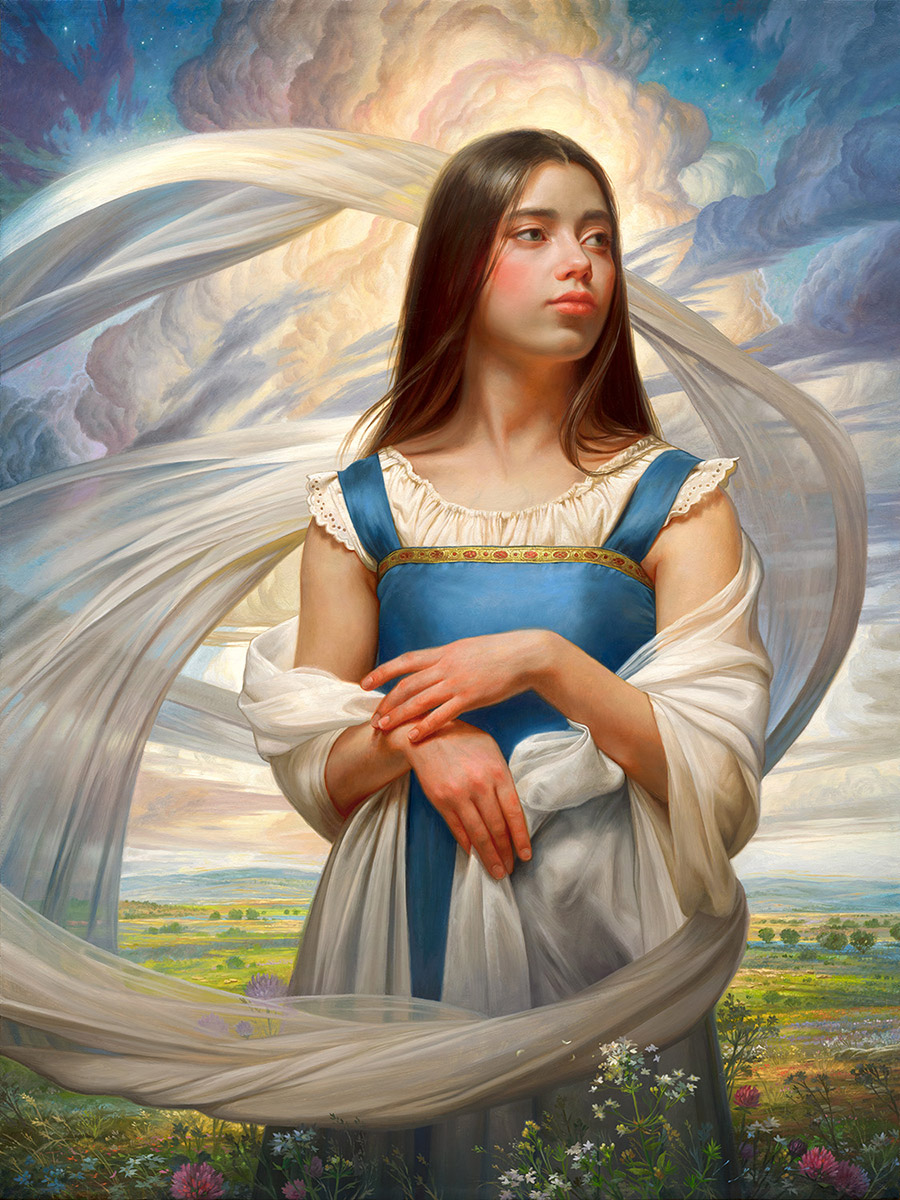
| Windflowers |
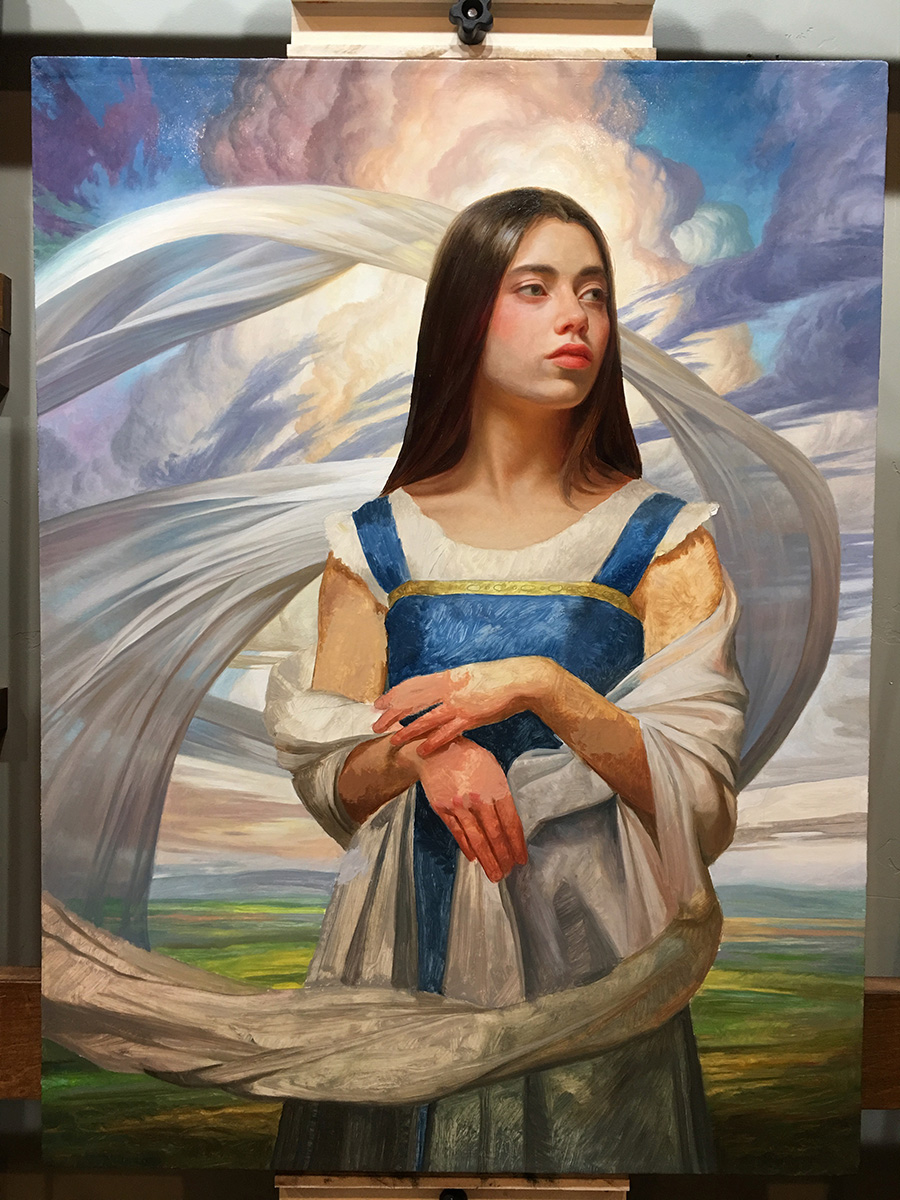
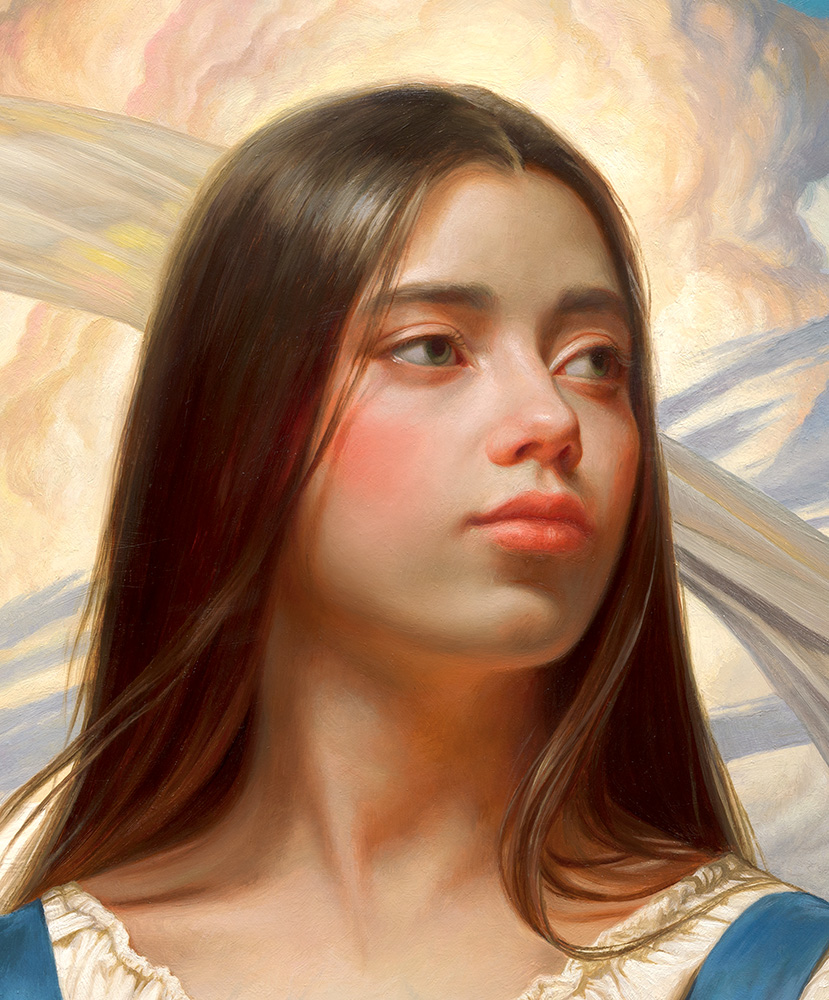
Day 4 – When I first started, the were some deep grooves in my ground that I thought I would like, but they went right through her face. I was planning on painting thickly over the face to fill them in a bit. It didn’t work so I ended up going in with a palette knife across the face. I effectively wasted a day and half of work. It was a good lesson because when I noticed it on day 1, I should have just fixed it. You can see the palette knife work on the face below.
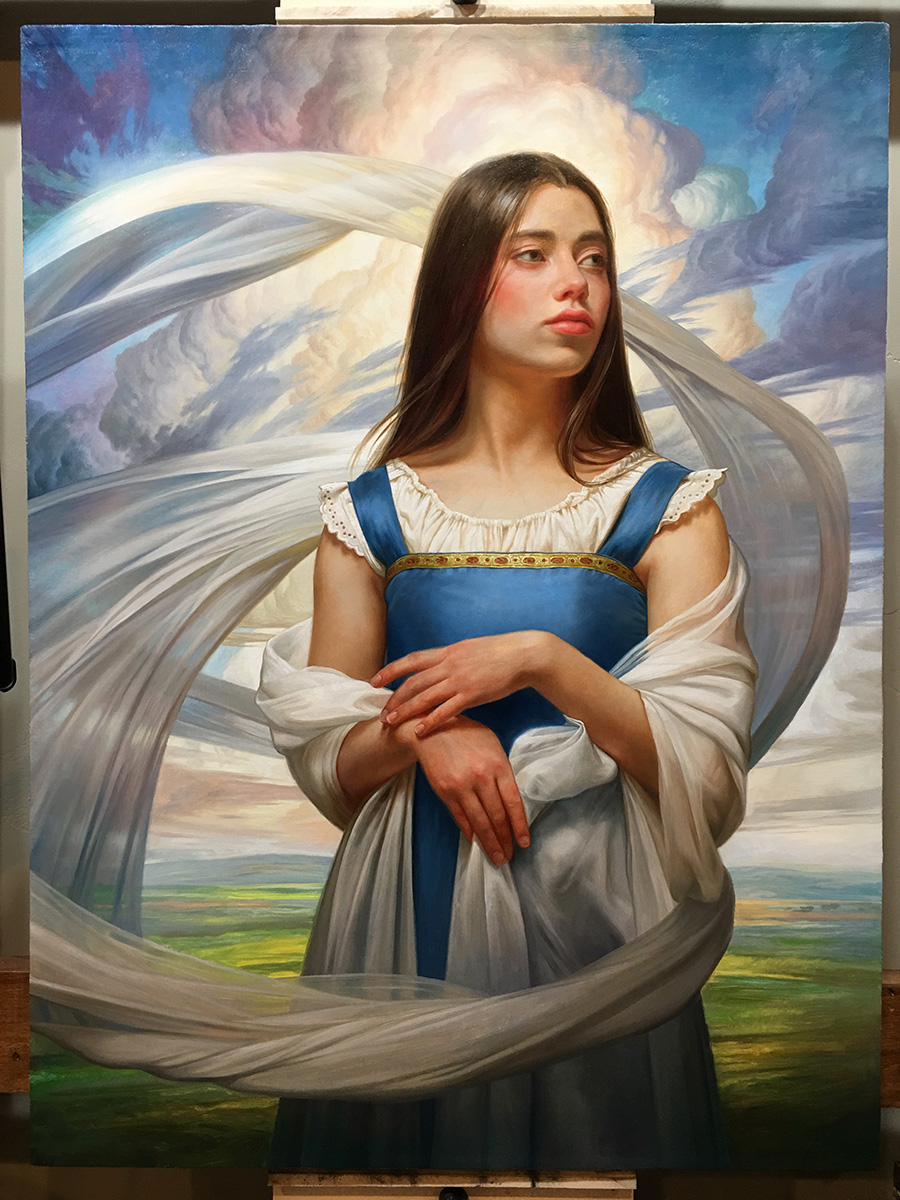
Day 5 – finished the first pass on the face and started on the blouse
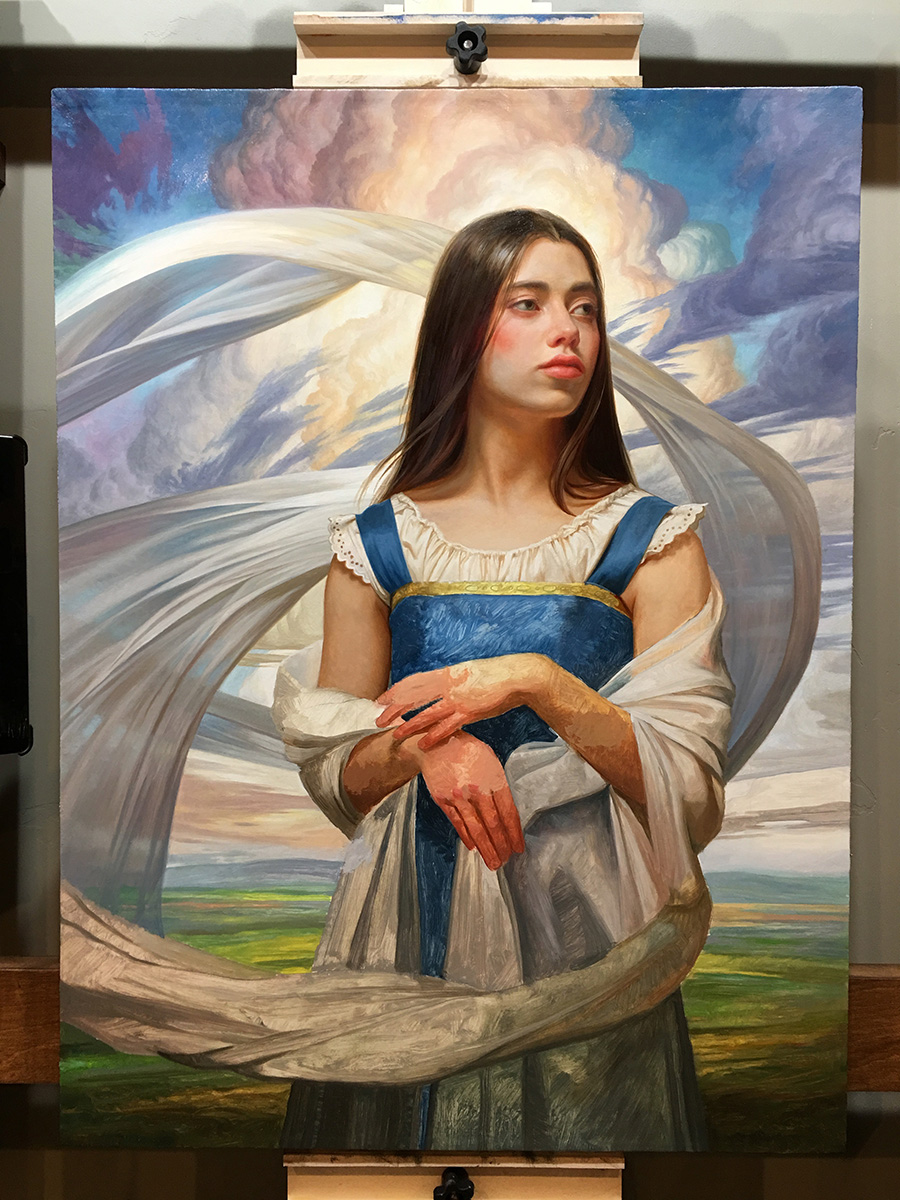
Day 7 – The first pass on everything but the landscape is done.
I still struggle to nail the capture when photographing my paintings, but am getting better. There isn’t as much contrast as these images might show, but dropping it down in Photoshop drops out other info and isn’t quite right. As I get better and add some gear I have been investigating, I will post more about it.
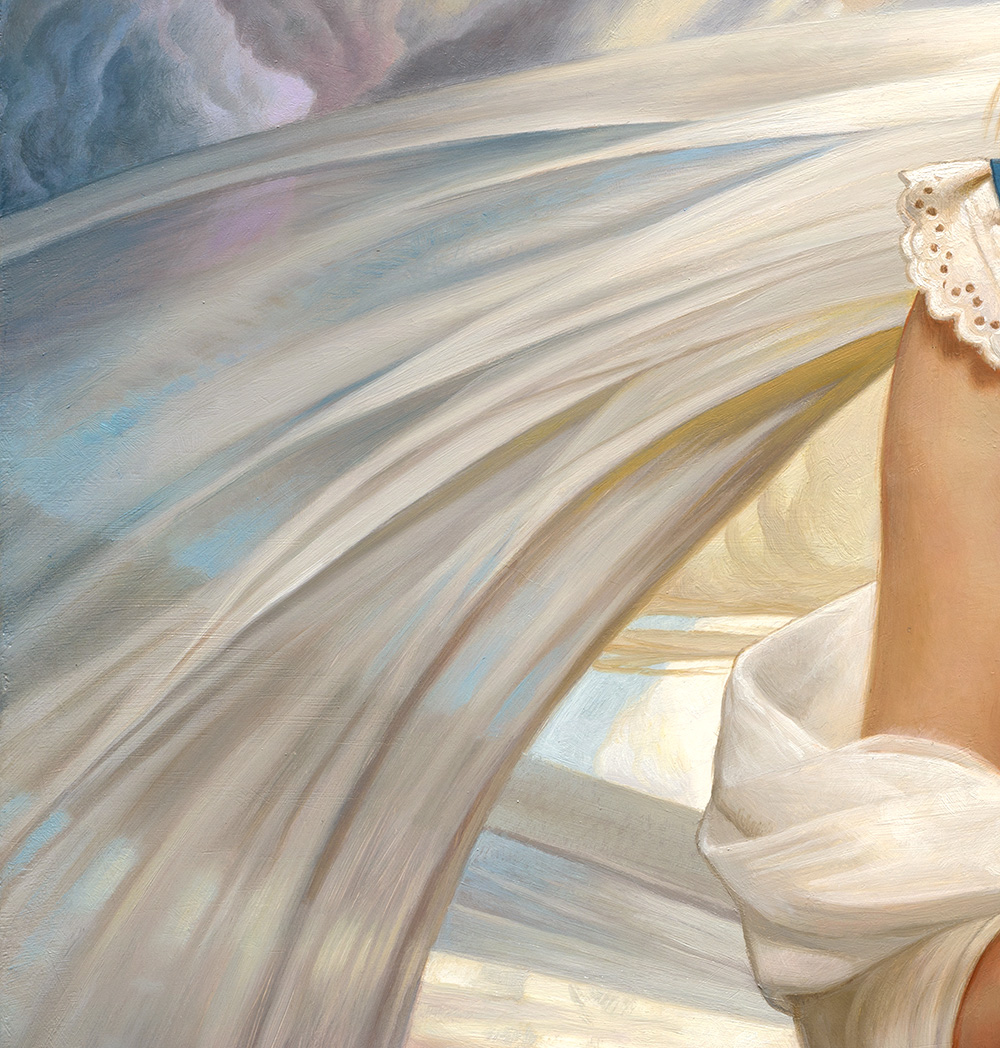
While the fabric was sheer and that came across in the photos, it didn’t composite that way, but it gave me enough information that it wasn’t hard to make it look sheer in the final, keeping edges soft and diffuse.
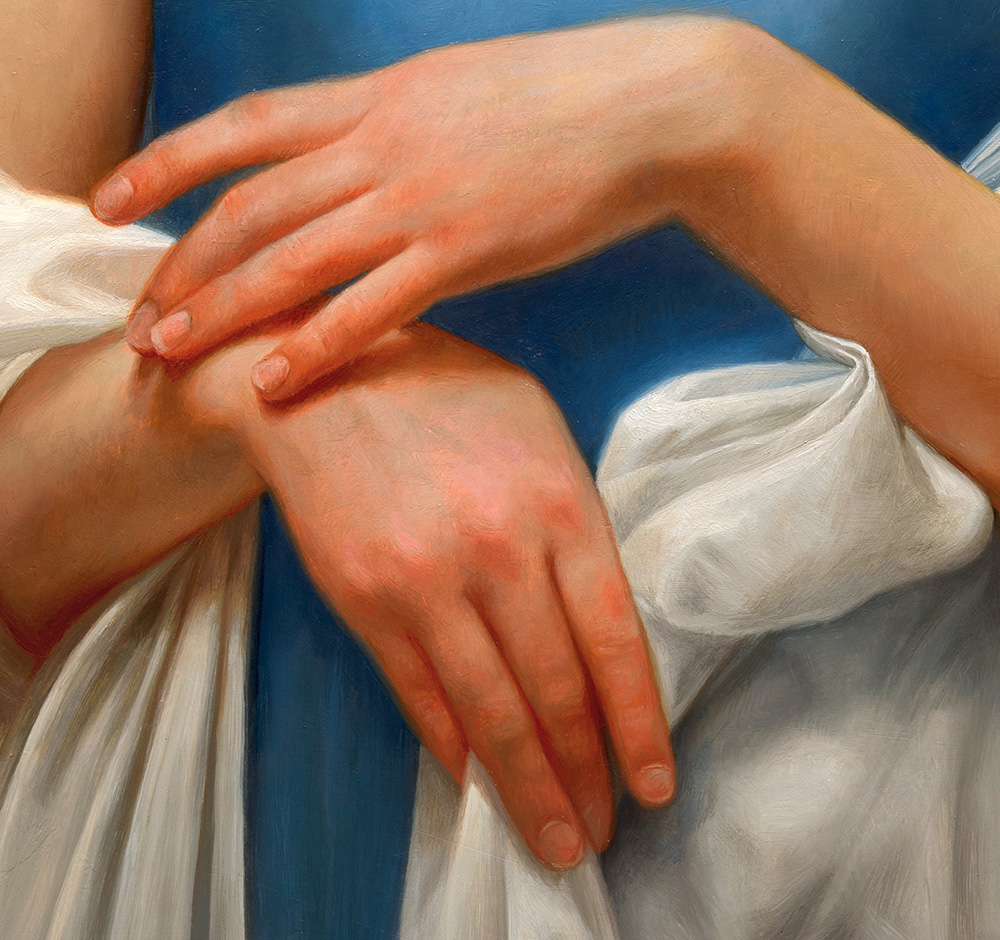
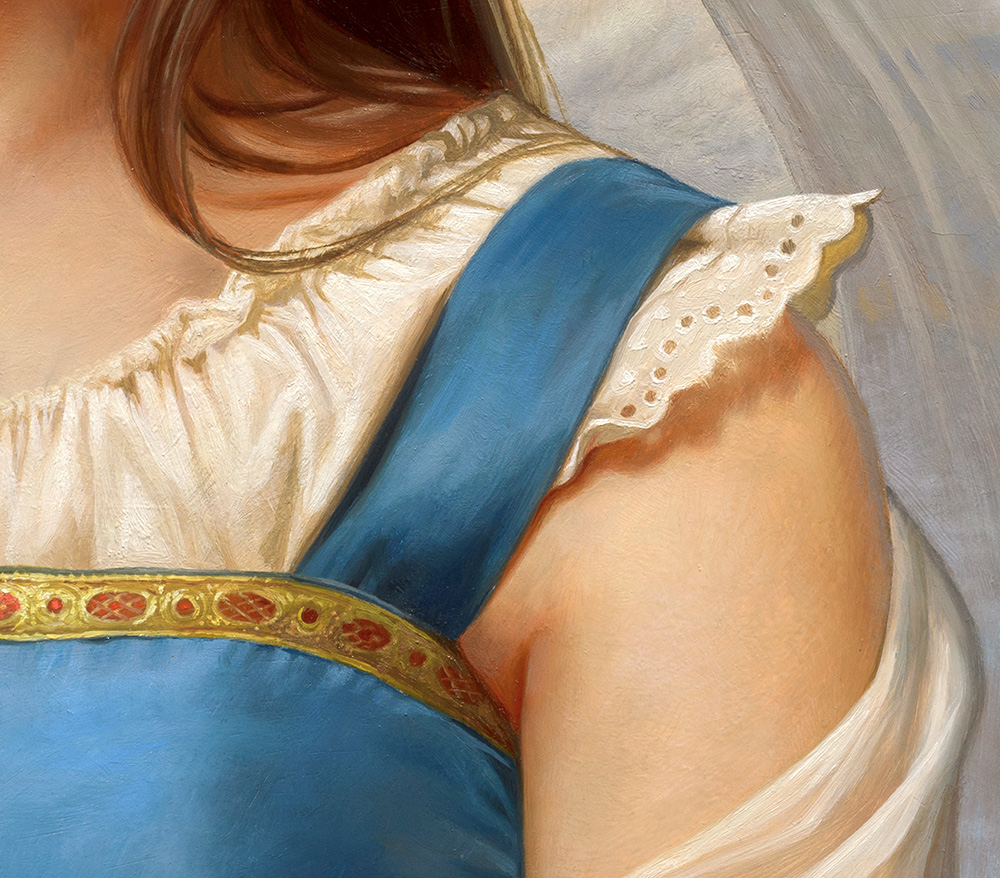
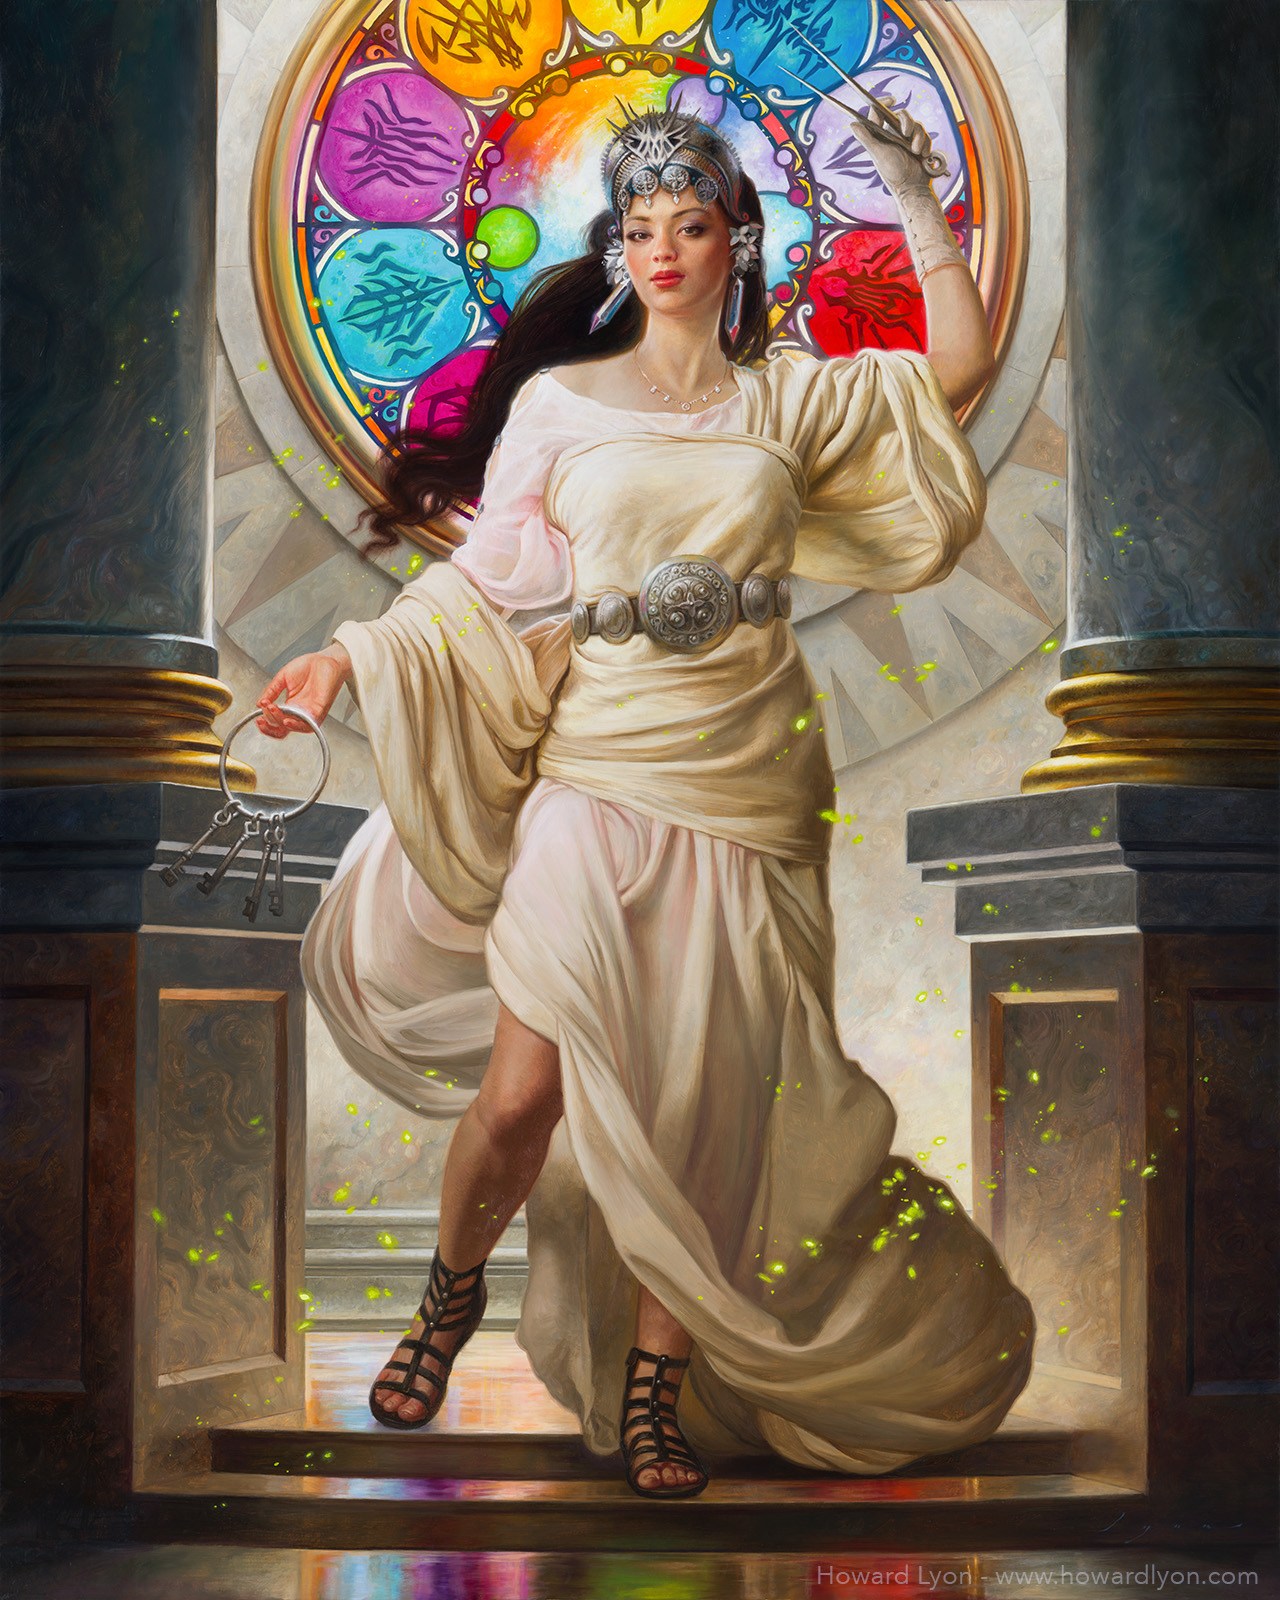
I have painted this top a few times now and I love the way light falls through the little holes in the cap sleeves.
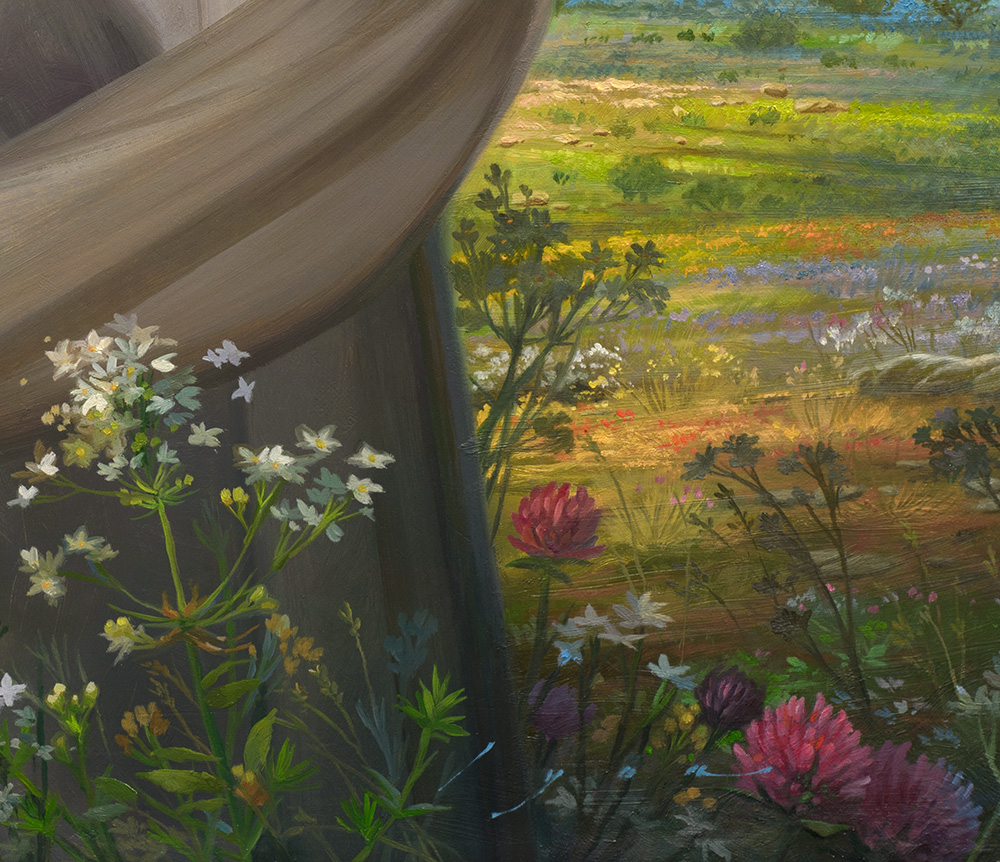
I decided to change the flowers from my initial study. Instead of the all white desert wildflowers, I went with some clover flowers.




I've really enjoyed following you through this one, Howard; it's been inspirational.
What size is the finished work? I know the first studies were 8″ x 10″
I can see how you have been influenced by the Pre-Raphaelites; and I in turn will be influenced by your work – the detail is incredible. Many Thanks for sharing
Beautiful! Thanks for sharing with us Howard!
John, thanks for giving it a read! The final painting is 24″x32″.
Thank you, Daniel!
Hi Howard, would you mind explaining further what you mean by “going in with a palette knife across the face” ? Curious how you were able to get rid of the ground texture. Thanks!
Yeah. I mixed up some color to match the areas I needed to repair and carefully spread the paint over them with a palette knife, filling in the grooves that went across the nose and cheek. Very much like applying dry wall mud with a putty knife. I didn't use any medium so that the paint would be full bodied and stay firmly in place. Once that dried I was back in business!
Awesome. 18 days, but how many hours per day?
I typically spend about 14 hours a day in my studio, with about 10 of that spent painting. The other time is spent emailing and taking care of business or hosting my painting nights. It varies, but that is a typical day for me. So probably 180 hours of painting time on this one. It might be the longest I have spent on a painting, per square inch. I hope to have that time for all my work, but it doesn't always end up that way.
turned out SO good Howard. damn!
One incredible painting! Very well done 🙂
180 hours painting time is huge. Really confused at what that would do to the price of a painting.
Beautiful. Thank you, Howard.
Aha! I wondered if this was deliberately reminiscent of “Boreas”. It definitely shows.
Amazingly stunning piece of art!
i wish i had a chance in my life time to meet the painter and die living my dream.