There’s so much to learn when you’re slinging paint and pencil, so here’s the fifteenth installment in my monthly segment, Muddy Colors: Art Tip of the Month with Jeff Miracola. Each of my short videos will share a handy tip to help you create magnificent art.
My art tip this month is: Creating Protective Art Containers
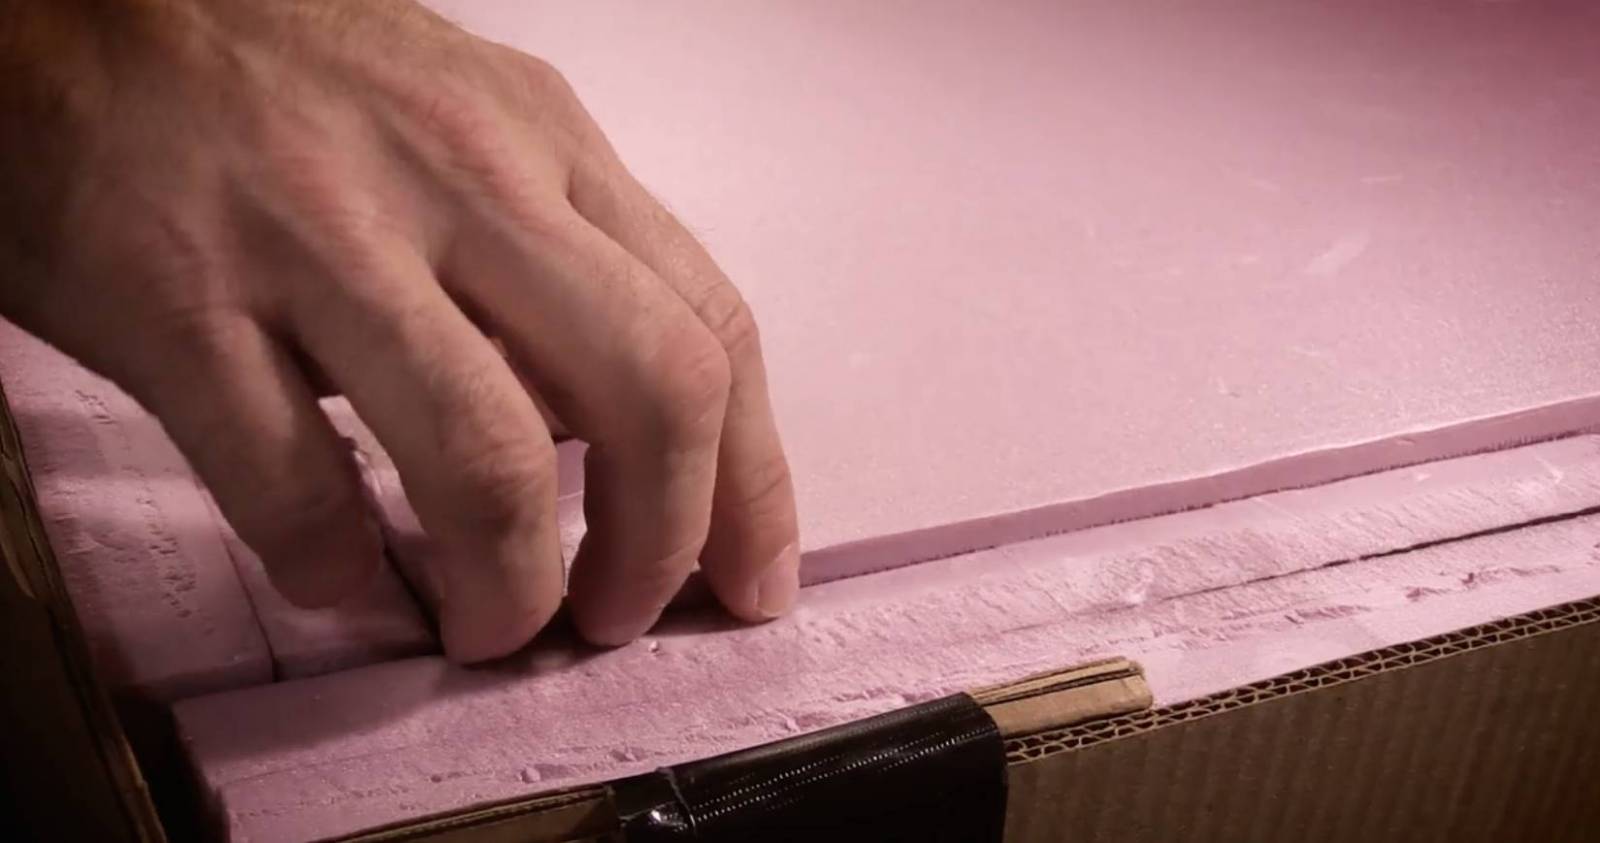
In this month’s video I show you a low cost solution for making custom containers for your artwork using home insulation and tape.


“We’re making satellites, people.” … Lol!
Thanks for another great art tip video! Should you ever want to create a physical scene to light, photograph and then use as reference … that pink foam carves really well 😉
Yeah, you’re right. That pink foam insulation is great for building reference mockups because it’s so easy to cut.
Great video, Jeff! I’m definitely going to make some of these!
This was an excellent straightforward DIY how-to, thanks! Two tips, speaking as someone who has had to unpack artwork dropped off for exhibits:
That gorilla tape makes it really hard to open packaged art without damaging the packaging. So…if you’re dropping art off that someone else will unpack, you might construct a closure with Velcro tape for easy opening, or twine affixed securely with gorilla tape so it can be tied/untied with ease.
It’s also a good idea to label your packaging with artist name, contact info, title piece, and any instructions that might help handlers avoid inadvertently damaging the art inside. This helps ensure handlers are more informed, your packaging isn’t ruined in the process of unpacking the piece, and your packaging is easily matched with your art when the time comes to repack it.