I’ve just got a tiny bit of time between client jobs to update this character design, but each little bit moves the process along. I can get a start on the render!
Normally, for a client I will provide a few different colorways, but since this character is for my own project I’m going forward with just the one I liked best while playing around with the gradient map sliders.
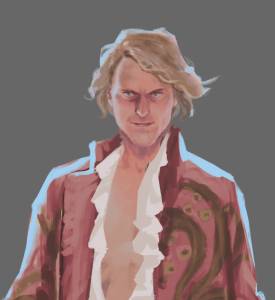
First thing I want to do is hit the emotive areas that tell us the most about this character’s personality and emotional state. The head and hands, and in this case feet the bare feet. I’ll start with the head, since this is where the biggest portion of my rendering time will be spent.
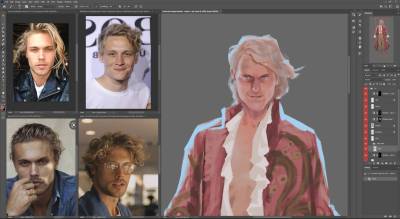
Here I’ve collected some new references focusing on hair. I wanted a messy blond, unkempt in a handsome way. Since I want the character to look Georgian-era, he might have it tied back à la Barry Lyndon. I found the actors Matthias Schweighhöefer and Christopher Mason had some shots that fit the bill pretty well.
Last session I flattened the gradient map layer onto the Body layer and started working with various brush modes. This time, I’m going to start out by using the lasso tool to make a foreground hair layer for the top and front sections of hair, so I can manage the overlapping sections with more flexiblity.
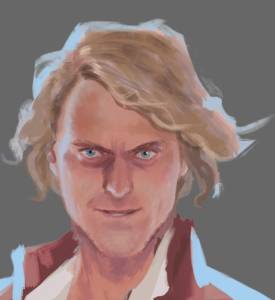
Bringing in colors from the gold areas of the fabric of the banyan, I’m going to start the hair by adding darker darks and warmer midtones. Whenever possible, after the color exploration phase I sample colors already in the piece, relying on relative temperatuture and color contrasts to create the illusion of a wider spectrum at the same time as I’m reinforcing the harmony.
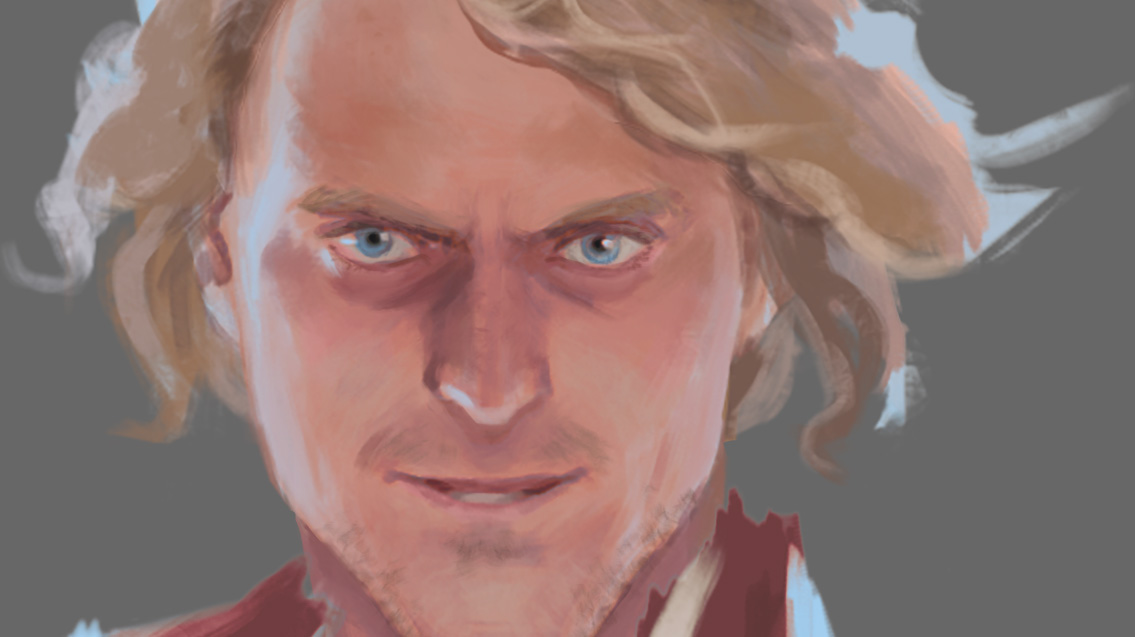
I’ve also opened a couple face references I’ve been using, and started to get into his face again, starting with the eyes. I’ve made them wider and added a darker blue to the outer edge of the iris.
There are a few places I like to emphasize sharp edges in a face, the eyes being one of them. I often like to leave one eye more loosely rendered than the other; this gives a subtle illusion of movement.
I continue sampling colors from other areas and work on smoothing some parts of the face and putting sharper details in others. The eyebrows were still very sketchy, so with an opaque brush I brought a midtone from his hair. Naturally-blond people have blond or light-brown eyebrows and eyelashes, and while these can look fairly dark in the shadow area as the brow ridge turns, they will be less visible in areas receiving more light. I’ve also cut his head out onto a separate layer from the rest of his body, and started giving him some stubble to go with his unkempt, wild look.


Really enjoying this series! You can pick up so many little tips. Photoshop can do things a gazillion different ways…