OK let’s keep the ball rolling on this one! When we left off in Part 1, we had just gotten sketch approval…
The Photography
Since this was a super-close portrait crop of something I had no prior knowledge of (how blood looks on faces…although NOW I do), and also because there was some subtle acting going on in the face, I decided to go pretty reference-heavy for this one (in fairly stark contrast to some of the other processes I’ve described here).
I started by bringing in fellow artist Drew Keener to be my Witcher. I had poor Drew shave his luscious beard, and picked up a wig to get the hair just so. The costume shop I use here in Atlanta carries all sorts of stuff, so I also had a look through the armory for some chain mail, swords, and mink fur that I was able to rent at a bargain. You know, casual.
(I joke, but having an expansive costume shop within driving distance here in Atlanta is endlessly useful for shoots like this, especially when time is tight. For anyone at all nearby, the place is called Costumes, Etc. and they’re open almost every day of the year. When I’ve lived in other cities or towns I’ve had to shop online much further in advance for key items, and rentals become a non-option. If you live anywhere large-ish, it’s worth doing a little research to see if you have a place like this at your disposal. Places that supply film crews and theater troupes are also of great use.)
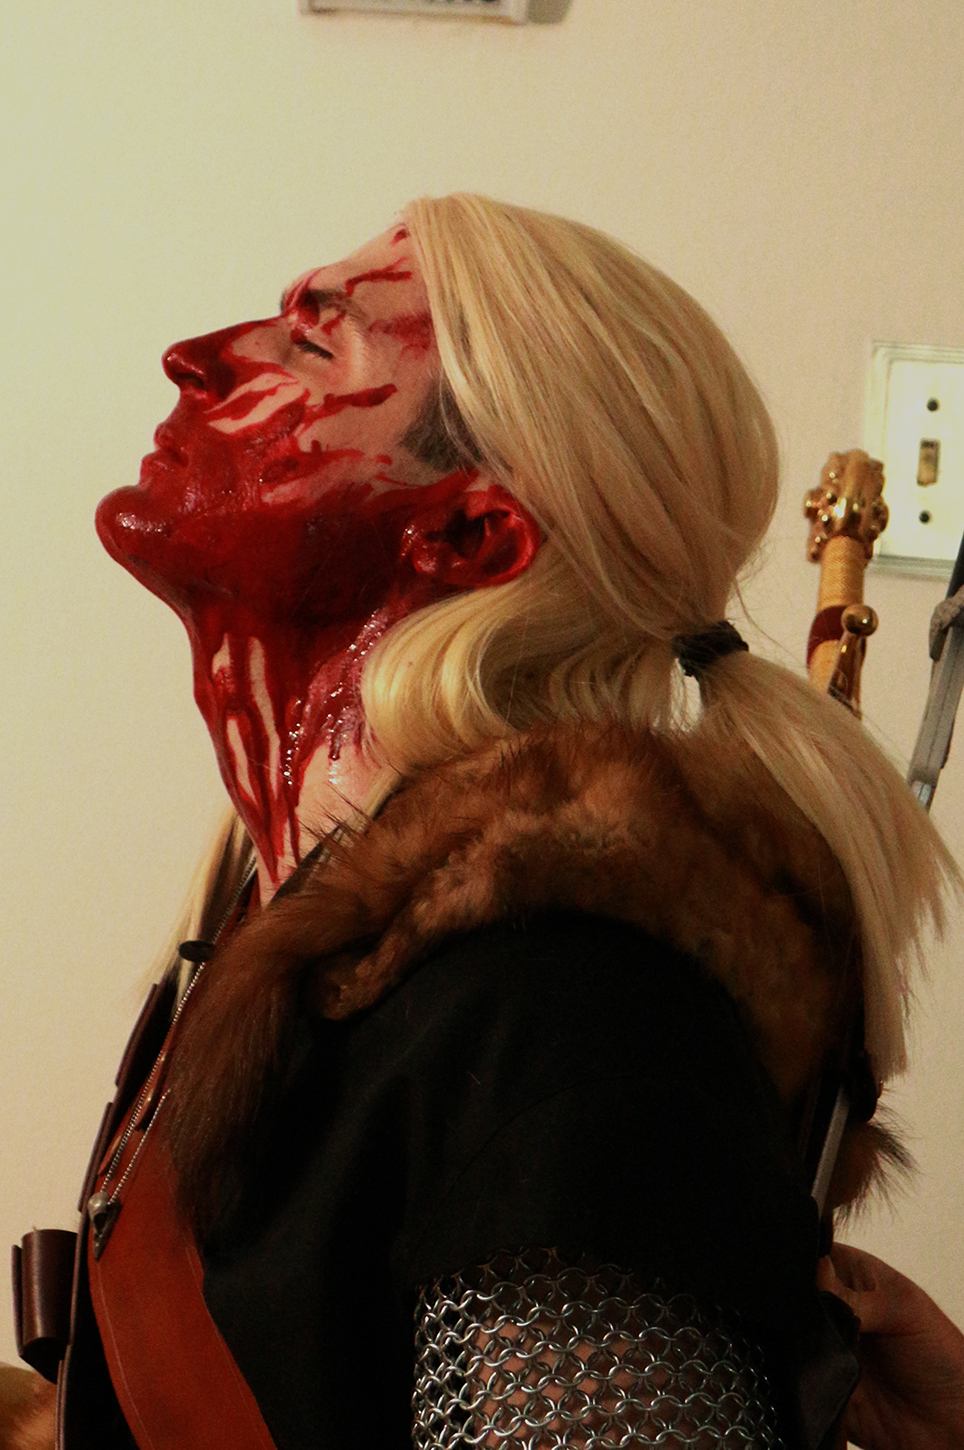
Anyways, the rentals were dangerous because we couldn’t get blood on them, but the tunic I actually just bought so we could have a little fun (read: get blood on it) once we started tossing blood around. I set Drew up under the lights and that got us to here:
Already this would be incredibly useful! But wait…
Enter my favorite makeup artist, Rachael Hansen. I hired Rachael to come up with a blood-like concoction and paint it onto my model (fellow artist Drew Keener). Rachael did the makeup for me on Gideon the Ninth, so you know she’s golden. She mixed up a couple of blood “options” and let me compare them under the actual photography lighting; we wanted something that could feel enough like blood to pass muster, but that would be able to catch all the little specular highlights I was after. We settled on a mixture that seemed to do the trick, and I gave her the green light to start painting Drew up:

I set up an iPad with a brightened version of the sketch for her to use as a general shape reference.
I just want to take a second to say: it may seem difficult to get this level of collaboration going if you don’t already know models and makeup artists and all about photography and on and on and on, and especially if you don’t have a hefty book cover budget to use for funding. It can seem impossible just to get started. If you’re not using reference because you don’t know where to begin, Micah and I did an episode all about creating and using reference on BWGCast. KABAM! Anxiety destroyed. I also want to say that I didn’t start with any of this at my disposal either. At every step all you can do is this: be brave, do the best you can with what you have, and be nice to everybody. And that’s really it!
I met Drew because he was a figure drawing model. I asked him to do a shoot, and paid him above average rates, and he did it and we had a good time. Later he introduced me to other models, and some of them knew makeup painters, or actors, or what have you. One thing leads to another. But you must be willing to invest both financially and emotionally in your career, because you are absolutely worth it and the world will be better if it has your highest-quality work in it!
OK /endmotivationalspeaking. But I am serious tho.
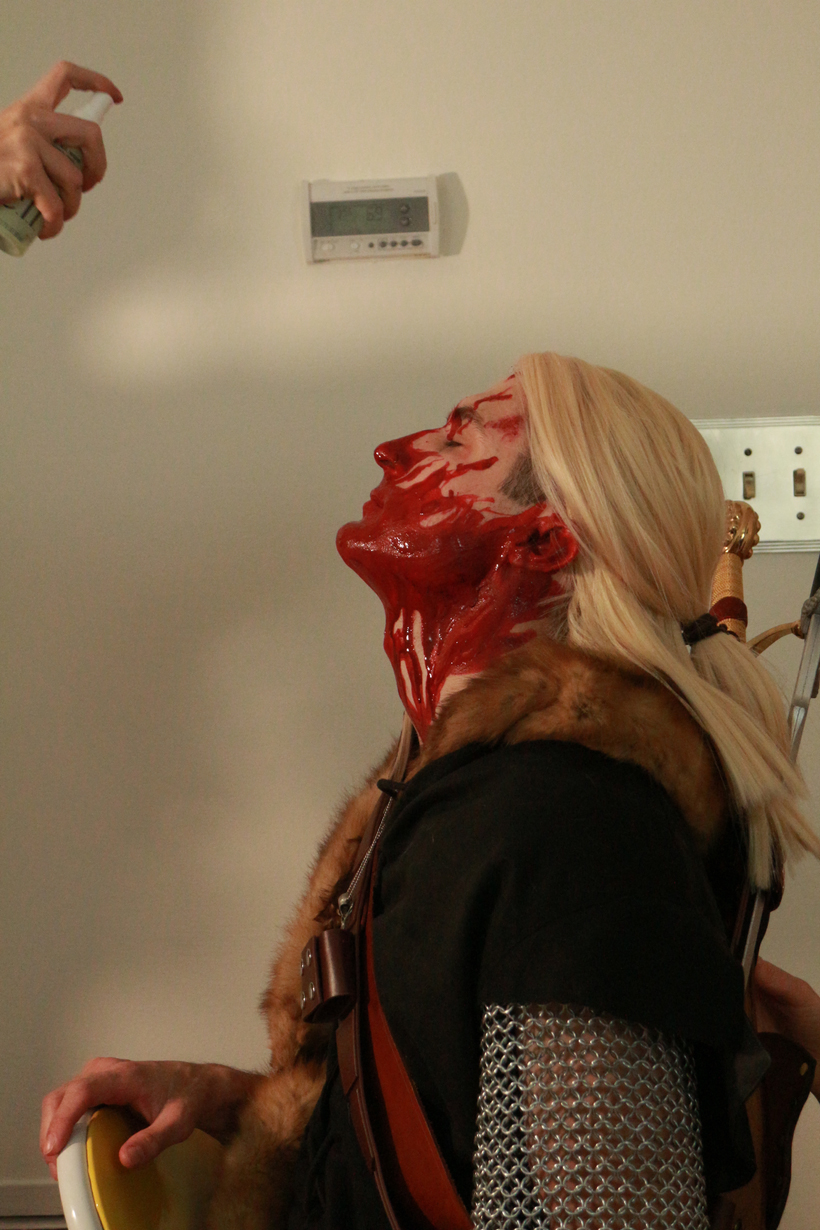
We would mist Drew with water (not too much or the blood will run!) every few minutes to keep those speculars nice and juicy. This is a great technique for getting those slick highlights you see in paintings to happen in reality. And a bottle like this is about $3 at the art store.
For anyone who didn’t follow the link and listen to an hour’s worth of Podcast about how I shoot reference: I work with the model by talking at them constantly – almost rapid-fire micro-adjustments.
“Move your chin down 1% (you have to say this to get them to move it only 5%, not 20%).”
“Twist from your hips, and look back along your arm.”
“Pivot until it hurts, then rotate back slowly in my direction. If it doesn’t hurt it’s not a fantasy painting.”
The whole time I am holding down the trigger, and shooting about 1 picture per second, and watching the previews flash by. It looks a bit like this:
Afterwards I sort through all the jpegs (I don’t bother with shooting RAW – too slow for how I work and if your reference is too crisp it makes you into a slave) in Adobe Bridge and pull the good ones, then try them out in the file.
I end up here:
Now that I can definitely work with.
Also, now I don’t have to do a drawing because the whole structure is represented pretty well here. So I just jump right into final color and start. It’s ugly as sin at first, but this really is the fastest way I’ve yet found – you just need to trust yourself and keep going.
Painting the Final
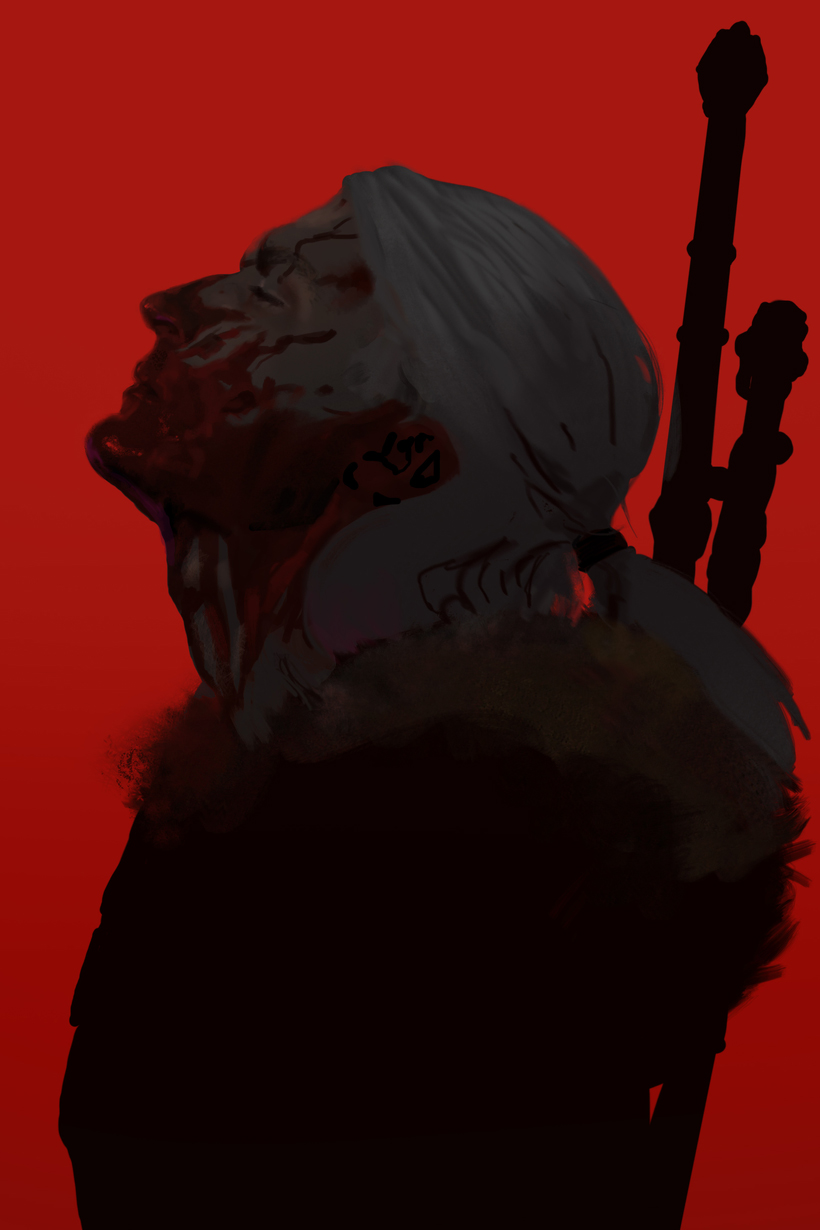
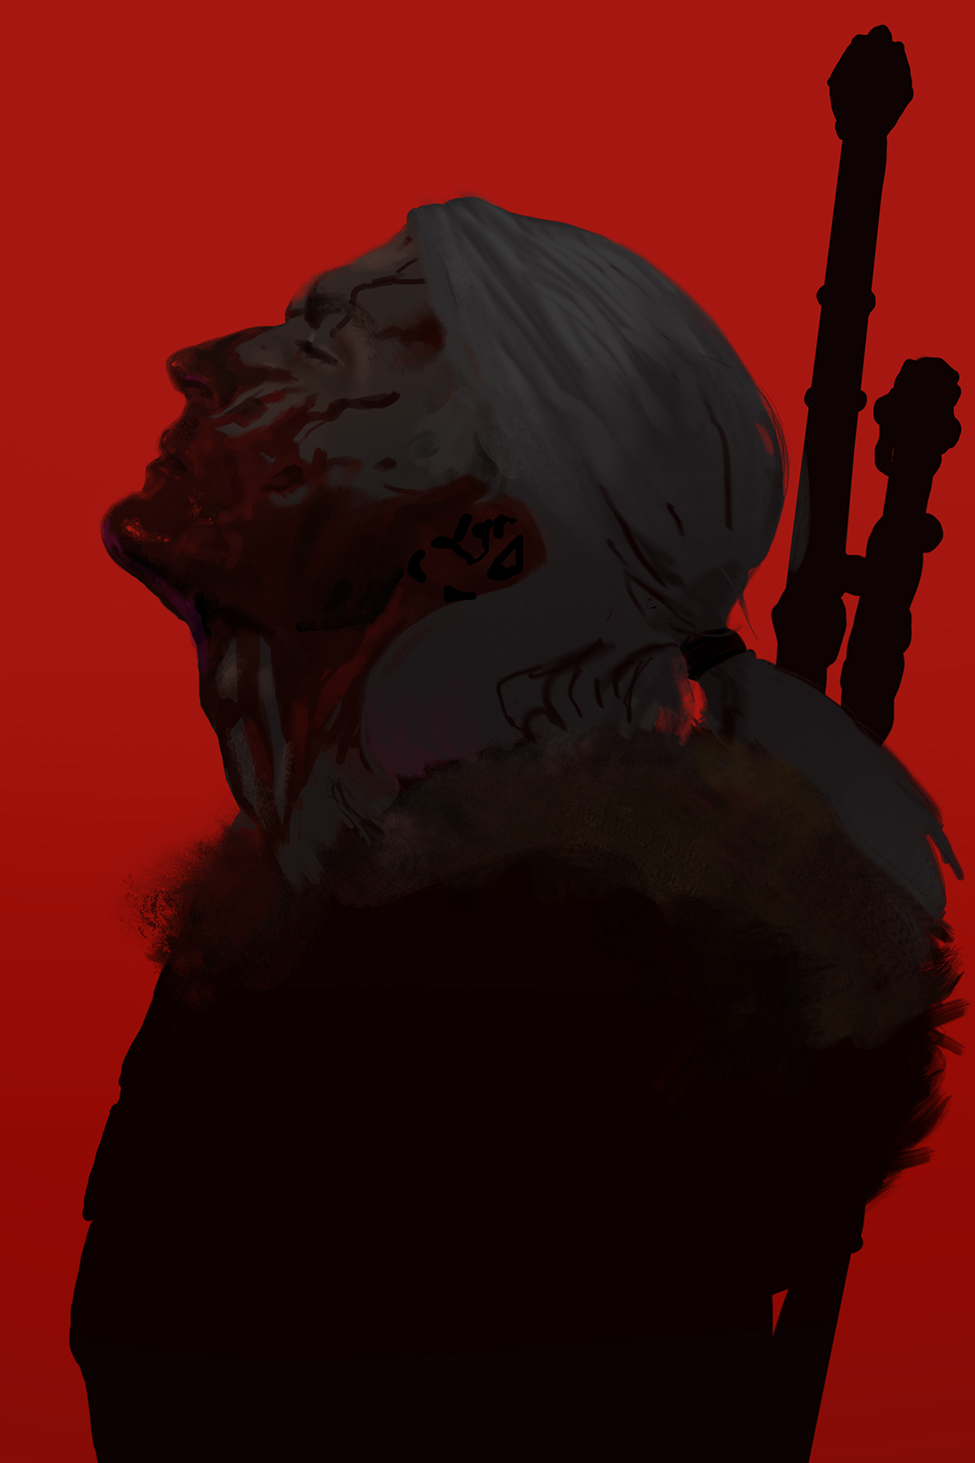
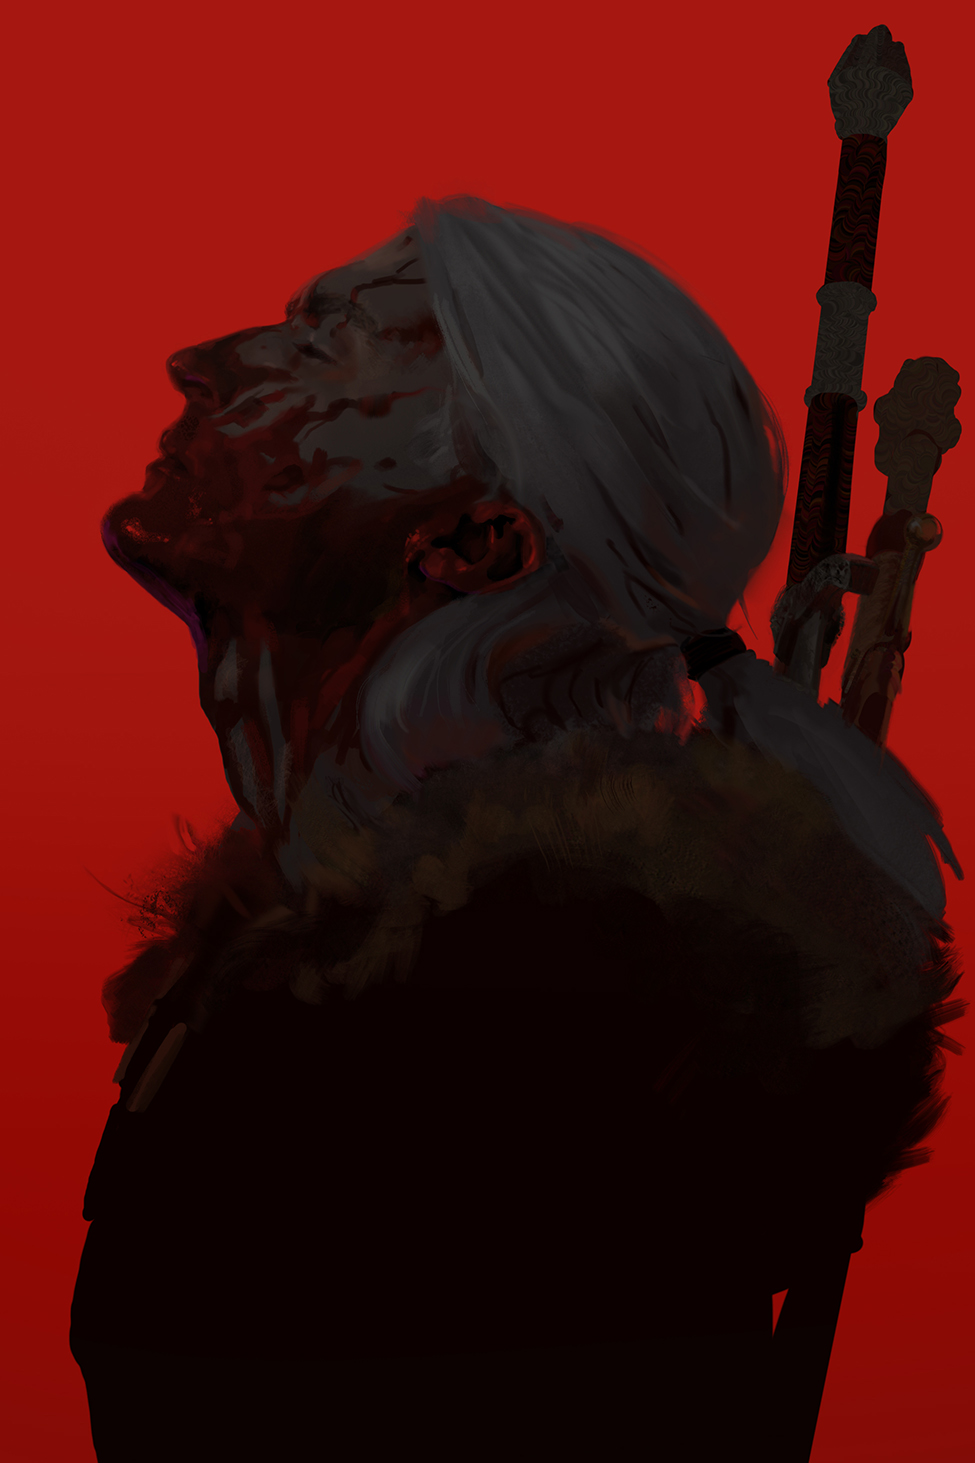
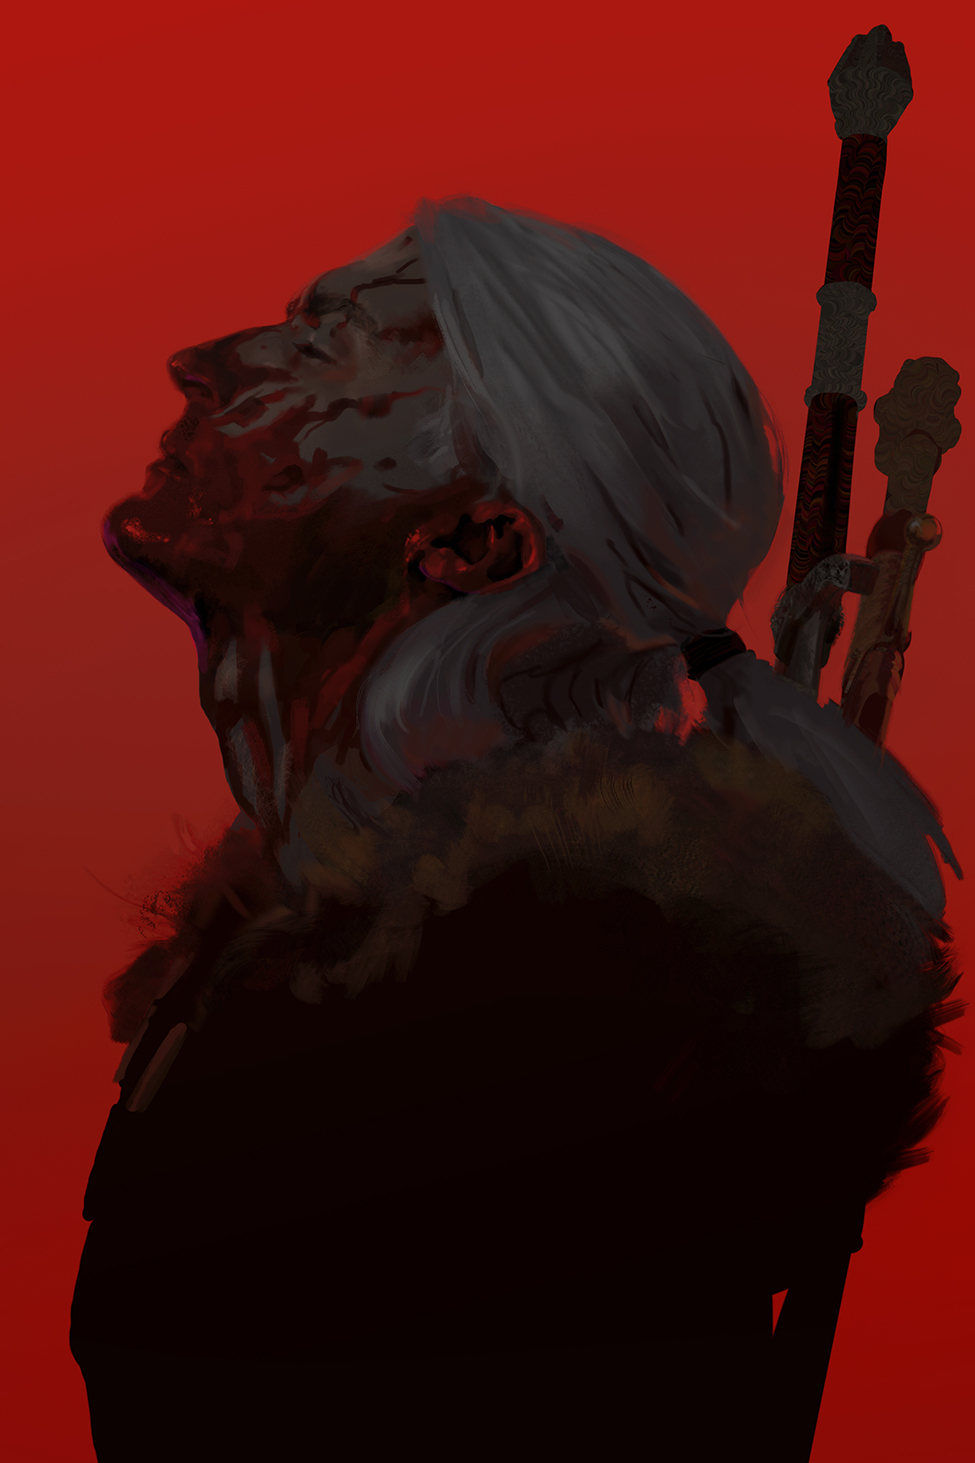
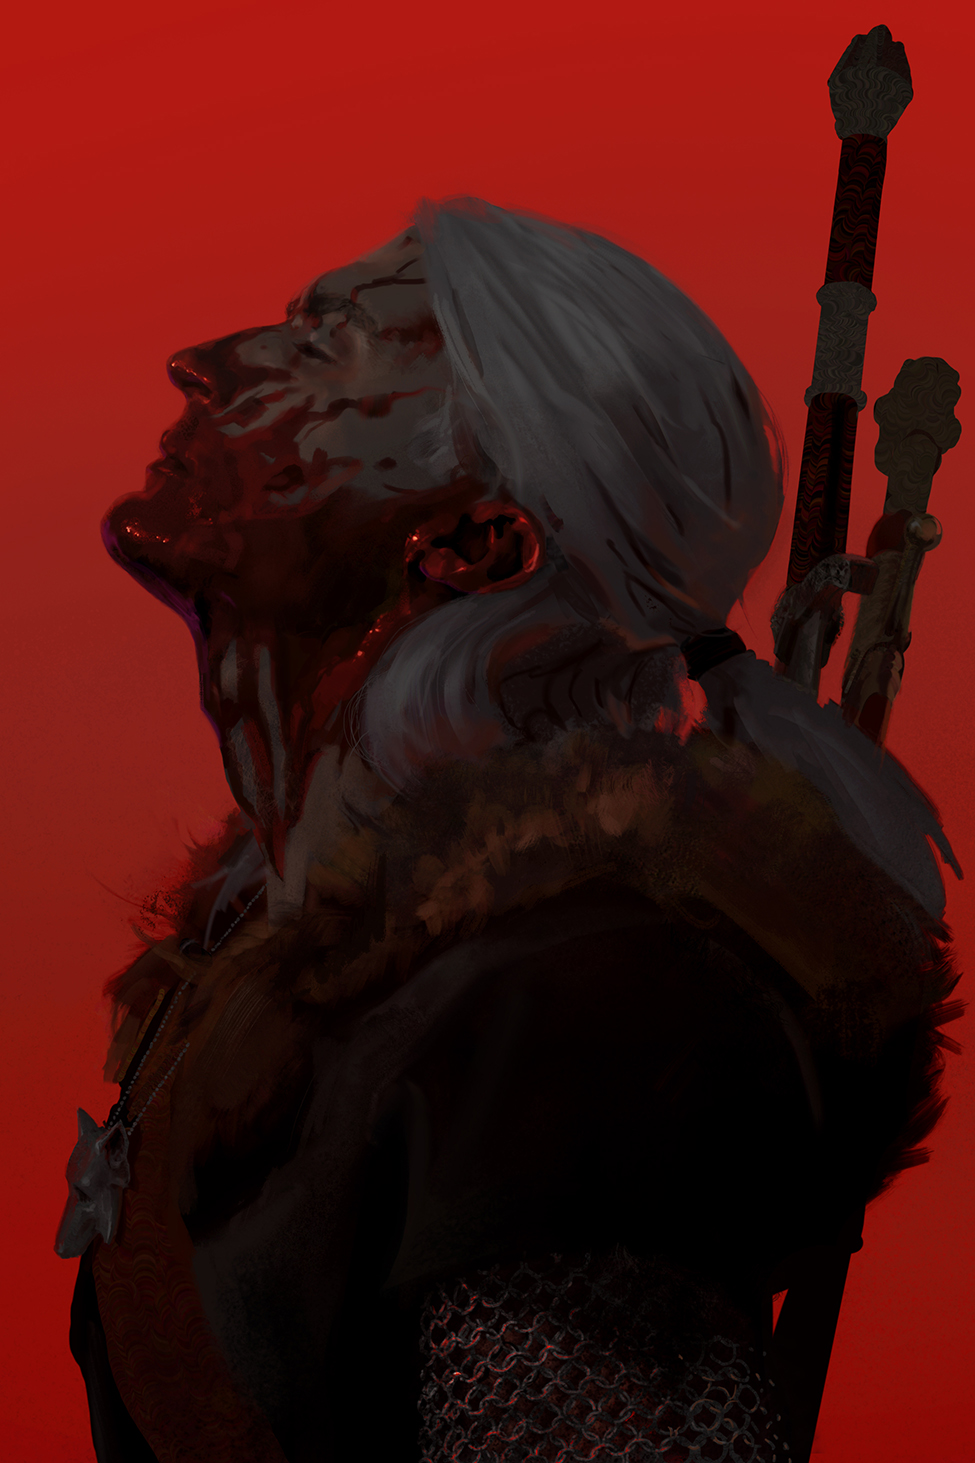
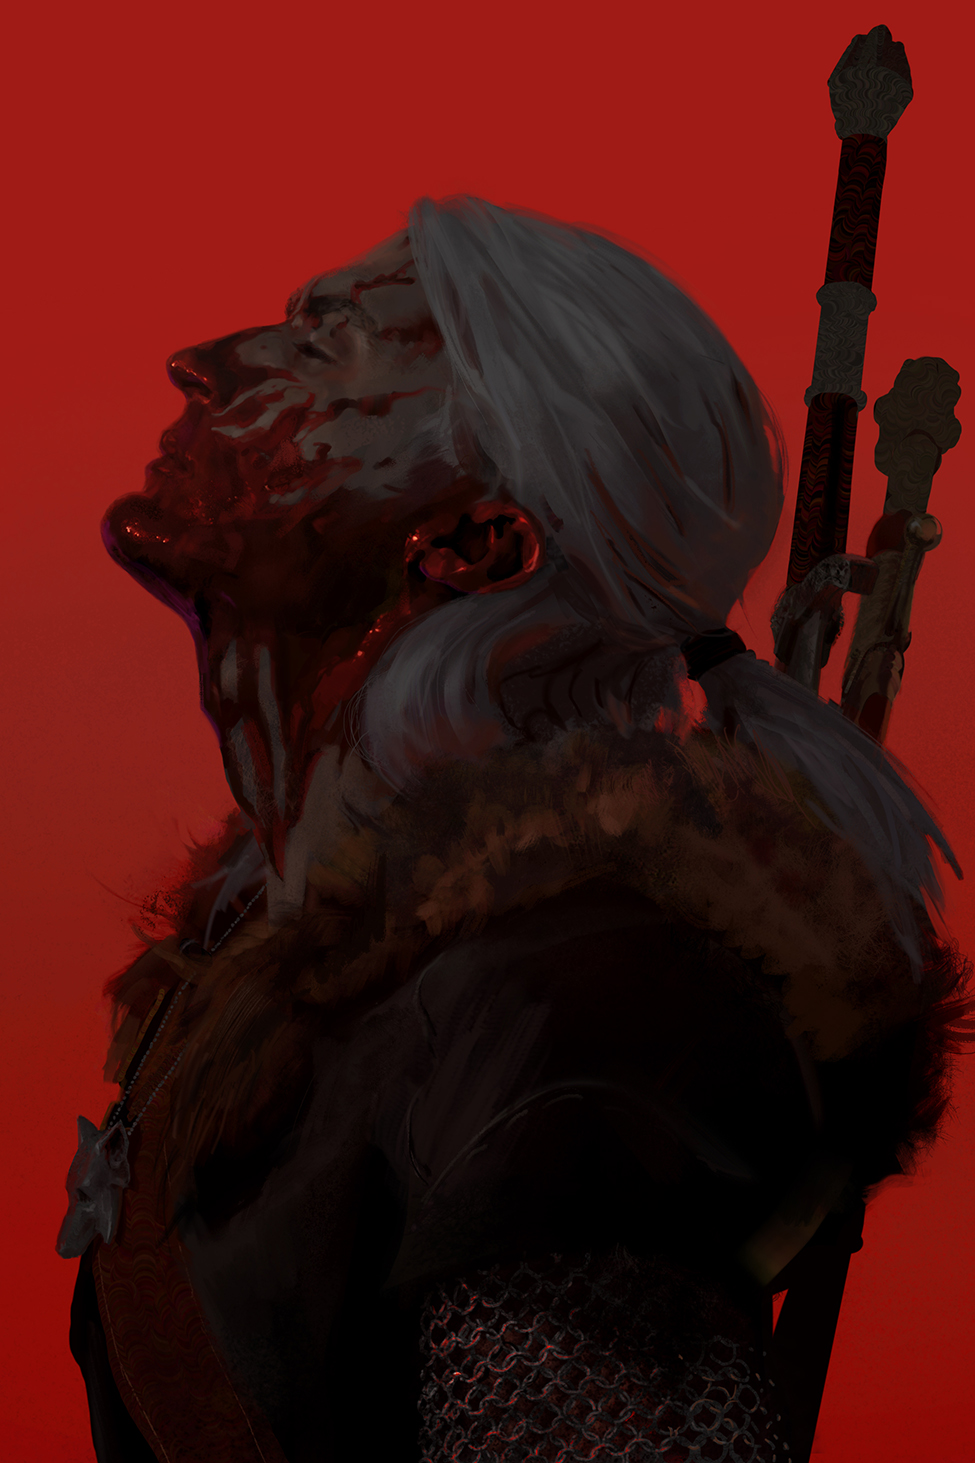
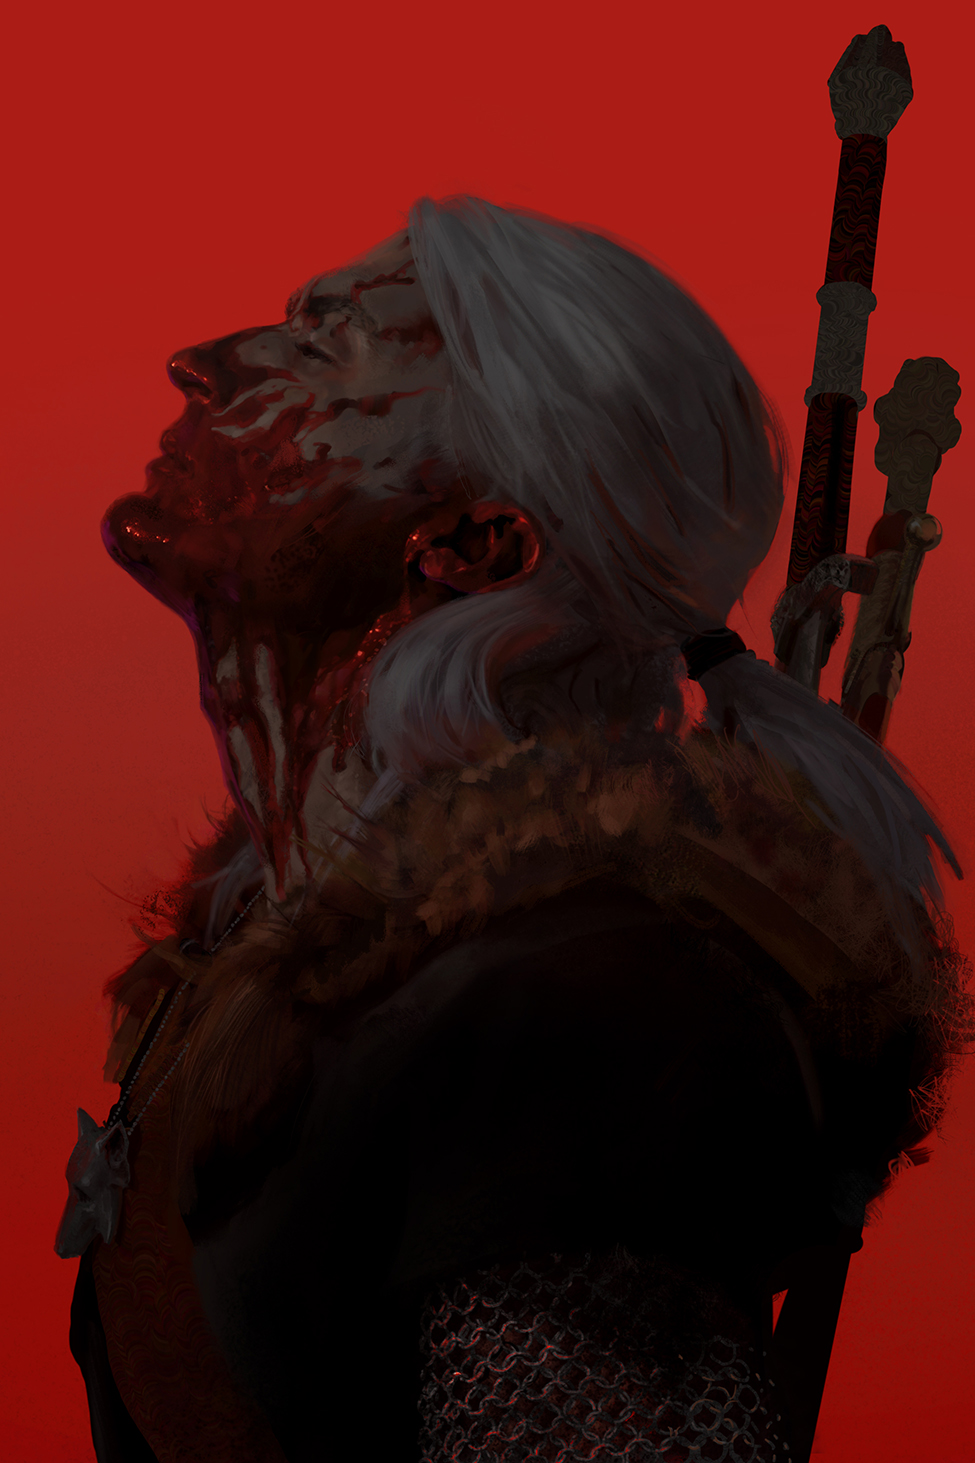
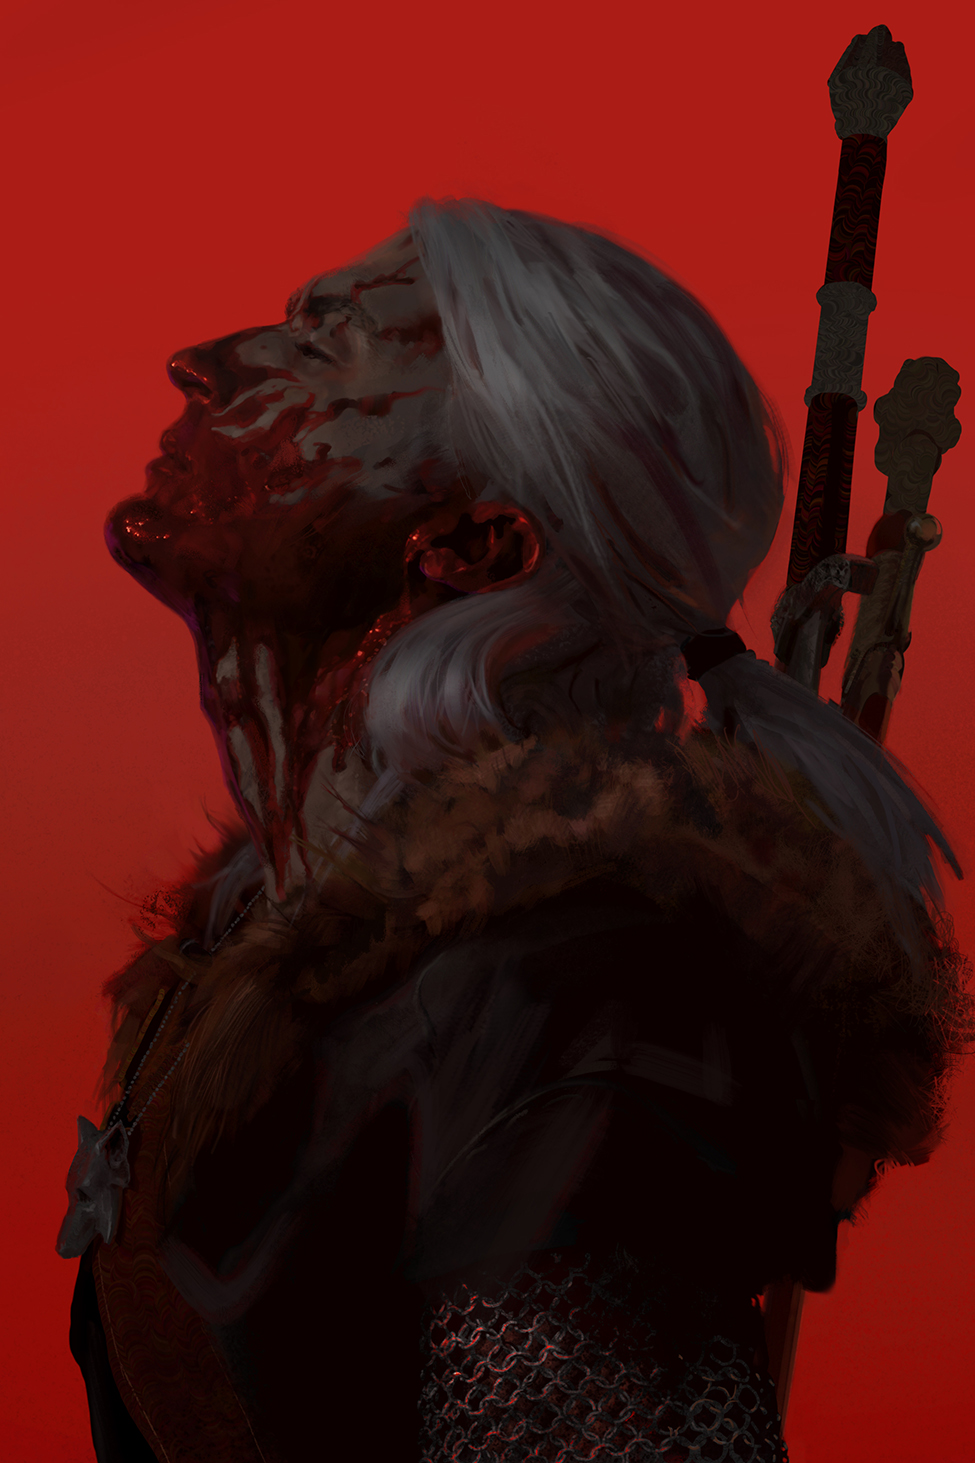
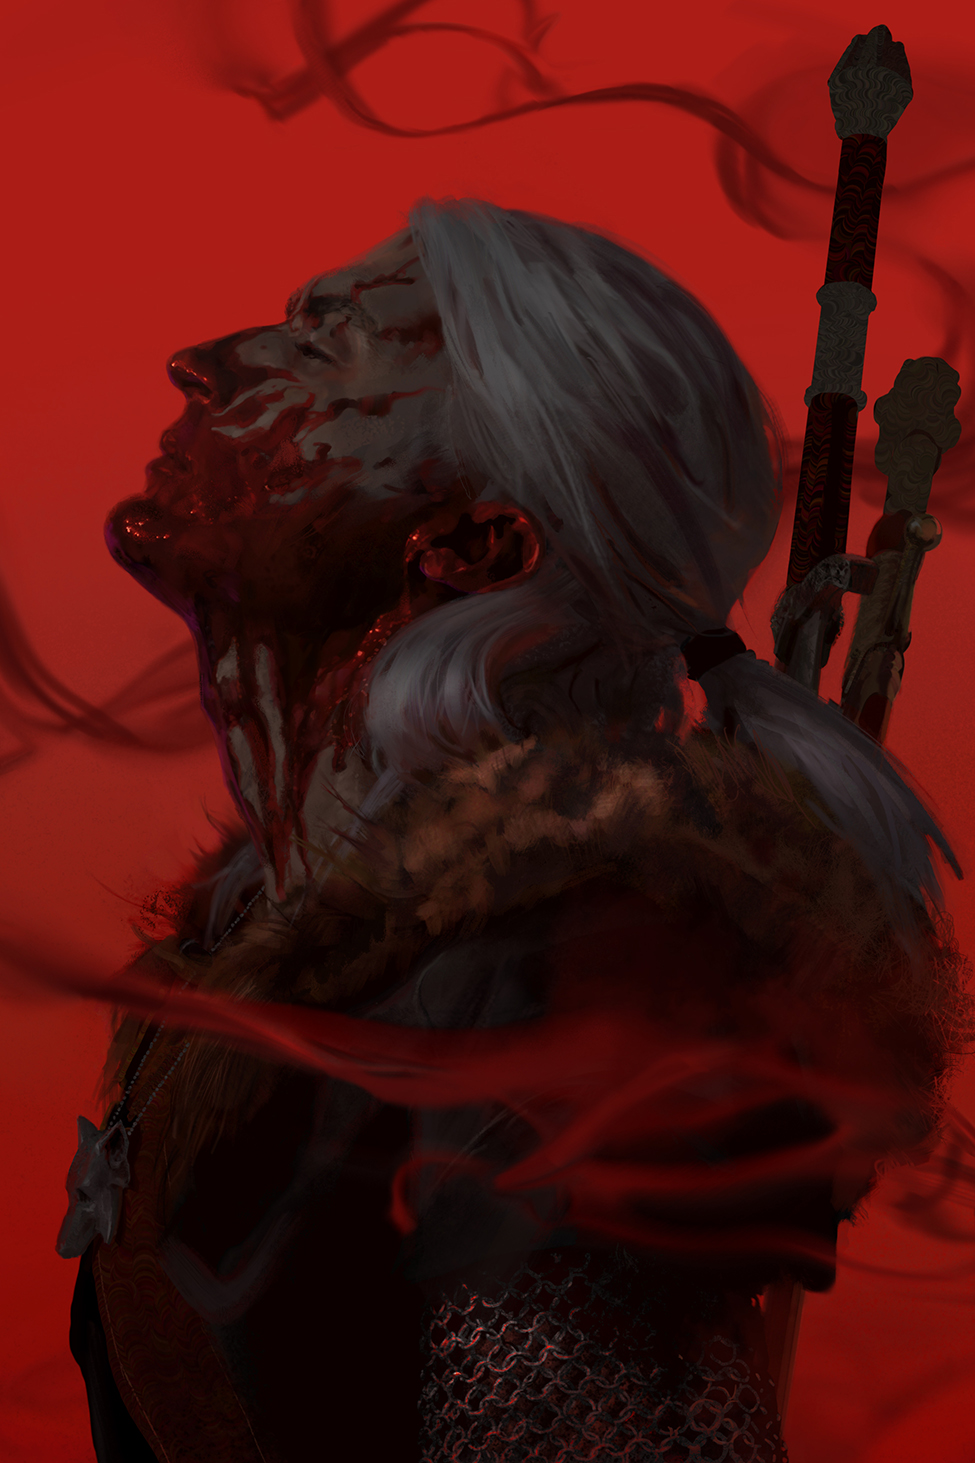
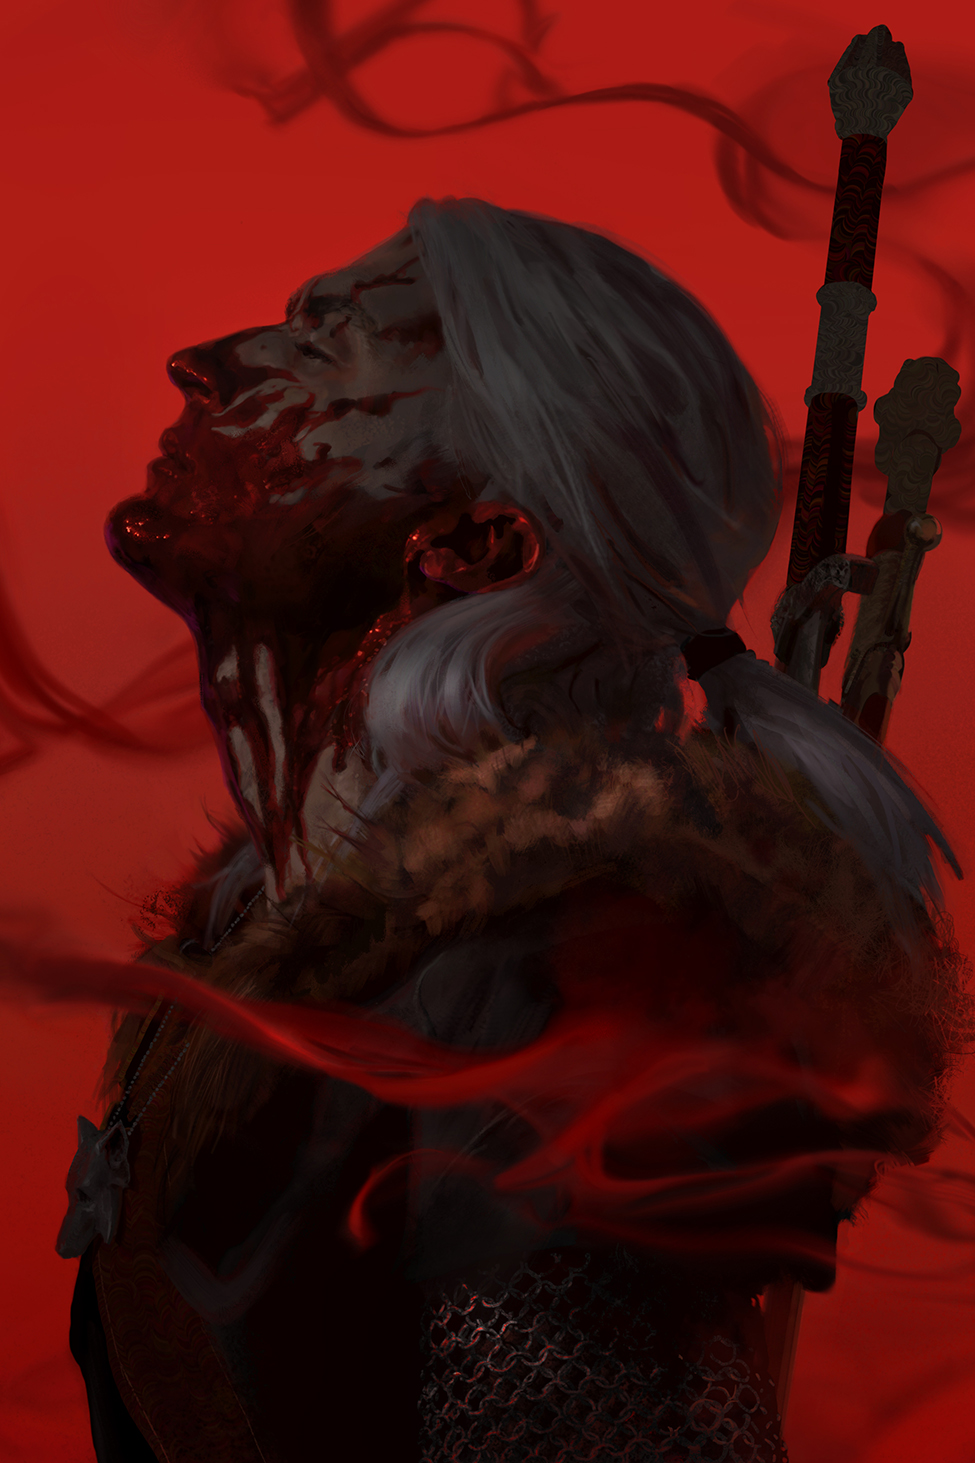
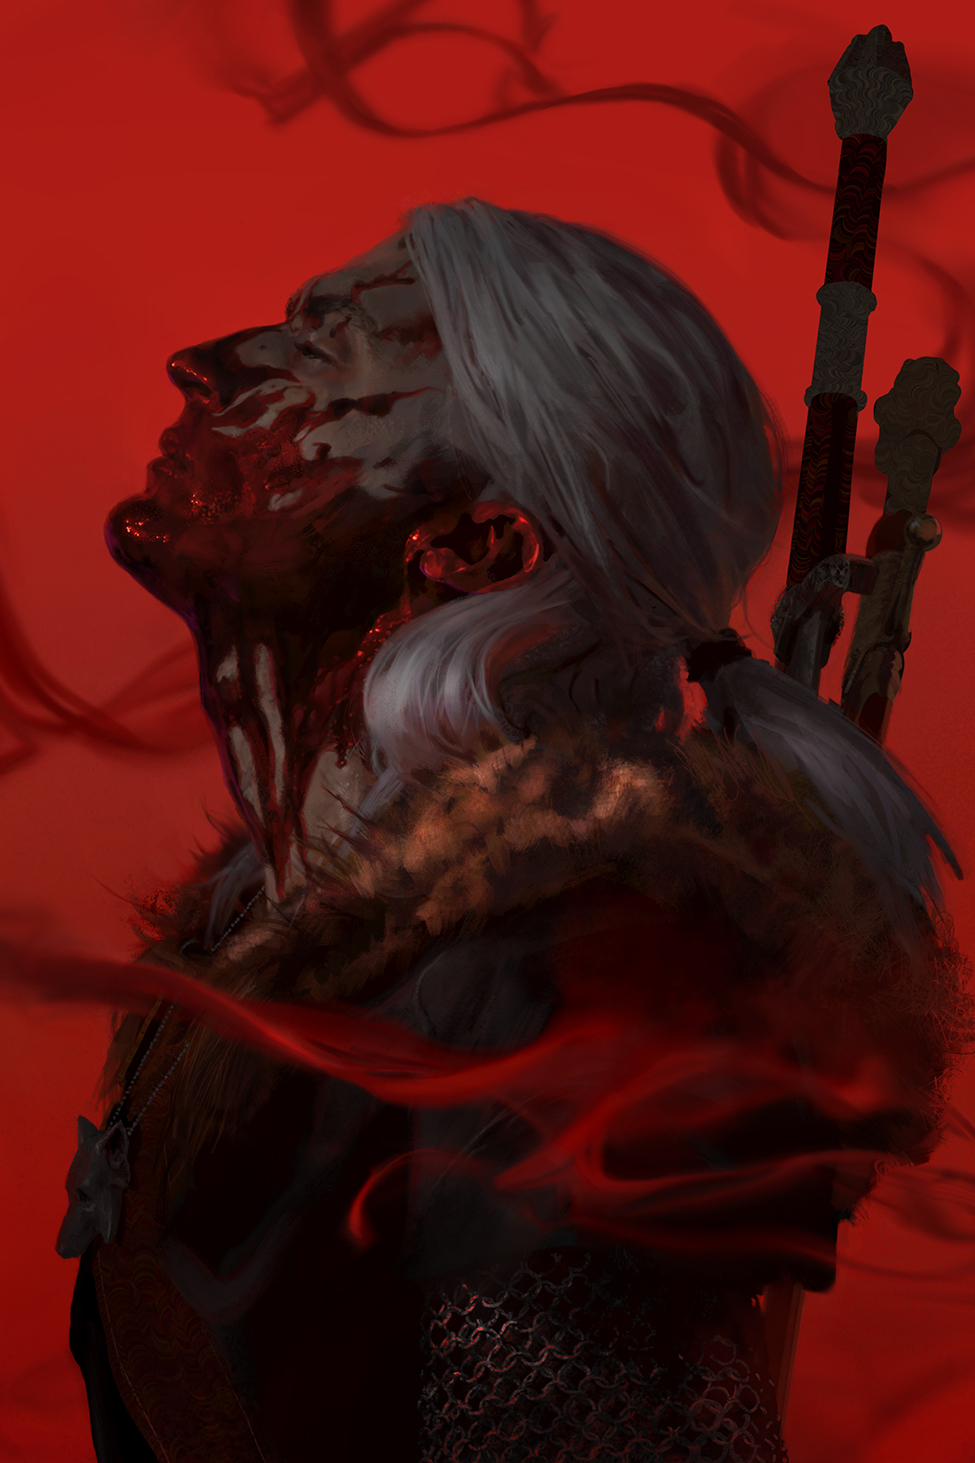
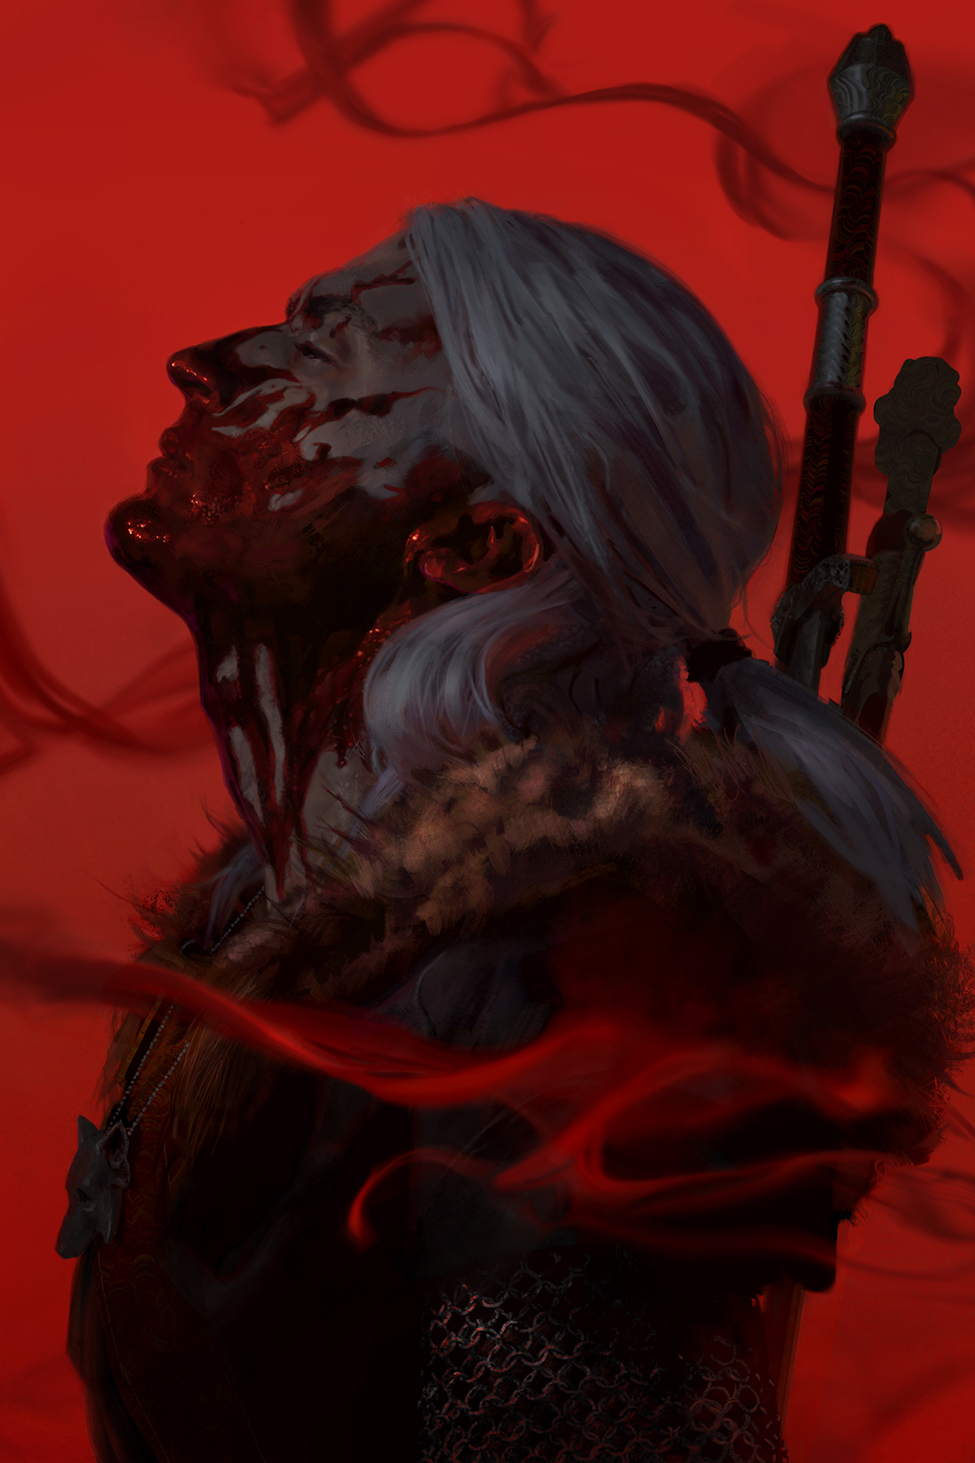
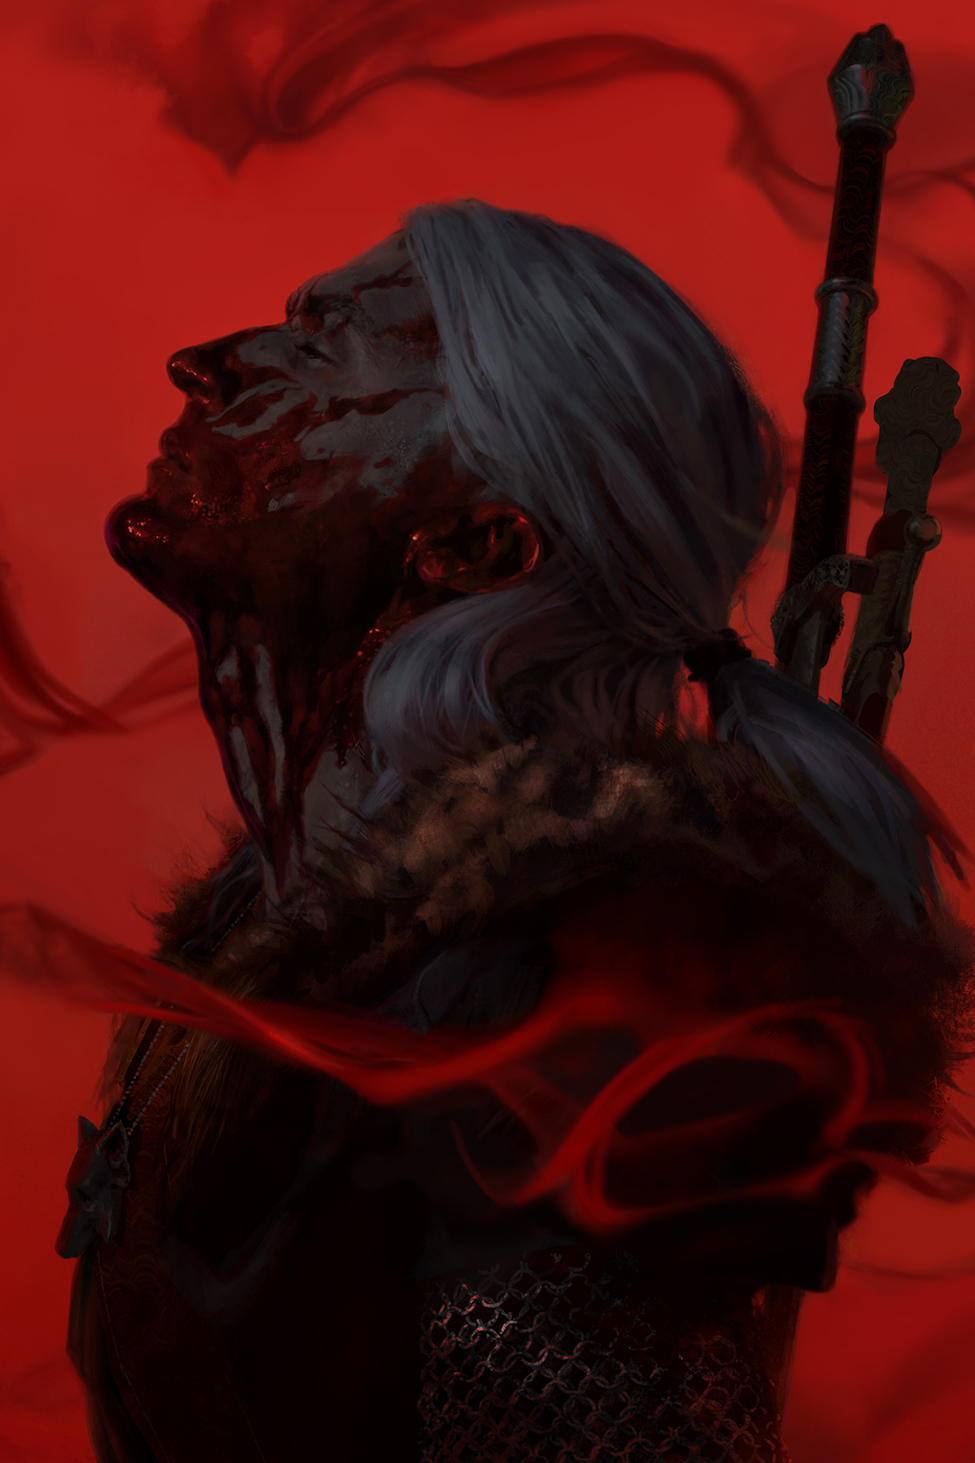
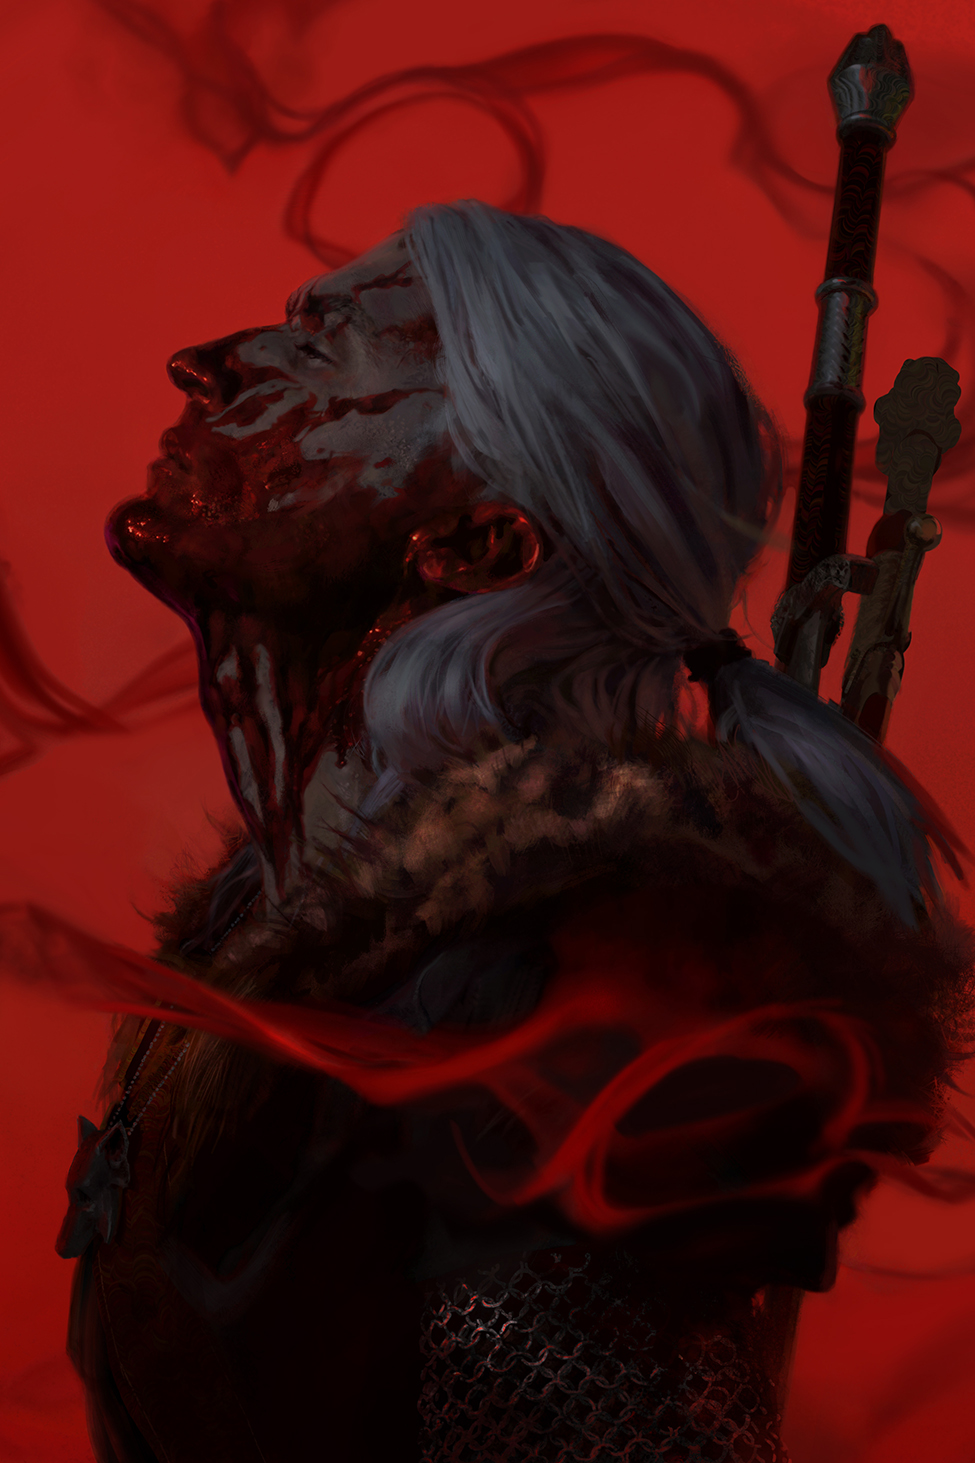
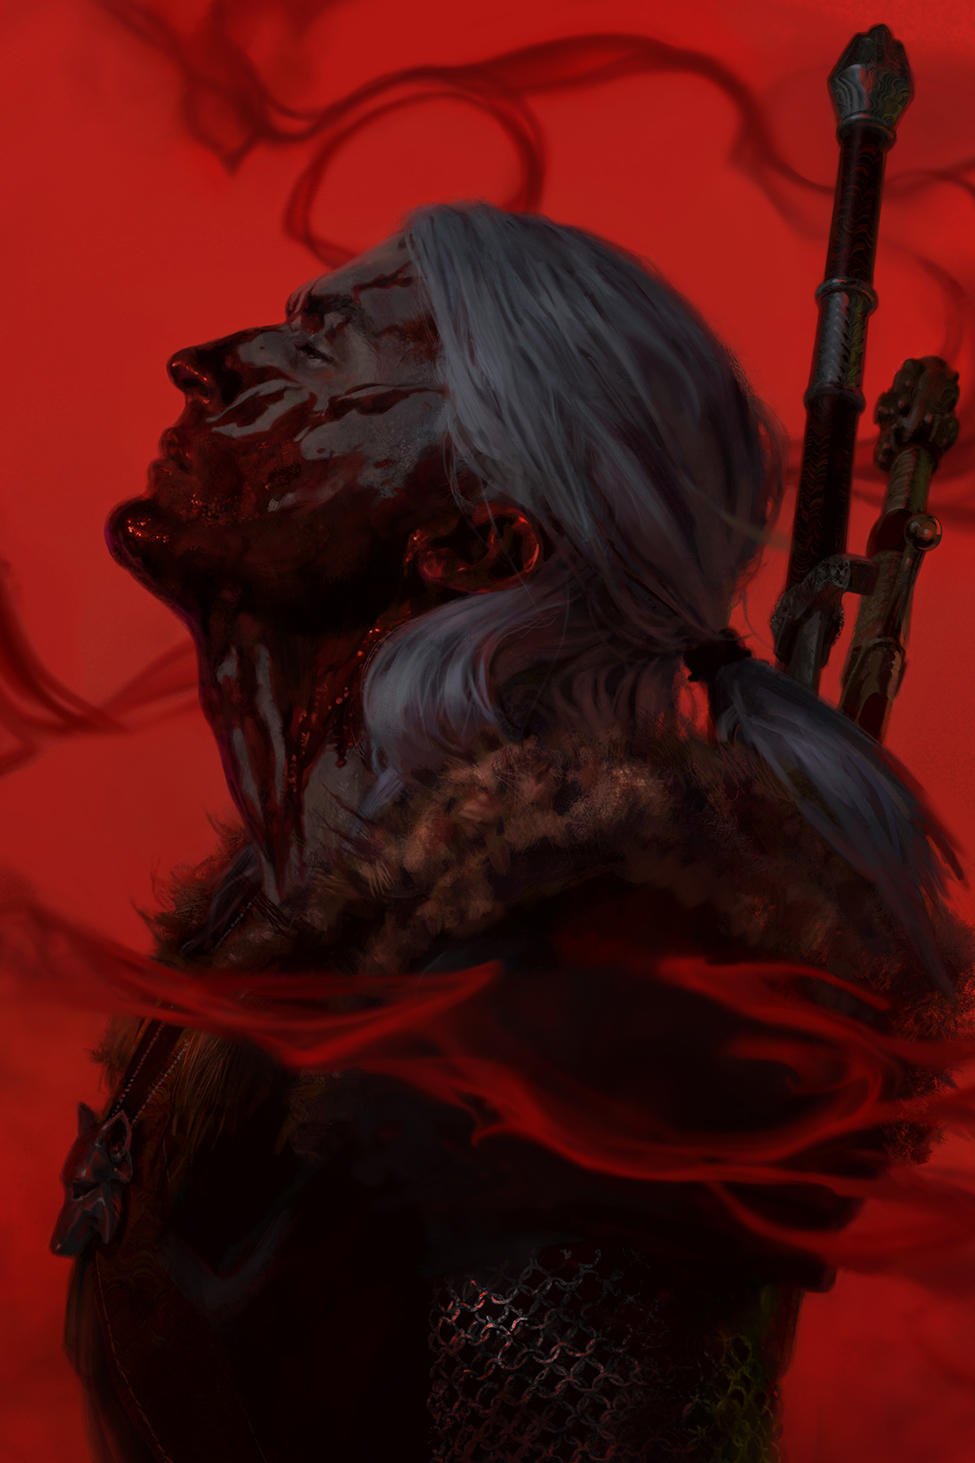
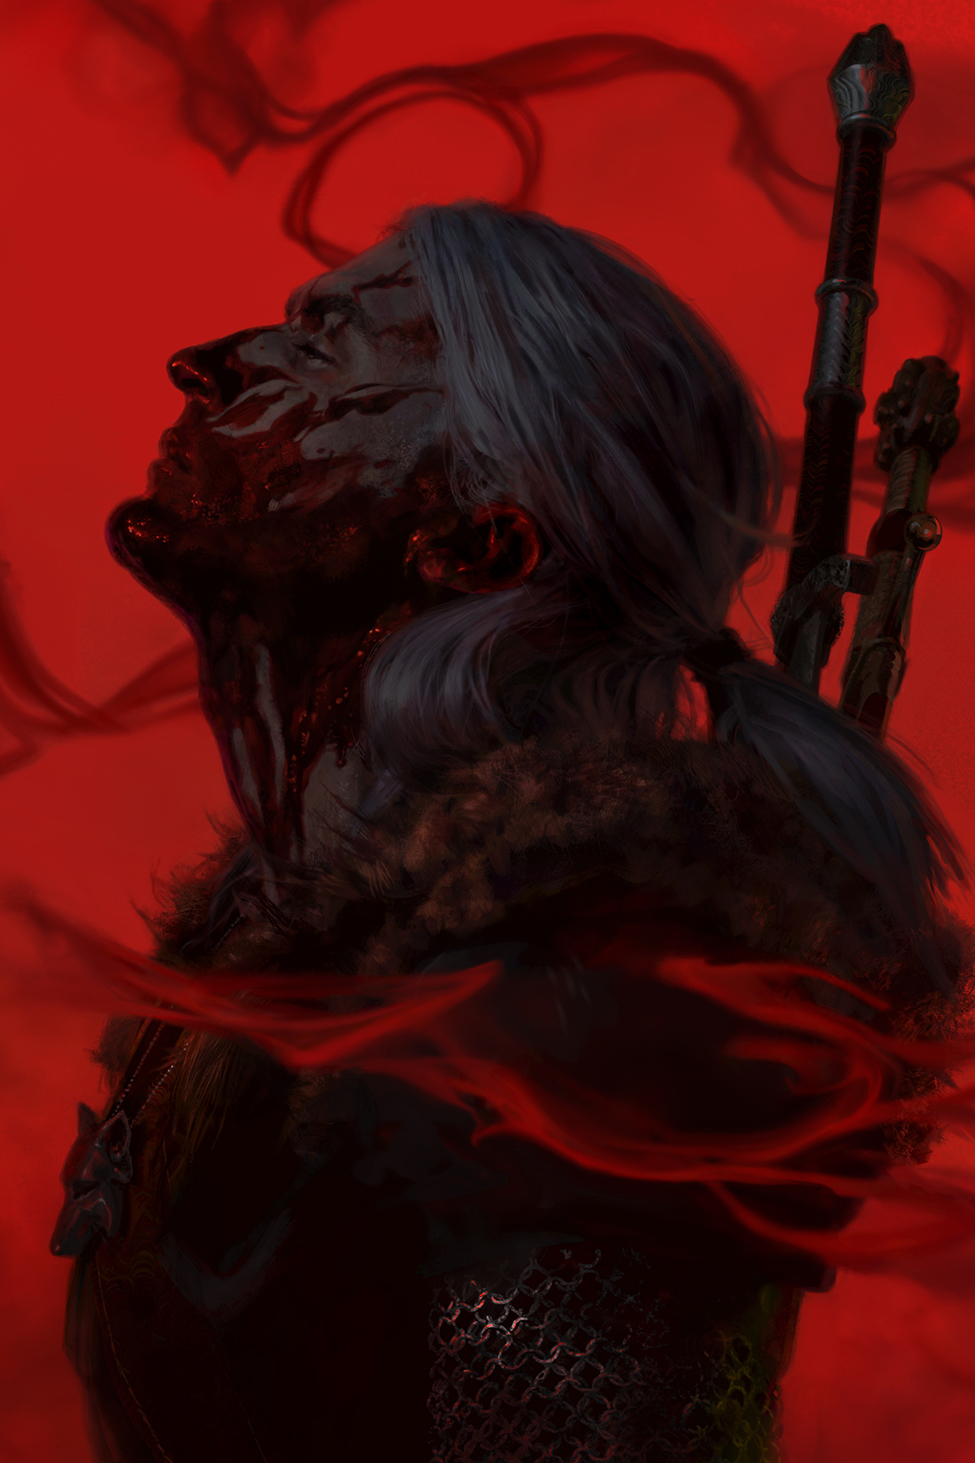
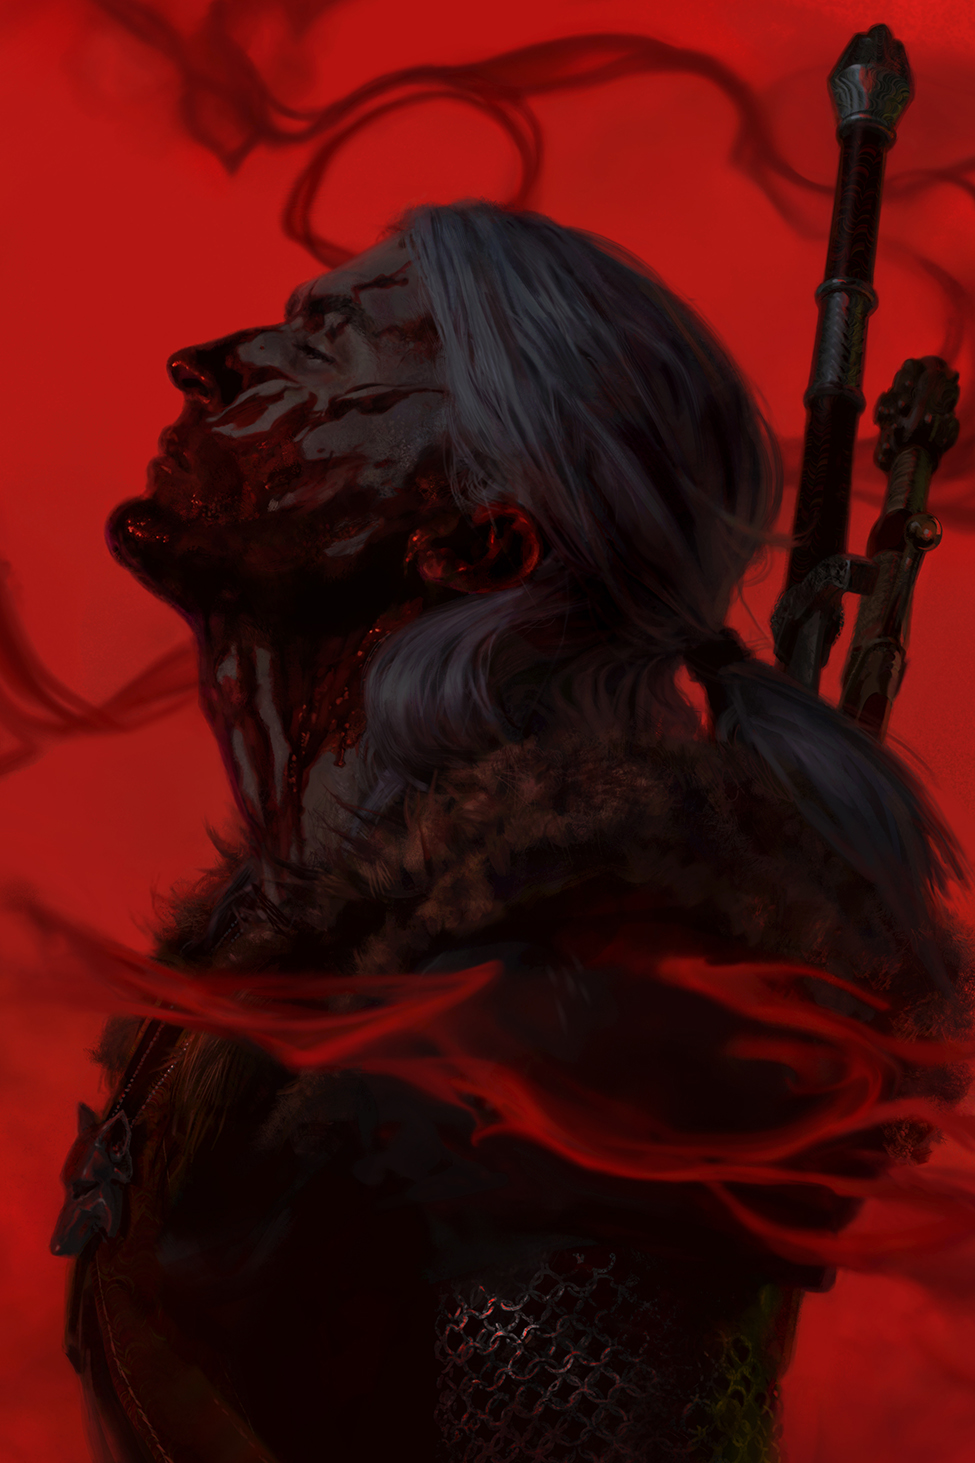
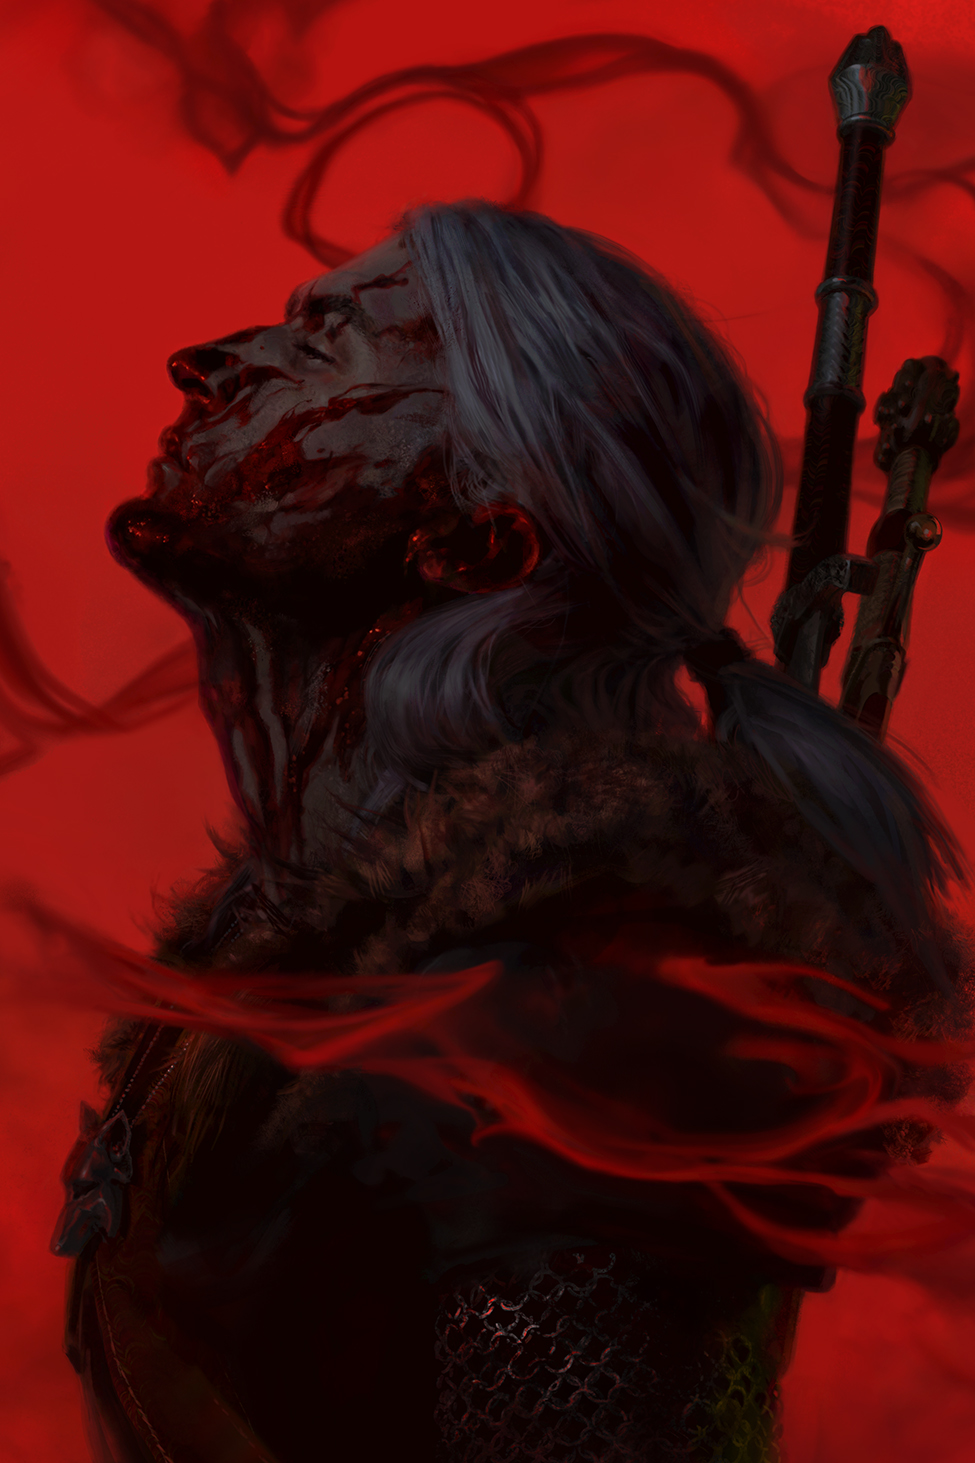
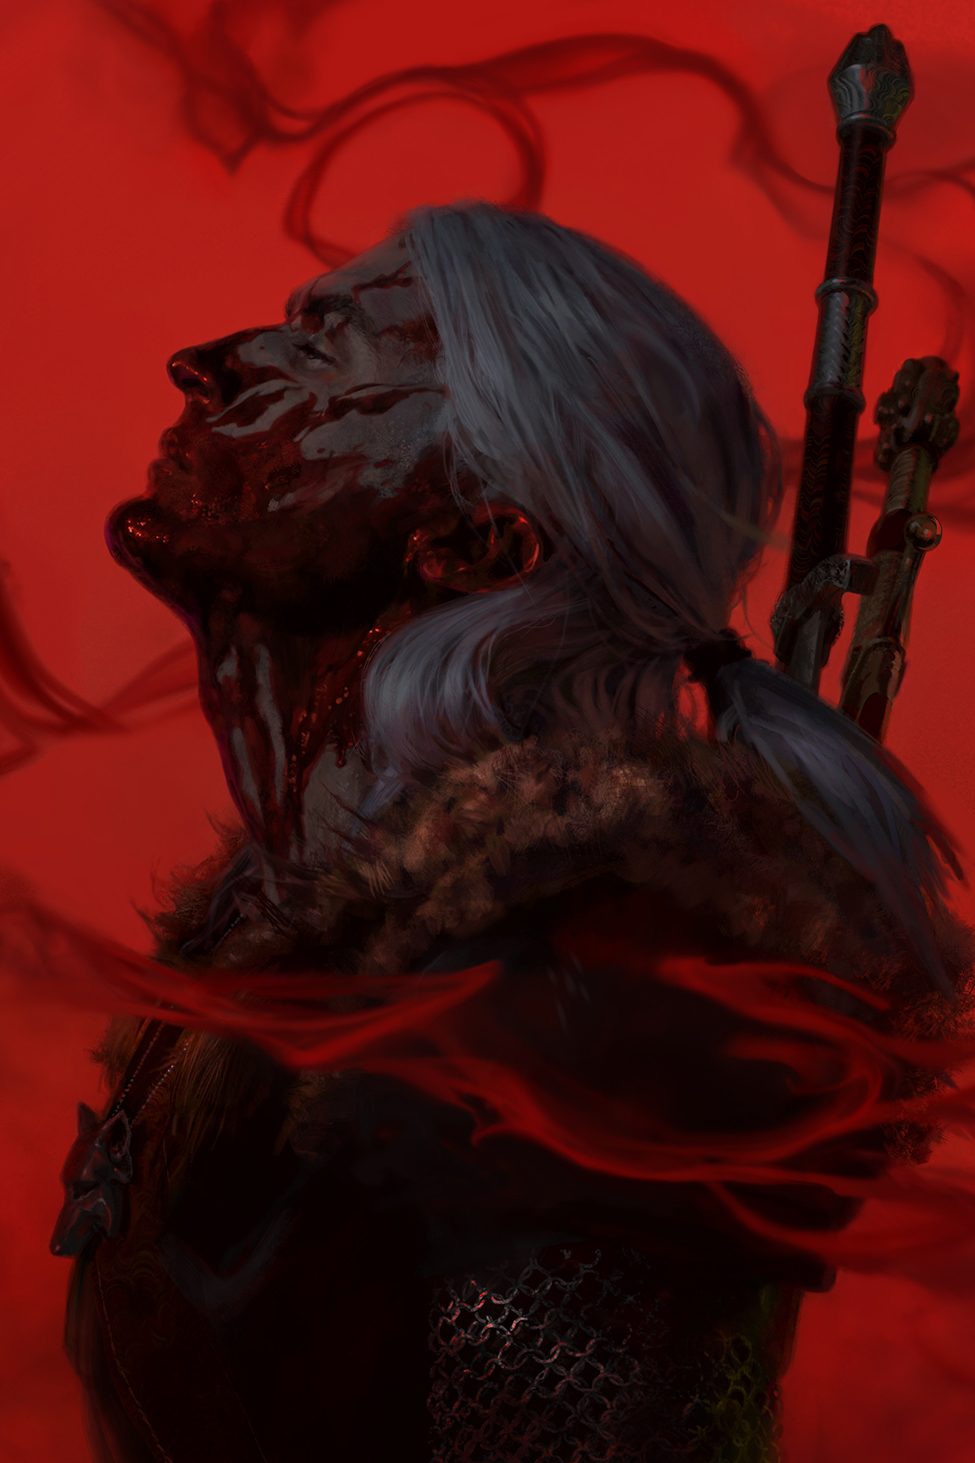
I think the easiest way to look at the final painting progression is to just flip through the jpegs at the bottom of the post; they’re in order. I uploaded a lot more “stages” of the work than usual this time around, to help illustrate the points I want to talk about below. So maybe check them out, then read this, then go over them one more time and see if you can spot further examples of what I’m talking about than the ones I mention.
Let me just start by saying: this painting is red. Duh, right? But no, this painting is FUCKING RED AS SHIT, MAN. The reason that matters is that looking at a finished jpeg of a red painting and painting an all-red painting, with red light from a bright screen shooting into your eyes for 40 hours, are wildly different experiences. The longer we look at any color, the more our eye acclimates to that environment and compensates against it. So basically, after about 5 minutes of working on this I’d go blind. I couldn’t gauge the key properly, and commensurately you’ll notice a LOT of finnicky little key adjustments (key, for the unfamiliar, meaning simply: the proportions and arrangements of values. i.e. how light is the light, and how dark are the shadows, and how do they compare to one another? In which of them is there more detail?). So one of the most important aspects of this process was getting up for regular breaks to reset my eyes. I’m a big proponent of breaks (I even wrote an article about how great they are), but here they were crucial. Honestly, I could have taken about 200% MORE breaks and that still wouldn’t have been too many.
The breaks were also useful for reinforcing an idea I’ve been playing with: “non-linear painting.”
Often when we see a simplified “Sketch to Final” process progression online, we get the idea that painting is a linear process (Tweets from Lixin Yin, who is infamous for posting something like this with the caption “Sketch/Final,” come to mind). Maybe the painter who posts the process images doesn’t say that it’s a direct process, but we’re sort of predisposed towards ideas of linear progress as humans, and since we don’t see all the back-and-forth and agony, we assume there wasn’t any. This can be a big mistake. I know, because it’s one I still make constantly when I’m not on top of my game. When I expect to make progress from the things I try, I can easily become discouraged if it goes “badly.”
But in truth, painting is not about just going along in a straight line. We have to be willing to retread the same ground over and over, looking not for “more” marks, but for the right marks. Painting does not reward incredible effort in just one direction; it only rewards correctness. This is because the context of each painting is different. The right marks in shadow will be wrong in a painting that depicts bright light.
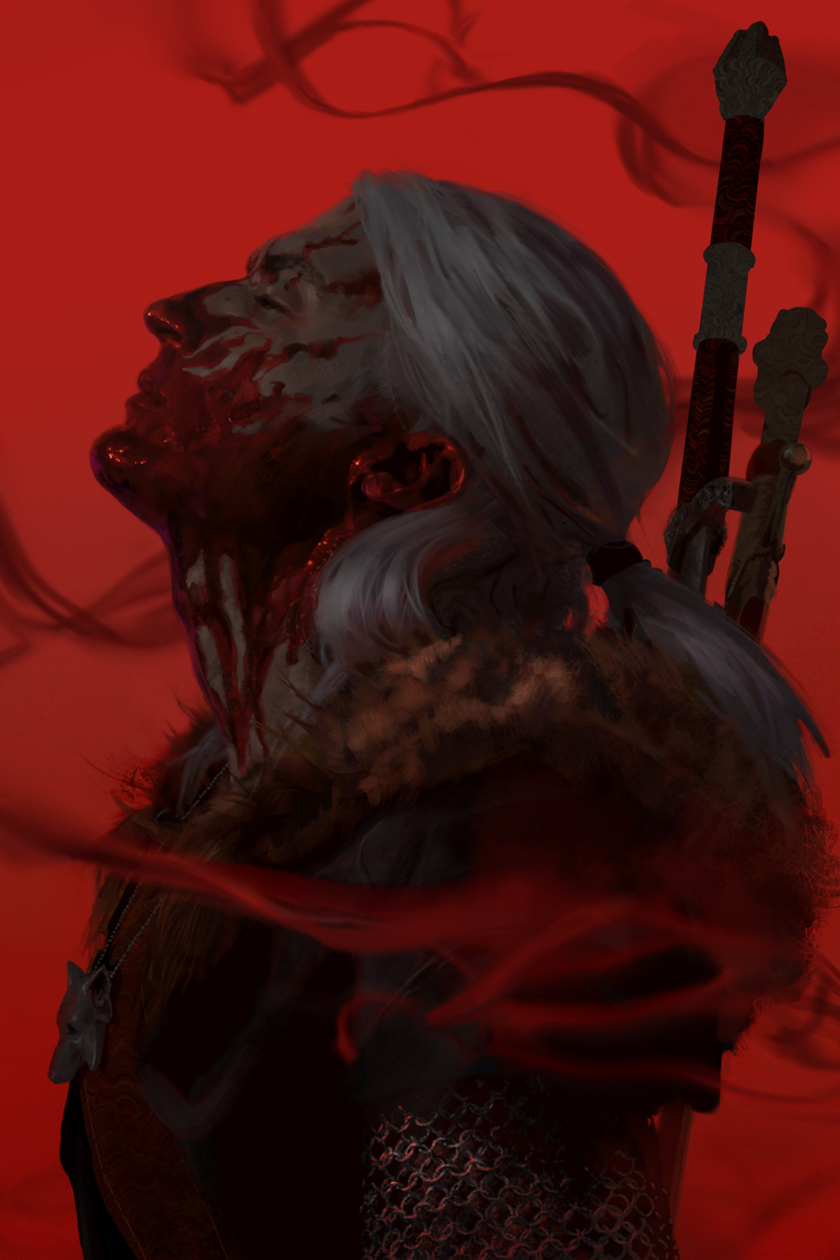
We have to adopt an approach that lets us find those “right marks.” Let me call your attention to the curls and loops of smoke moving throughout the image: I was changing them constantly. I would paint them once, and then come in the next day and think “man, those are just not doing what I want,” and I’d repaint them. Sometimes I would just modify them, but modifying is a very dangerous mindset to be in, so I’d try to get back to “painting mind” pretty quickly. Editing what’s there is seldom as powerful as putting down new marks.
Let’s talk about this in terms of writing for a little more clarity – we’re maybe too familiar with painting. In writing this article, there were often times I’d write a whole paragraph or two, and then feel I was way off on a tangent. Maybe I needed to add a third paragraph to clarify. But now somehow the whole article wasn’t going in the right direction.
Now replace “add another paragraph” with “render more.”
Right. The key is not to keep doing the same thing, but HARDER. The key is to delete the two offending paragraphs, re-focus on what I intend to say, and then write it again.
We can adopt this same approach as painters. We can stop thinking of our effort in a linear direction, and start thinking of each pass as an “attempt at finding the solution.” What stops us from re-painting areas is our fear. Our fear of the difficulty of painting. But if we want to number among the best (and I think in our heart of hearts, we all do), we must master our medium and the fundamentals, so that we can adopt this and other high-level approaches. Drawing in ink and painting in watercolor are perhaps the only artistic examples I can think of where this method doesn’t apply to parts of a painting. In those cases, such thought must be applied to the entirety of the work. This is why great drawings fall out of Kim Jung Gi like shits from a monkey.
(For a really extreme example of non-linear painting, watch Alexander Kanevsky showcase a painting progression of his own in the middle of this amazing talk. The progression starts around 21:00, if the video link doesn’t take you straight to that point. For even more insight, consider watching the whole video.)
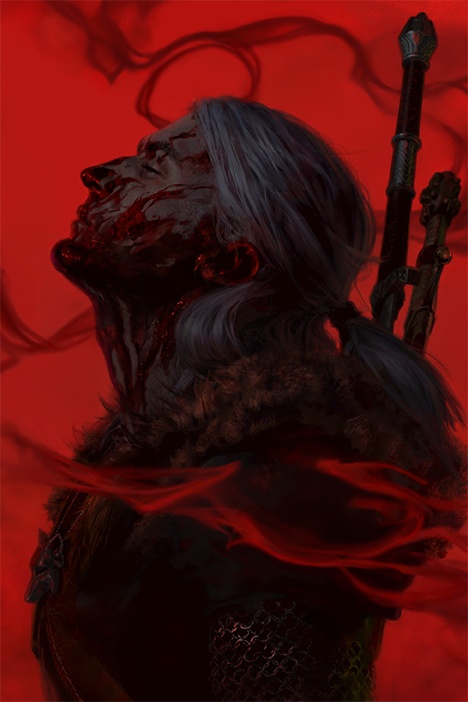
The final painting, after a number of subtly different approaches to the smoke had been tried. The key of the painting went through even more iterations due to my constant “red-blindness.”
That’s how a lot of this painting went. Because I had a tight sketch (and damn solid reference – almost too solid), you can see that the overall structure of the painting wasn’t changing too much as I “progressed.” Instead, I would come back each day (or hour, or twenty minutes, or however often I remembered to take a break) and filter through new options by painting them, until the whole thing felt right together.
Process shots
_______________________________________________________________
Cheers for now (and enjoy the release of WITCHER SEASON 2) (and still don’t get eaten),
Tommy







Recent Comments