Started trying to make some new work this past week. It’s Been difficult the last couple of years to find much time for paintings between work and family. Turns out four kids is the exact amount required for one to not be able to get much personal work done.
But I tried this past week, and it felt so good to push paint around. Had to kind of burn the ol midnight oil, but it was worth the sleep deprivation to get that thrill from making something I really wanted to make.
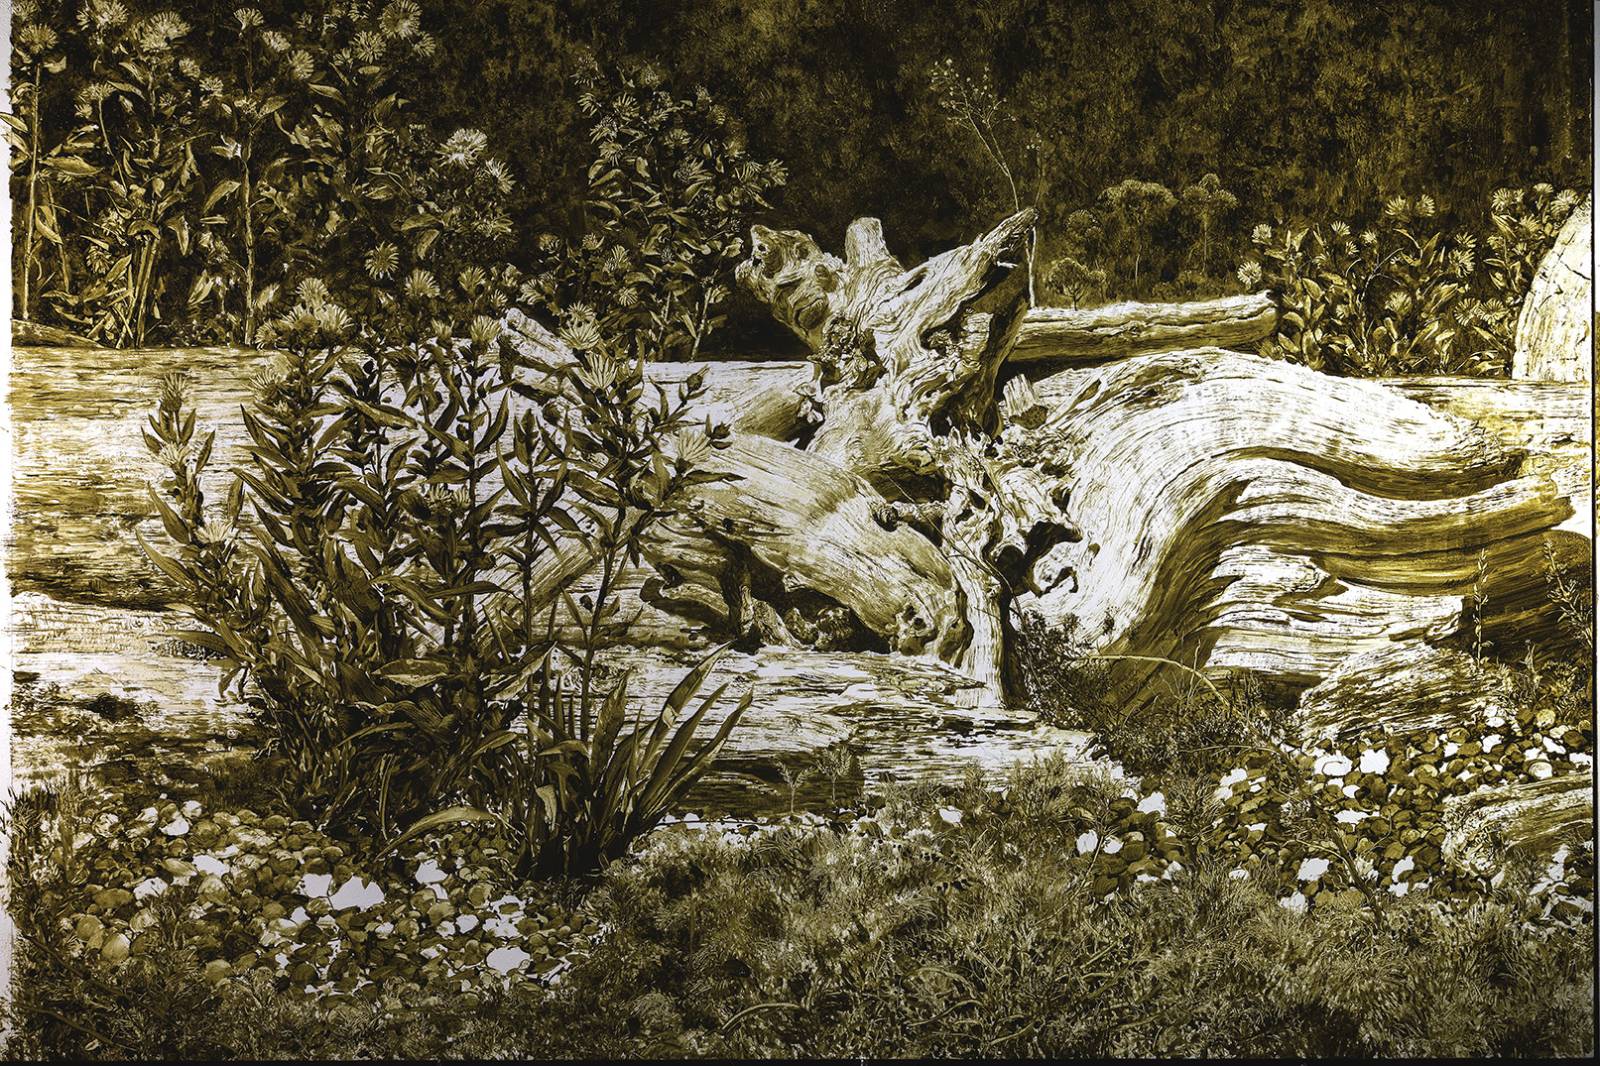
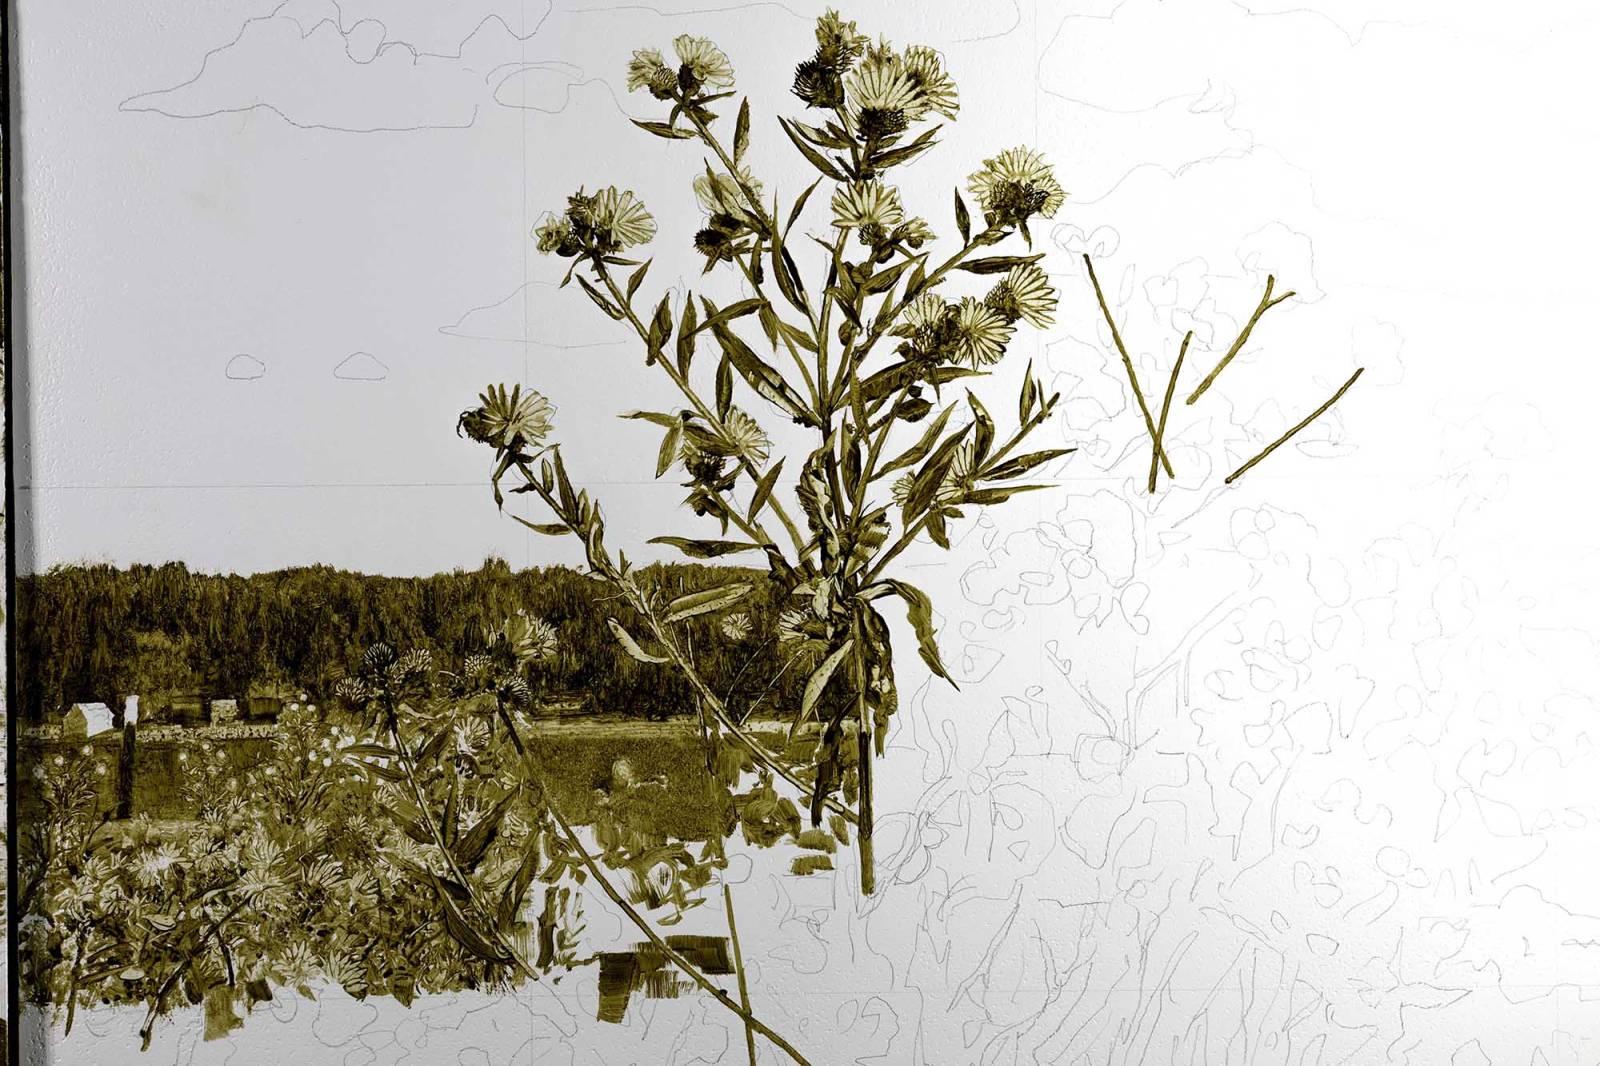
Got inspired last time we were out at the beach. This time of year, there are all these little yellow flowers that bloom on and around on the berms leading to the water. It was a sunny day and the colors were popping and it just hit me that I should paint a couple pieces to capture this scenario. Figured since its gray and cold like 9 months out of the year, it would be kind of nice to commemorate the rare moment when it’s not, so we can stare at it all winter longing for those summer days. here’s where am at a little over a week in:
Haven’t started paintings this size in a while. Did a beach scene earlier this year, but it was much smaller and its just kind of a different experience. Wanted to do these a bit larger in order to be able to get into the textures of things a little more. Painting small is fun but it can sometimes limit how I can approach certain stuff because I’m heavy handed by nature.
I like starting these with a light contour drawing that I will grid draw from my reference. I’m a lazy drawer and really only scribble the minimal amount necessary. Don’t do any rendering, draw with a 4h pencil, and roll the whole thing out with a kneaded eraser at the end because I just want enough to show me where the paint goes. this first pass, my aim is to produce a fairly clean monochrome underpainting which helps me to establish a few things:
A) Get the drawing solved. It’s almost more drawing than painting at this stage. I work very thin, and subtract almost as much as I add with the over arching goal always to solve the drawing part to a point where I know I wont be fighting the drawing on anything later on.
B) The main values are laid in. Again much like the drawing, I like to establish the value relationships in the beginning so its just kind of built into the subsequent stages. Value patterns are so important to the overall composition, its helpful to get this figured out early in the process so you know if it’s a stinker or not.
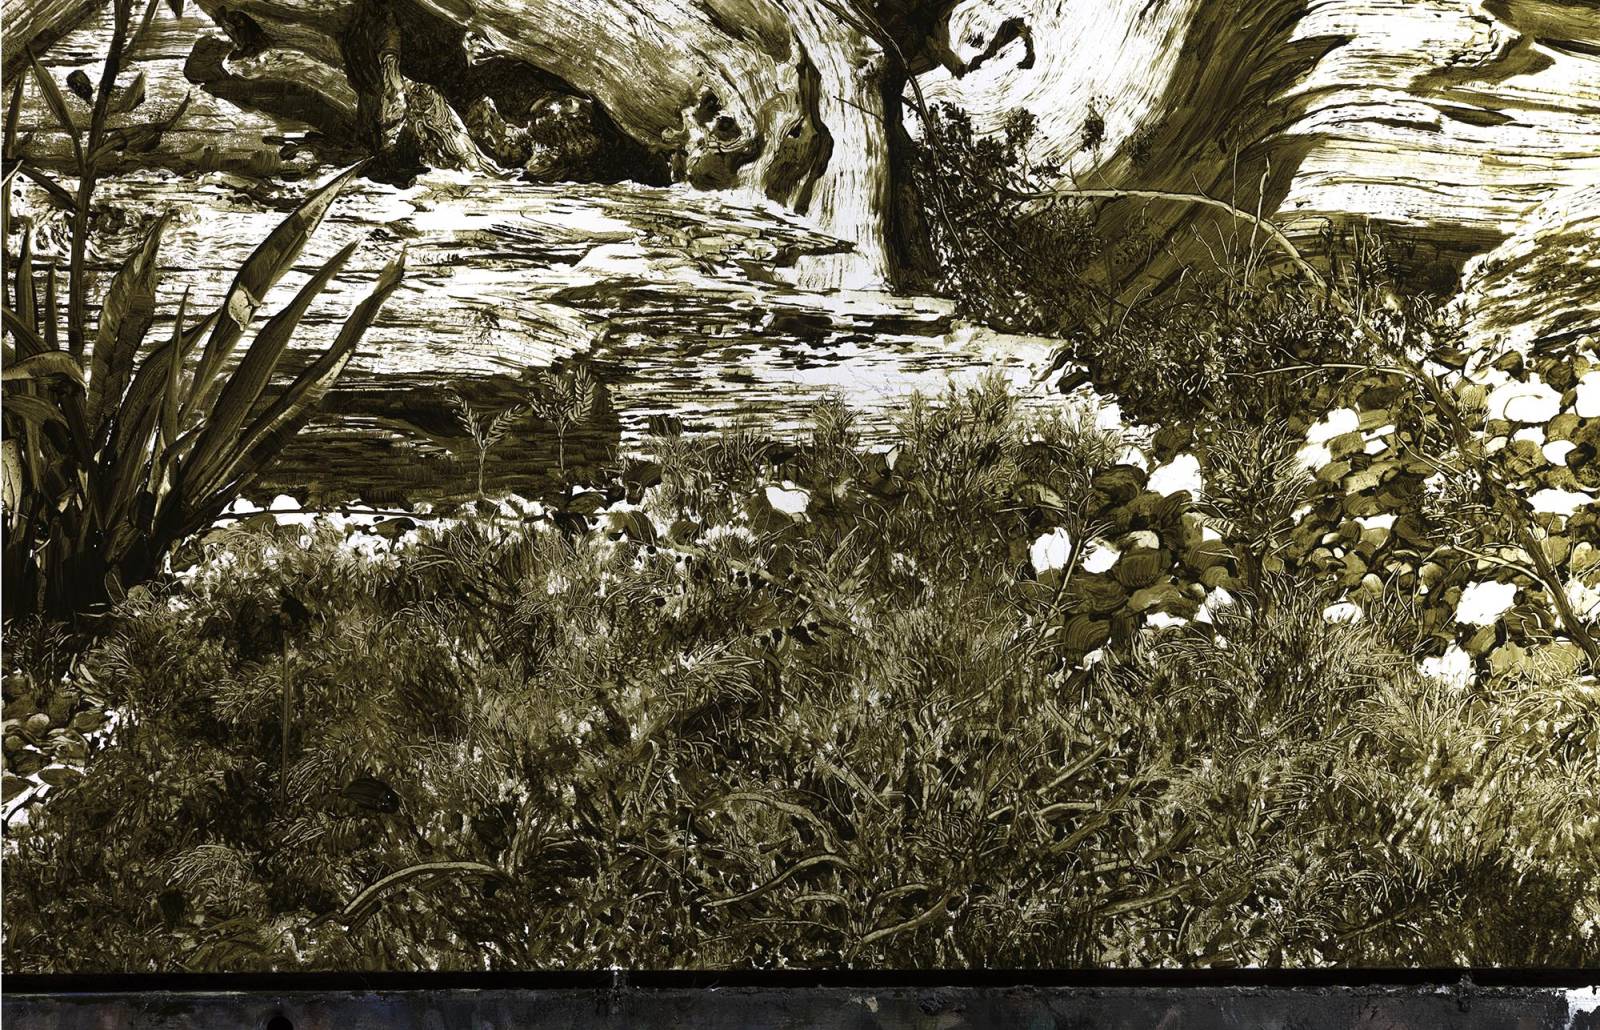
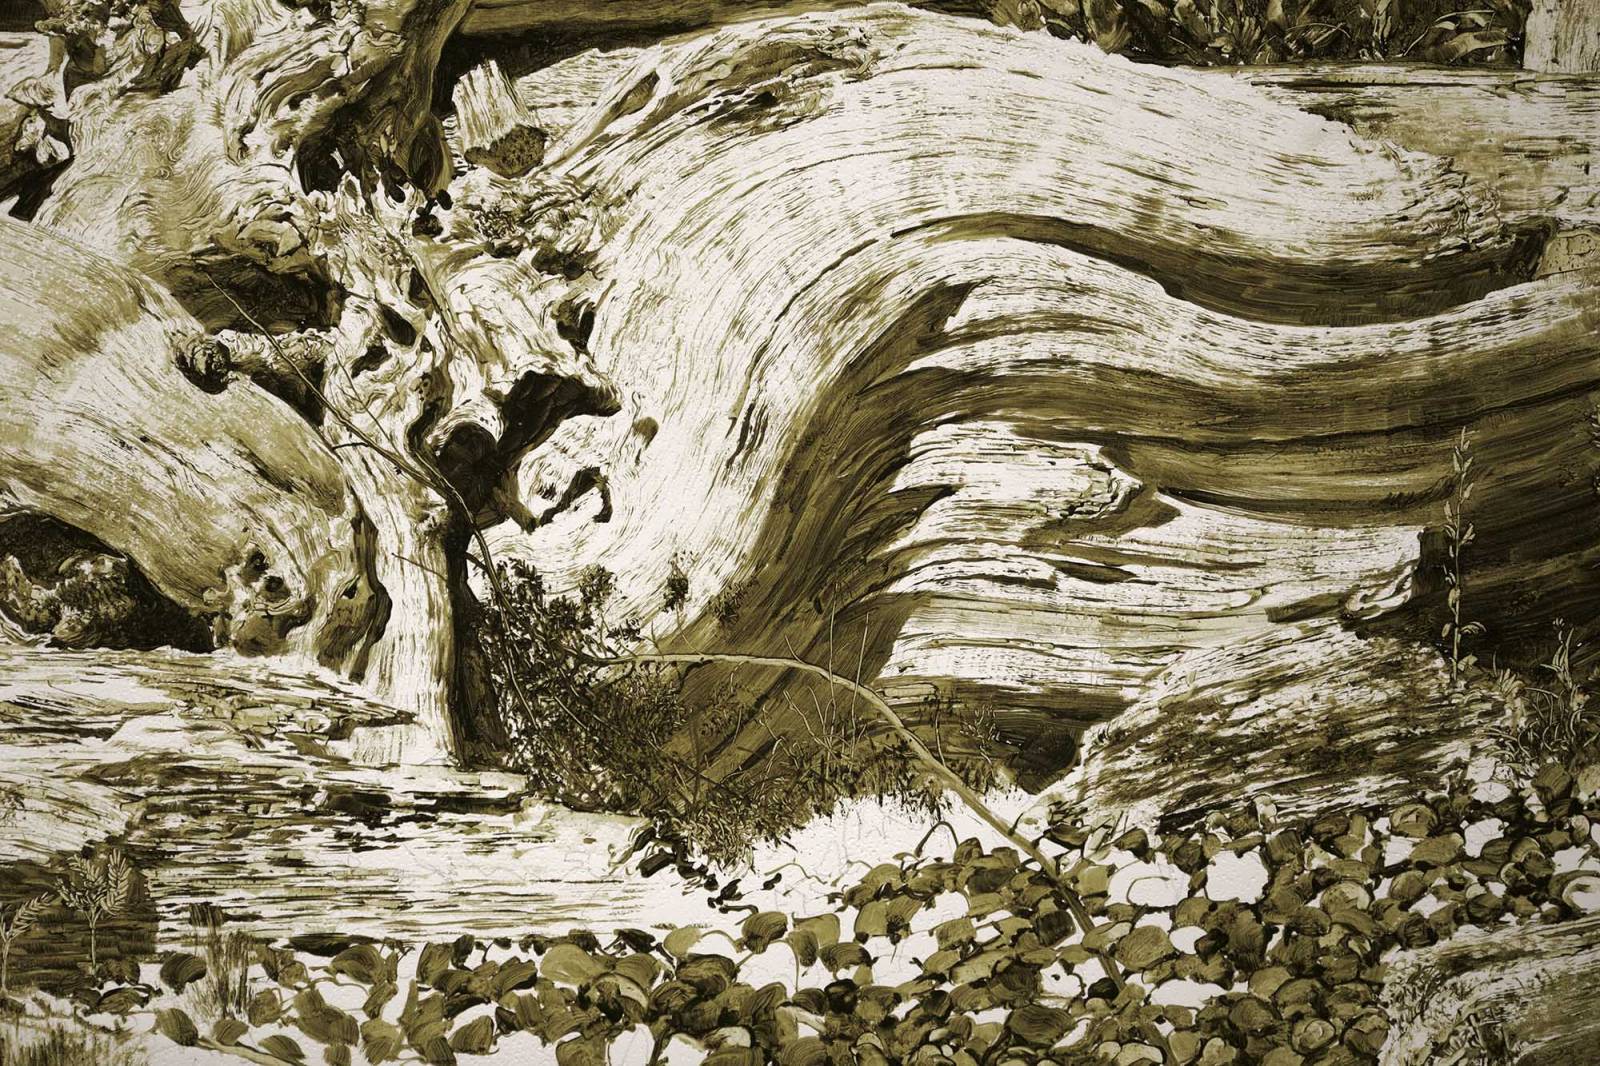
C) Textures! Its much easier to suggest surface textures working monochromatically. Also by working on a smooth white gessoes surface I can implement dry brush techniques that wouldn’t be as easy to make on a more heavily impastoed surface. Subtracting color from the initial stages allows you to concentrate strictly on the framework which I find particularly helpful with respect to textures.
I use all kinds of weird shit to paint with. Several silicon “color shapers” spatulas, sponges, brush handles, rags, my dogs tails…I’ve tried just about everything at this point because you never know what kind of mark you’re going to get when you drag it though the paint. I try not to “render” the textures too much, and rely more on abstraction and mark making. In fact if I catch myself form painting too much at this stage, I’ll often wipe it out and try something more abstract to solve it. I thin the paint with refined linseed oil, which I like because its slick but not too runny so it can hold textures well.
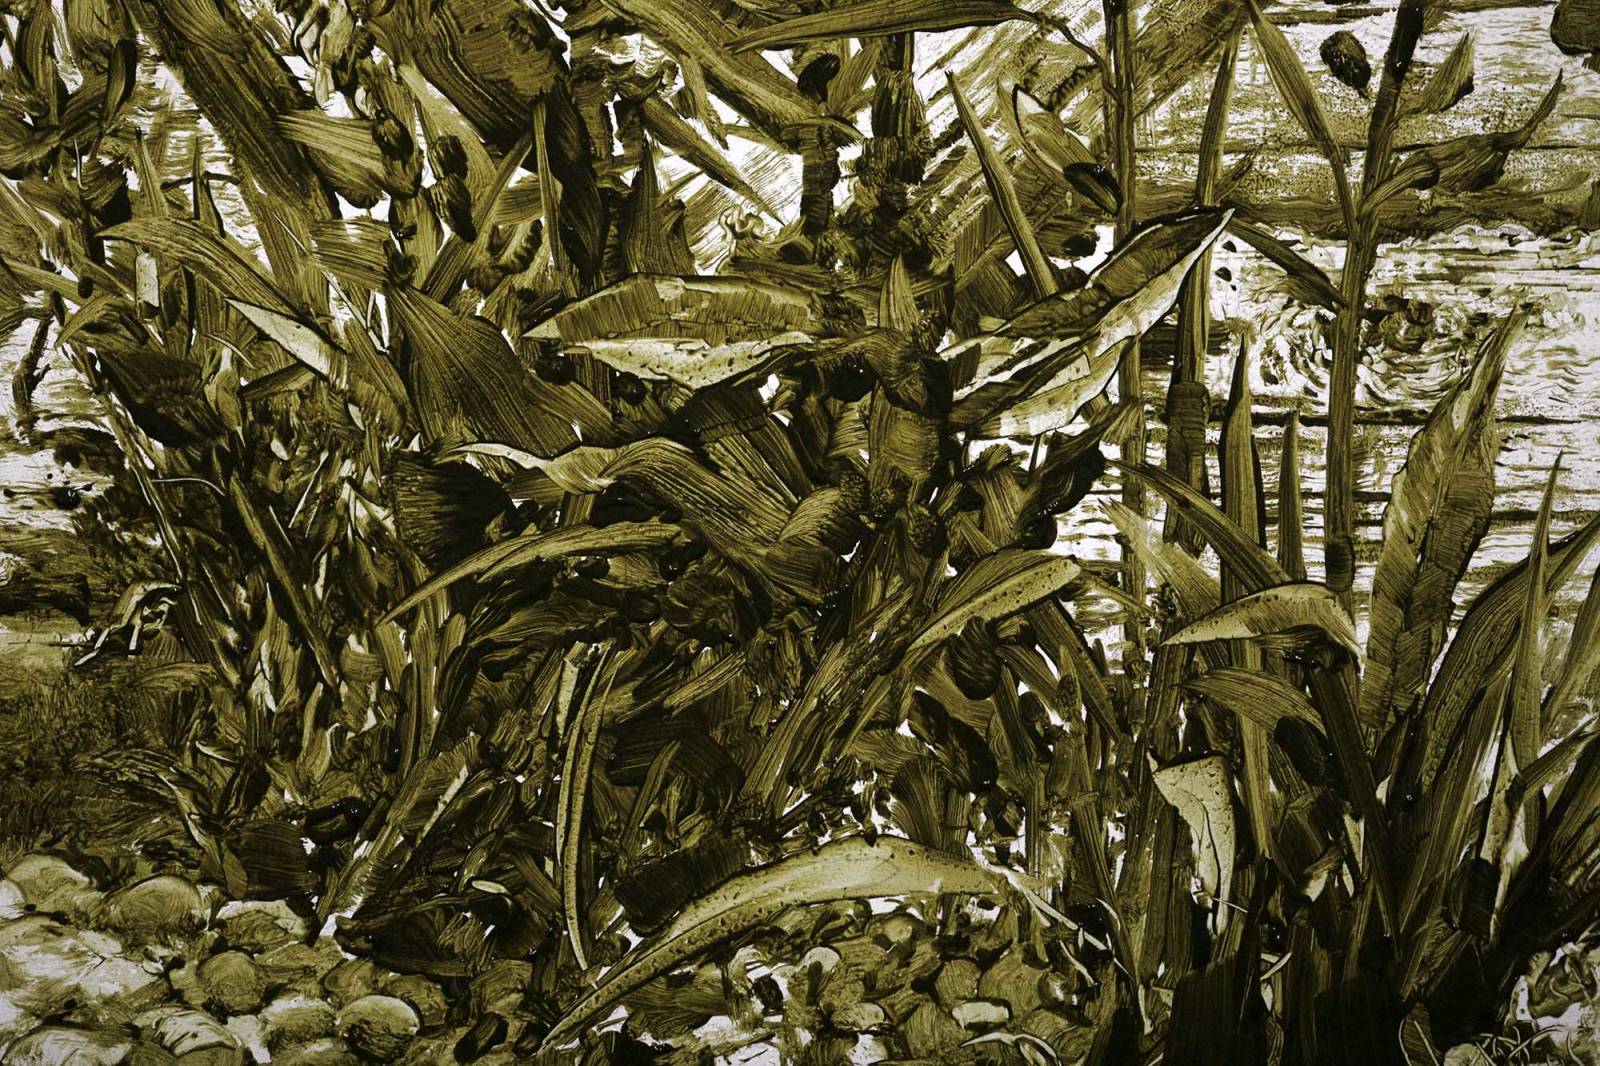
Leaves should be 1 to 3 brushstrokes max. Stems should be 1 shot because otherwise they start to lose their structure. Ill use bristle brushes to scrape and also drybrush paint back on to suggest micro details on leaves and flowers and stuff. It’s an imperfect science where your almost “feeling” the objects out.
Not only does this yield interesting and sometimes unexpected results but it also keeps the actual process exciting. If I find myself relying too much on previous experience painting can sometimes get a little predictable or routine. Using different materials, scratching, scraping, wiping, in addition to brushwork creates many “happy accidents,” and pours a foundation that’s easy to build on top of.
here are a few close ups of the more completed one:
I’m one down and started the other one today. It’s been slow going but it’s getting there…
Once these are blocked in and dry, I will let them sit for a couple weeks before glazing back into them. I usually flip them around to face a wall, or put them on the drying rack so they don’t get dust or mastiff drool flung on them.
Ill post an update next month if I don’t ruin them. Fingers crossed!








Bad. Ass.
Do you mind if I ask what paint your using? Is that Perylene Green (PBk31)? Or maybe Greenish Umber? I am always interested in the pigments. The masstone is almost black but it looks fairly transparent thinned out.
Although it could be photoshop adjustments also…
I like how the rough texture work is contained within the larger forms. It gives the whole composition a sense of order.