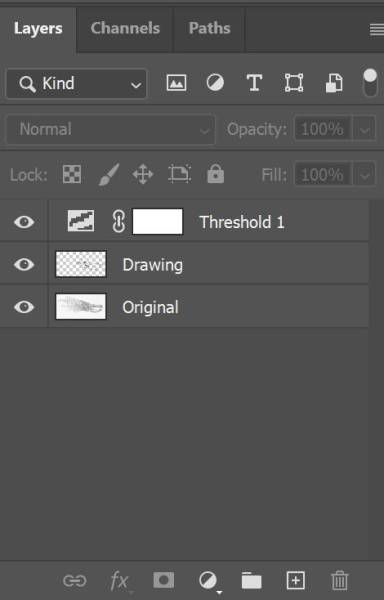
By threshold I am referring to a particular adjustment layer in Photoshop (this may also be available in other types of software but I am unfamiliar and can’t speak to what other programs offer)
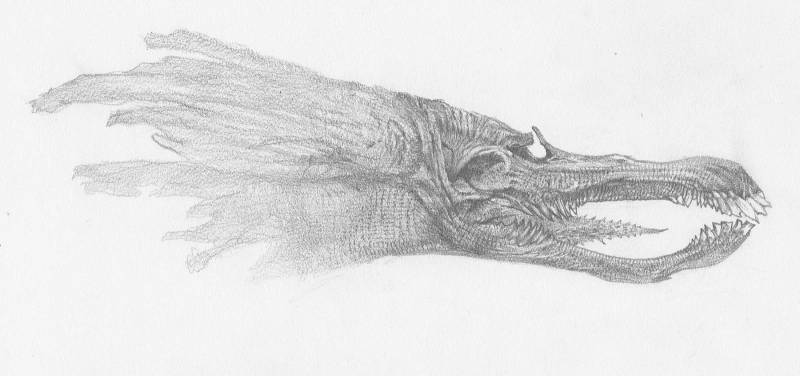
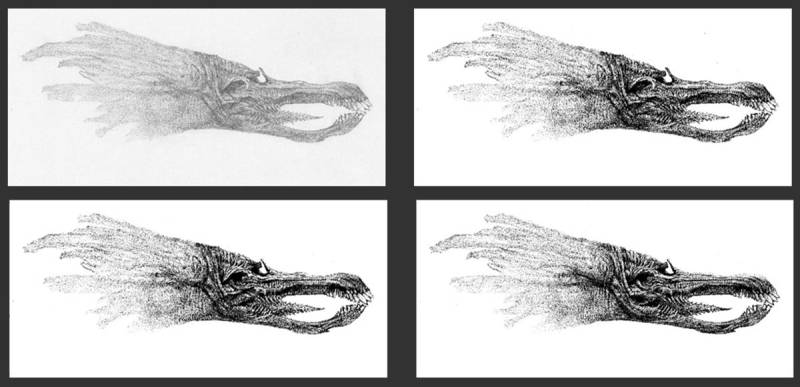
Adding a threshold layer in conjunction with adding a “drawing” lay over an initial pencil piece will give you a black and white image to simplify shapes and reduce any value confusion happening in the drawing. Sometimes a drawing will look good to you but as you attempt to define areas (perhaps for painting or as in my case, defining abstract areas to be sculpted for an asset in a film or game) the visual business in grey areas may be sketchy and undefined. Of course the threshold layer is adjustable with sliders and you can determine how much or little it describes. (—note: for those unfamiliar, threshold layers will simplify anything above 50% grey to black and below 50% grey, to white… and you can set the 50% variable to whatever you think looks best. I use 30% as the tipping point quite often)
First Pass
After applying the threshold layer I add another layer between the greyscale and threshold.
This is the drawing layer.
At this point on the drawing layer I select a generic ink brush. (Some are included in PS, others you can buy) I usually set the drawing mode to dissolve and activate transfer (pressure sensitivity) to maximize the dissolve effect.
I swap back and forth between dissolve and normal drawing modes as just using dissolve can give you too much grain at times.
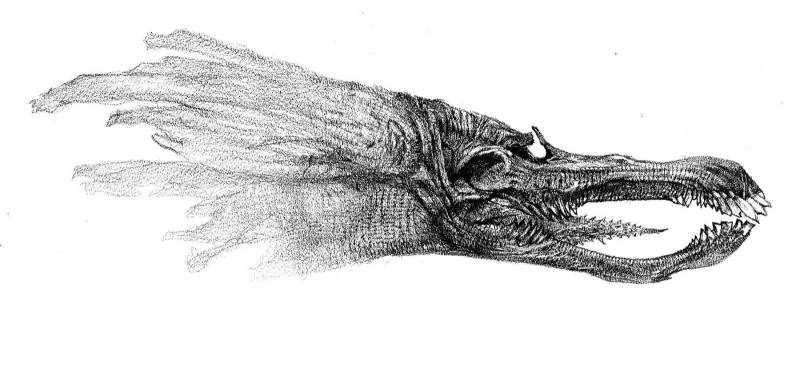
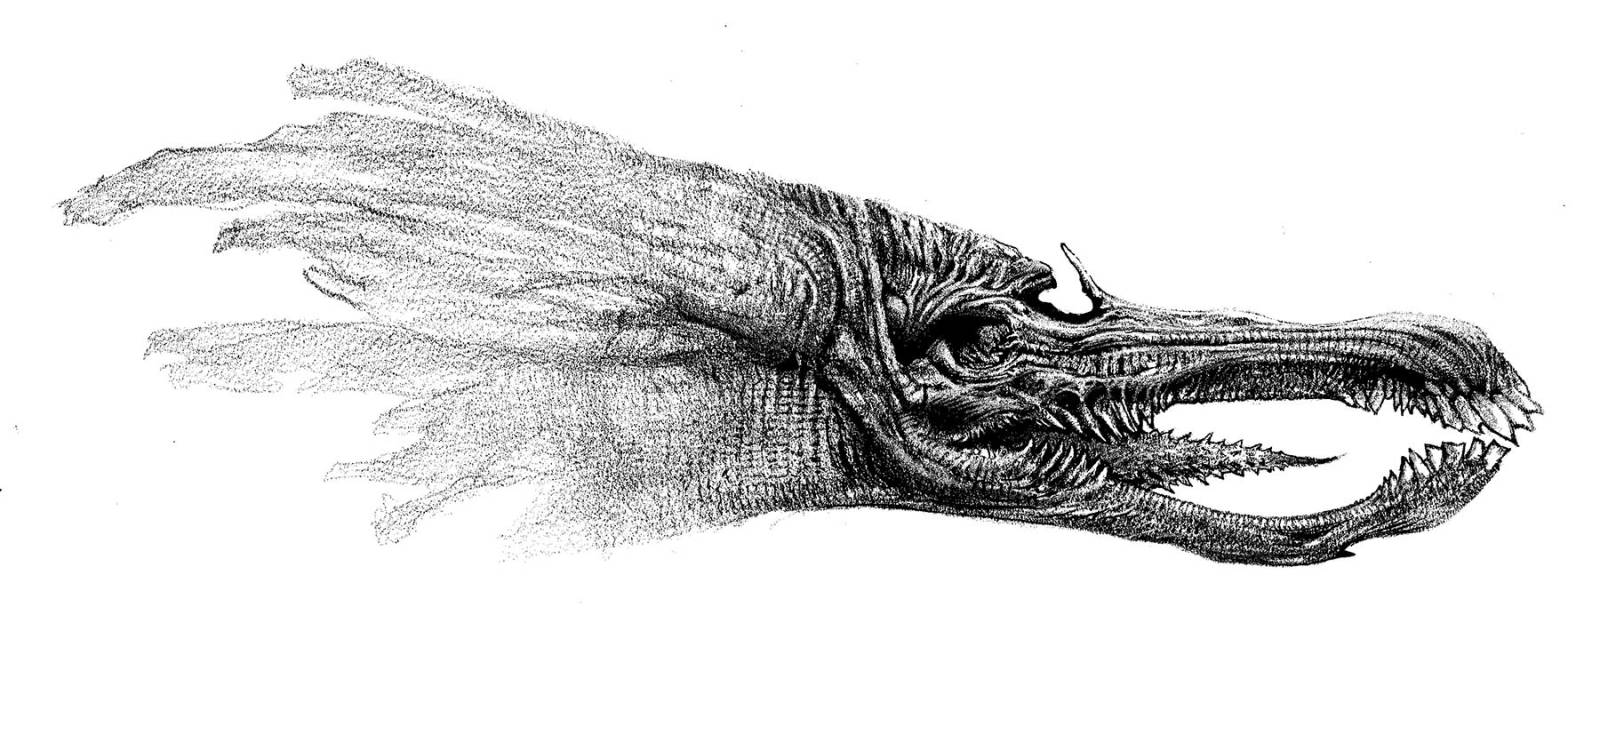
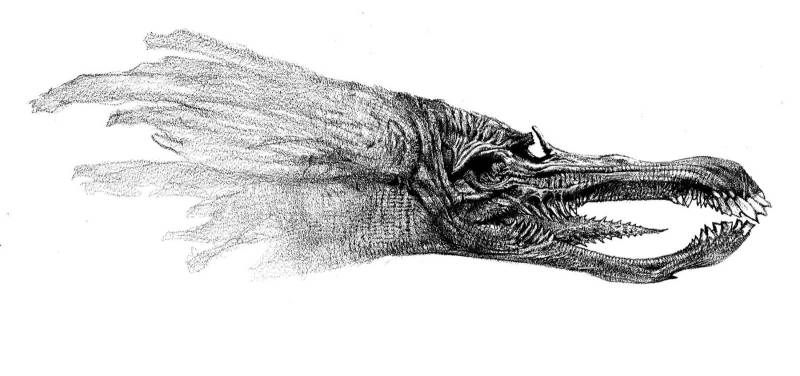
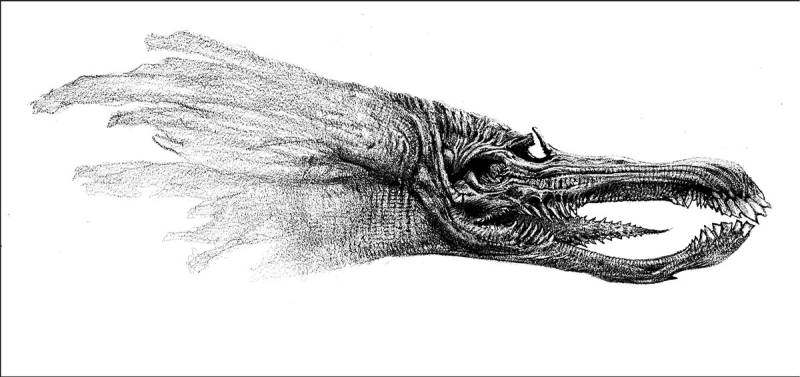
I start picking at shapes and pushing and pulling details, with black and white, to make them more readable. This actually helps me as a study if I’m going to translate a drawing into a painting.
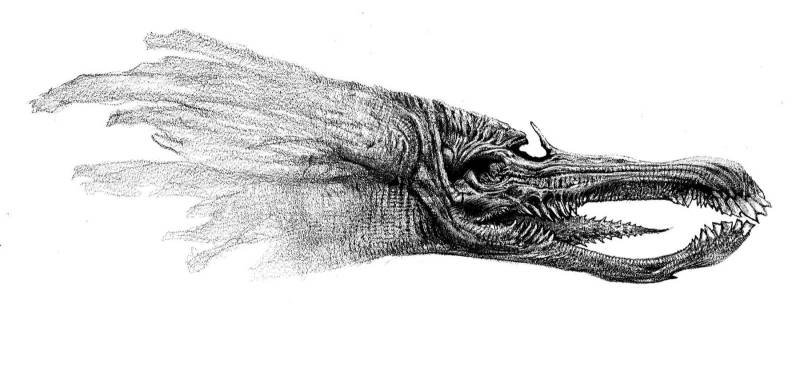
Further work on him.
Looking at a frame clip of the saved images you can see the areas become defined essentially as if looking from a distance. For instance I may need to adjust the skeletal nasal passage just in front of the eye sockets because it reads as a broken eye socket rather than what I intended.
When setting the brush to dissolve it helps to turn on transfer(value pressure sensitivity). If you turn off Shape dynamics(line width pressure sensitivity) you’ll get a larger area of grain but that can be overdone very quickly so I usually keep Shape Dynamics turned on.
This is just an interesting process and has been very valuable to me lately so I thought I might share it with everyone. I do have a tendency to go insane with the microscopic details and switching to threshold drawing forces me to play more with intermediate and larger shapes. Thanks for reading!







Cool! I’ll have to try that out
This is incredibly helpful! I struggle with the value structure and scale in the pencil stage and it shows in the ink drawing, so I think utilizing this before jumping into ink is going to be very beneficial.