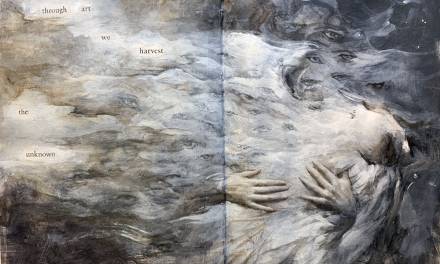
I recently made this sketchbook compiling a few of the mark-making demos I did in my latest Sketchbook Exploration class. I wanted to share some images, info, and a brief video of the pages in this sketchbook.
The class was most importantly about exploration, so it was key to really remain open to experimenting and allowing for the new and different, while also gaining some new understanding about tools and materials and the combination of them. In the 8 weeks, I made a large amount of new pieces, many of which I’d like to keep working into. This book was compiled out of some the sketches I did on loose sheets of various paper surfaces. I put them together in a book with the idea that I might continue to sketch into some of these pages.
What you’ll see here in these images and video are experiments with combining media such as acrylic, graphite, gesso, matte medium, and ink. Layering was a big part of the process. A great thing about using dry and water media is the faster drying time that makes for more opportunities in a small window of time when it comes to layering and adding on top of the drawings and paintings underneath.
I worked on various surfaces including sketch paper, watercolor paper, yupo paper, bristol paper, book pages, and brown paper bags. I then pulled a few together to make this book. The book is saddle stitched together, and I may share more about the making and construction of the book in a future article here on Muddy Colors once I finish the front and back covers for it.
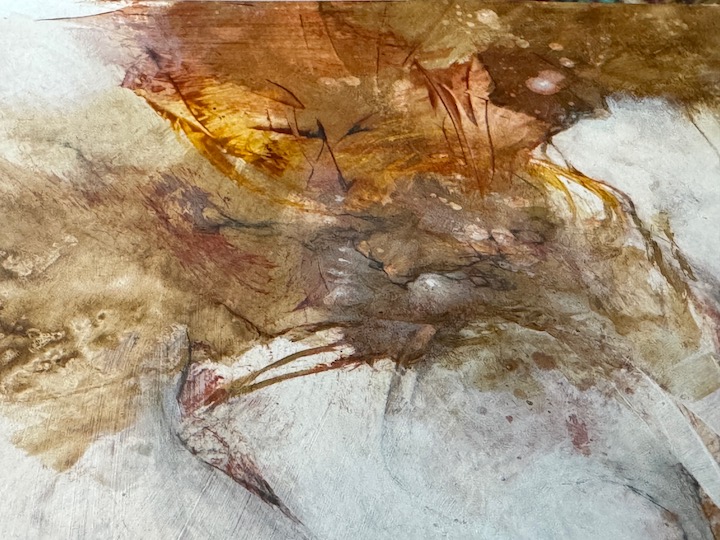
This sketch started with acrylic marks in transparent oxide red on a piece of Bristol paper that was primed with matte medium. I then added a few thin layers of acrylic and graphite on top

This sketch started with water on watercolor paper, and then acrylic red oxide added to the water. Once dried, I made some marks with a graphite stick and then painted a little bit of white that you can see at the lower edge of this image. Some of the graphite marks were left as the texture created from the watercolor paper, and some marks I feathered with a small brush.
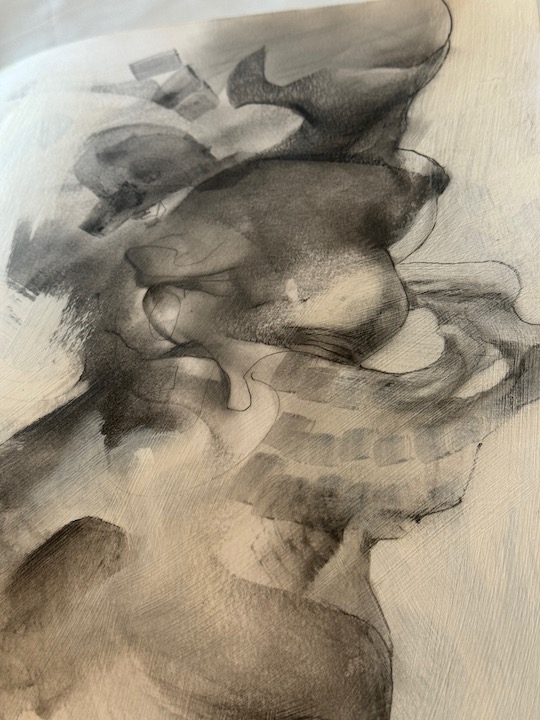
This sketch started with graphite on Bristol paper, then was coated with fixative and then matte medium with the intention that I might paint glazes with acrylic over graphite. I added white acrylic to the outer edges and feather and smoothed much of the drawing with brushes, my fingers, a rag and some water too.
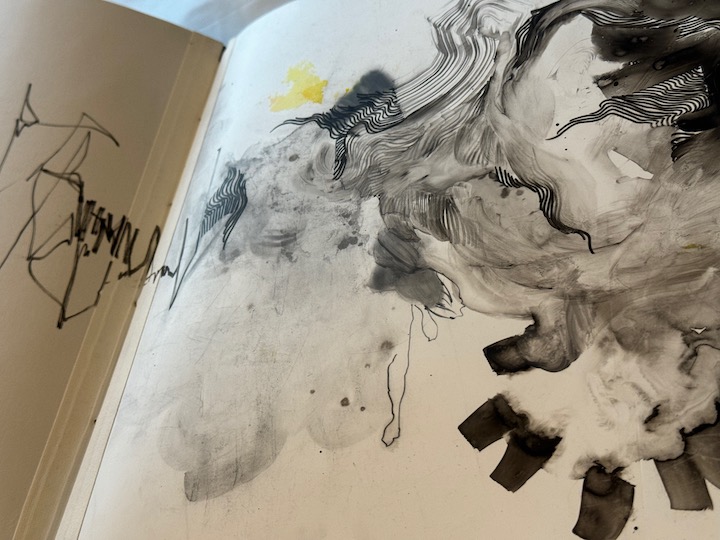
This is an ink sketch on yupo paper. I used ink and water with a brush, experimenting with different mark-making and varied amounts of water added, and then let that dry. I also used a brush that had a more rake-like effect to apply some of the marks. After that dried, I drew onto that with zebra ink pens on some areas. The yellow is an accidental mark that bled through from a different sketch.

This sketch was made with alcohol ink markers and dripping the contents of the pen onto the paper. The surface is sketch paper. There is also collaged areas, some ink drawing with zebra pens, and white acrylic paint. I really fun thing about alcohol markers is now the ink bleeds through the sketch paper, so you have marks on the other side of the paper to also sketch into.
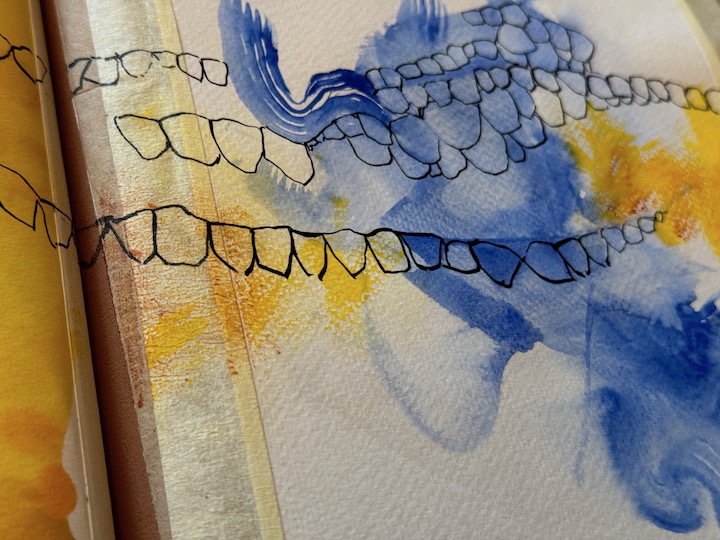
This sketch started with blue acrylic washes on watercolor paper. I used a few different kinds of brushes that make varied marks and varying amounts of water mixed in the paint. Once that was dry, I added the yellow acrylic and let that dry to then draw on top of that with the zebra pens. Many of these sketches, once compiled in the book, became extensions of the previous sketches on facing pages. You can see how this looks and feels by viewing the video I’ve included in this article.

This sketch started with acrylic on mixed media paper. The marks were made with brushes to apply the paint and some silicone spatulas to pick out and make the harder-edged marks. There were some splatter marks that were made with water in order to be used as a pickout type of method, and the splatters on the left in this image were made with white paint splattered onto the top of the sketch.
Make sure to view the video at the top of this page to see more sketches, and to the view a quick meander through the sketchbook as a whole. Thanks for checking it out, and hope you enjoy it.
Vanessa
These sketches feel like the equivalent of playing barefoot in the backyard in the spring. The first time the earth is warm and the grass is dry. It compels one to just flop around. Thanks for sharing!
Hi Erich- well thank you for that! It makes me so happy to know that you felt that from these sketches! That was very much the energy I felt while in the process of making them, and very much the reason I feel the want to share them and things like this. Thanks so much 😊