Water-based (ceramic) clay as a sculpture material has many benefits: it’s relatively inexpensive (about $15 – $25 for a 25 pound bag), it is adaptable for small and large scale works, it accommodates many options for finishing, it’s lusciously tactile and yummy feeling to work with, and, once fired, it’s pretty much going to be around until the end of time (think about the Venus of Dolní Věstonice – still rocking her goddess vibes some 29,000 years later). It’s also great to have the option of molding and casting the original clay sculpture in another material such as bronze, plaster or resin -or- firing the original sculpture and having that as the finished piece.
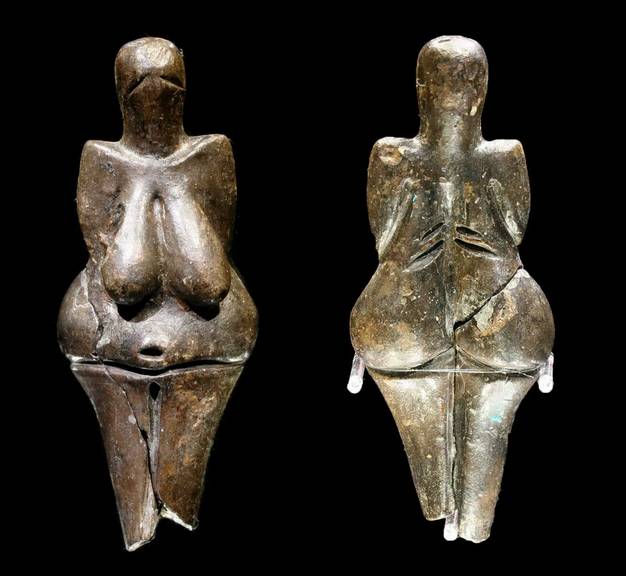
Venus of Dolní Věstonice was created in clay around 29,000 years ago!
That said, there are also specific challenges that come with any material. Today, I’ll share some tidbits about the process problem solving involved in our most recent collaboration: “Cowgirl”, who has her own goddess goodness going on.
 To begin with, clay naturally wants little more than to return to its original form of “cow patty.” Coaxing it to exist in another form takes a certain amount of will, determination, timing and techniques. Seated or kneeling figures are easier because the bulk of the mass is on the ground. To create a standing figure there are several options to prevent the weight of the clay itself causing the figure to slump into a pile. We can incorporate another object or figure to help support the relatively thin and fragile legs – think of all the standing marble sculptures you’ve seen with a “randomly” positioned tree stump helping the thin ankles support the weight of the torso above.
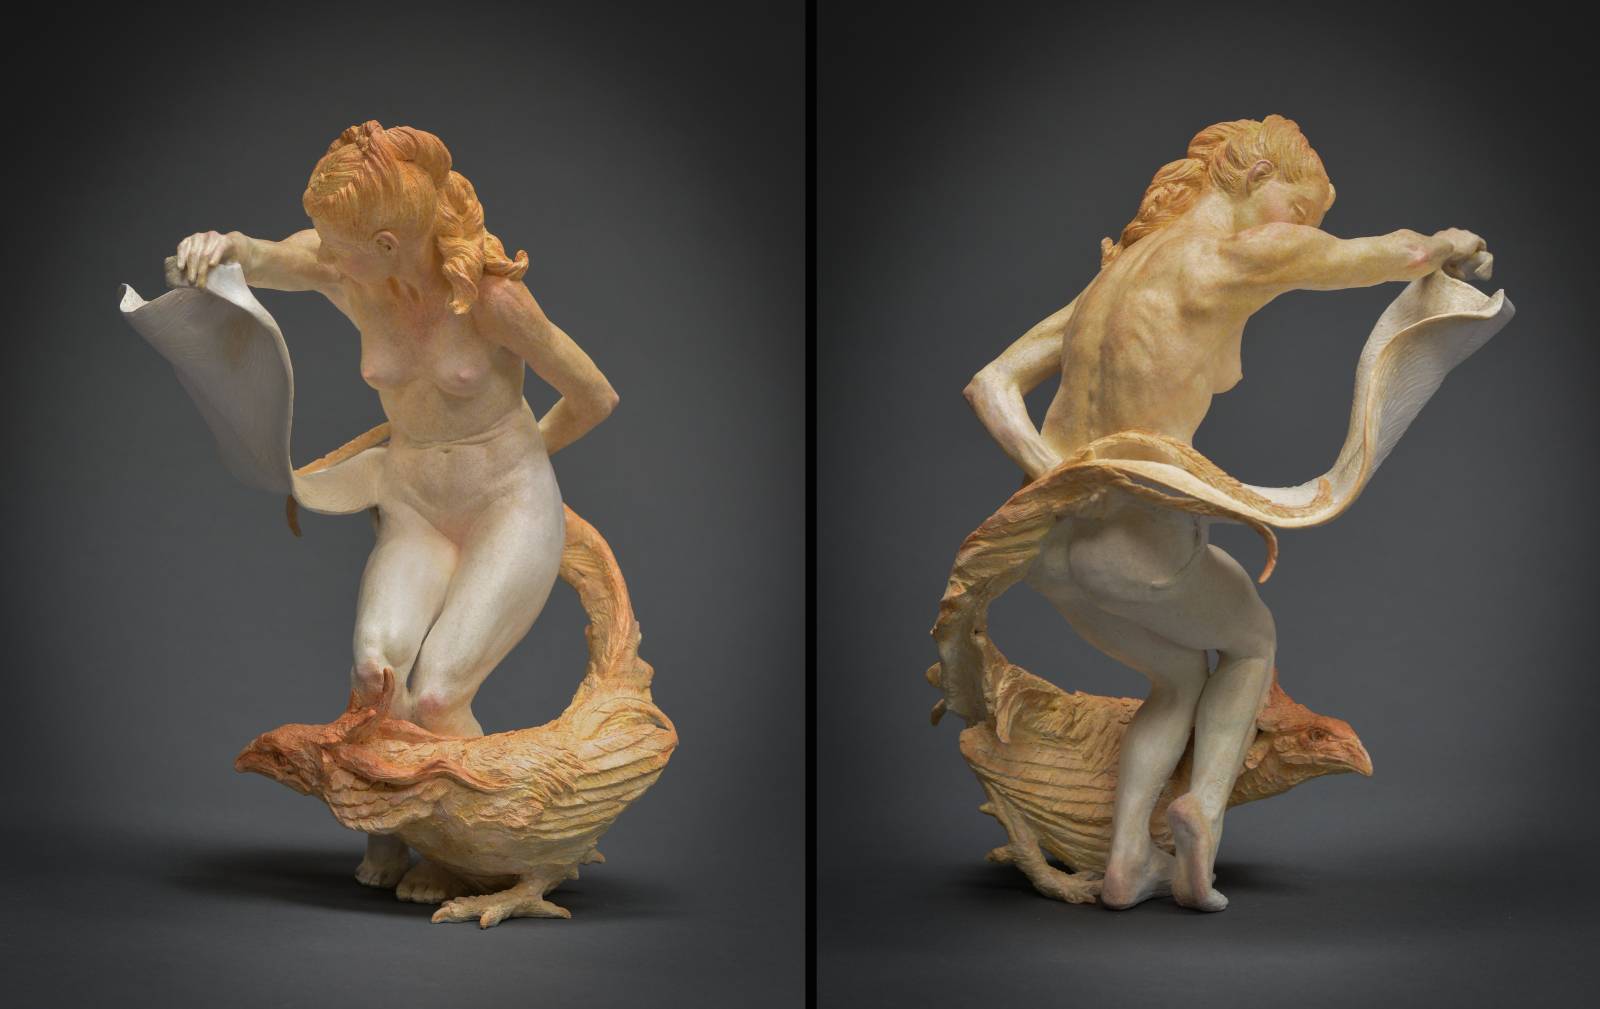
With our “Invocation: Dance Me Into the Light”, we used an intentionally placed Phoenix as an integral part of the concept and to emphasize the spiralling action of the sculpture, and **Bonus!** it also supports the figure standing predominantly on one foot.
 But what do we do when we want a genuinely free-standing figure? One option is to build a big mound of clay at the base surrounding the legs and gradually carve away at the clay as it dries and firms up. This creates a bit of a challenge to see the proportions and relationships.
An option that has worked well for us is this: Colin designed and constructed a three-pronged adaptation to a basic armature stand which helps support the weight of the clay until further along in the process when it is firm enough to stand on its own. (The adjustable armature stand itself is from SculptureDepot.net – great people and wonderful selection of tools and materials in Loveland, Colorado.)
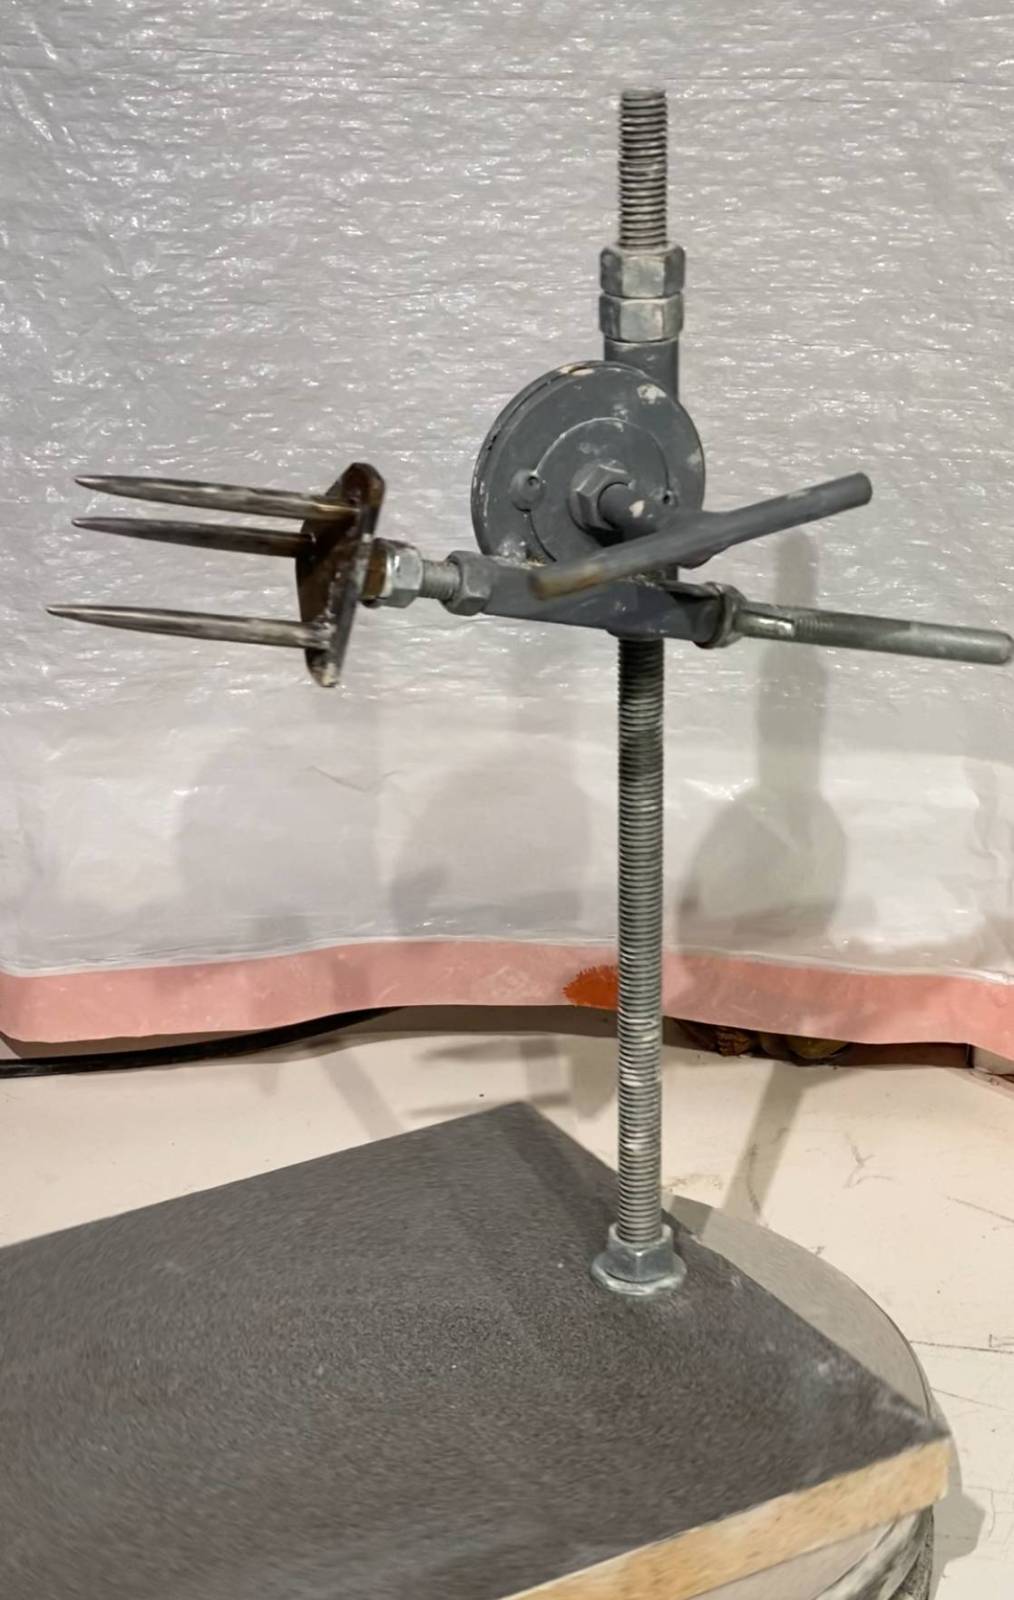 The spikes jab into the clay and, being tapered, can be slid out at the end of the process. The spikes are stainless steel so they don’t rust. Rust will cause color changes on light colored clays during firing and makes the spikes more difficult to slide out.
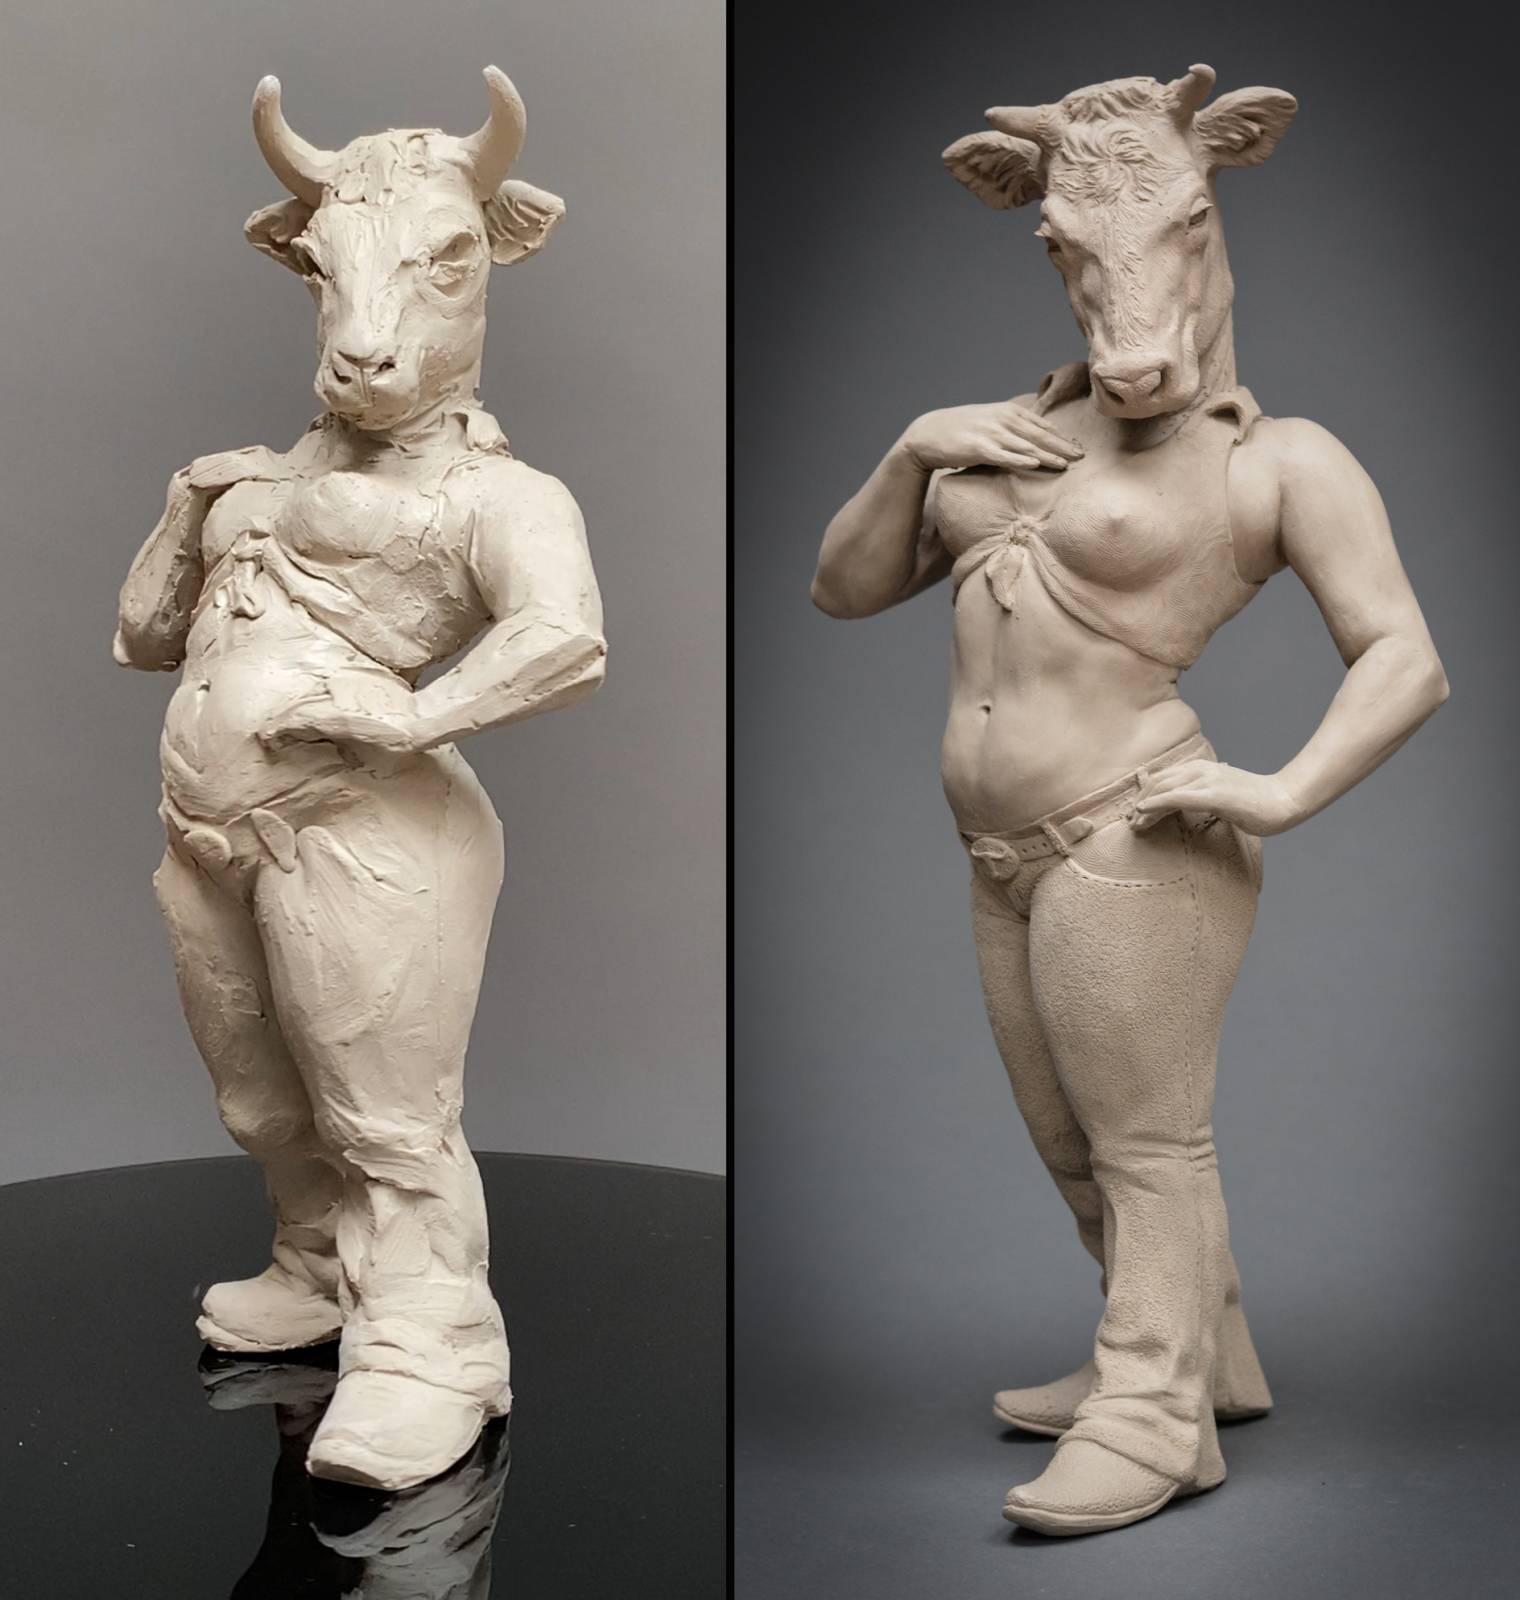
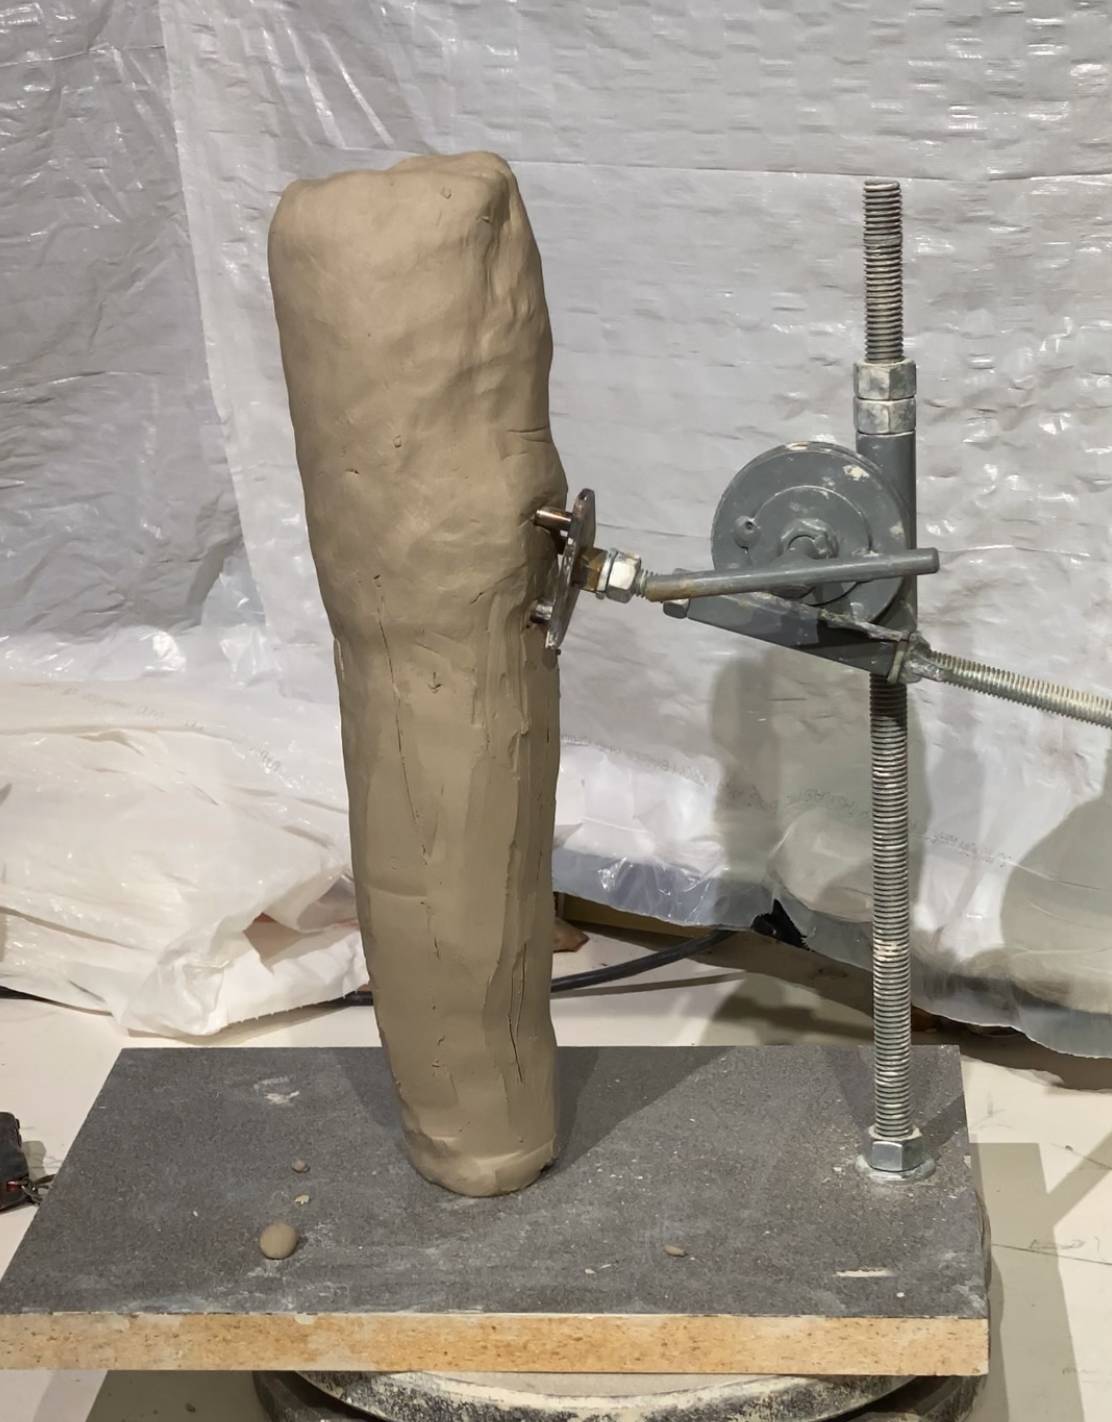 I begin with a big blob of clay in a roughly leg to torso shape. A bit of time in the studio later and voila! the Cowgirl emerges. (This post is not so much about the actual sculpting of the figure but the problem solving that allows the sculpting to happen).
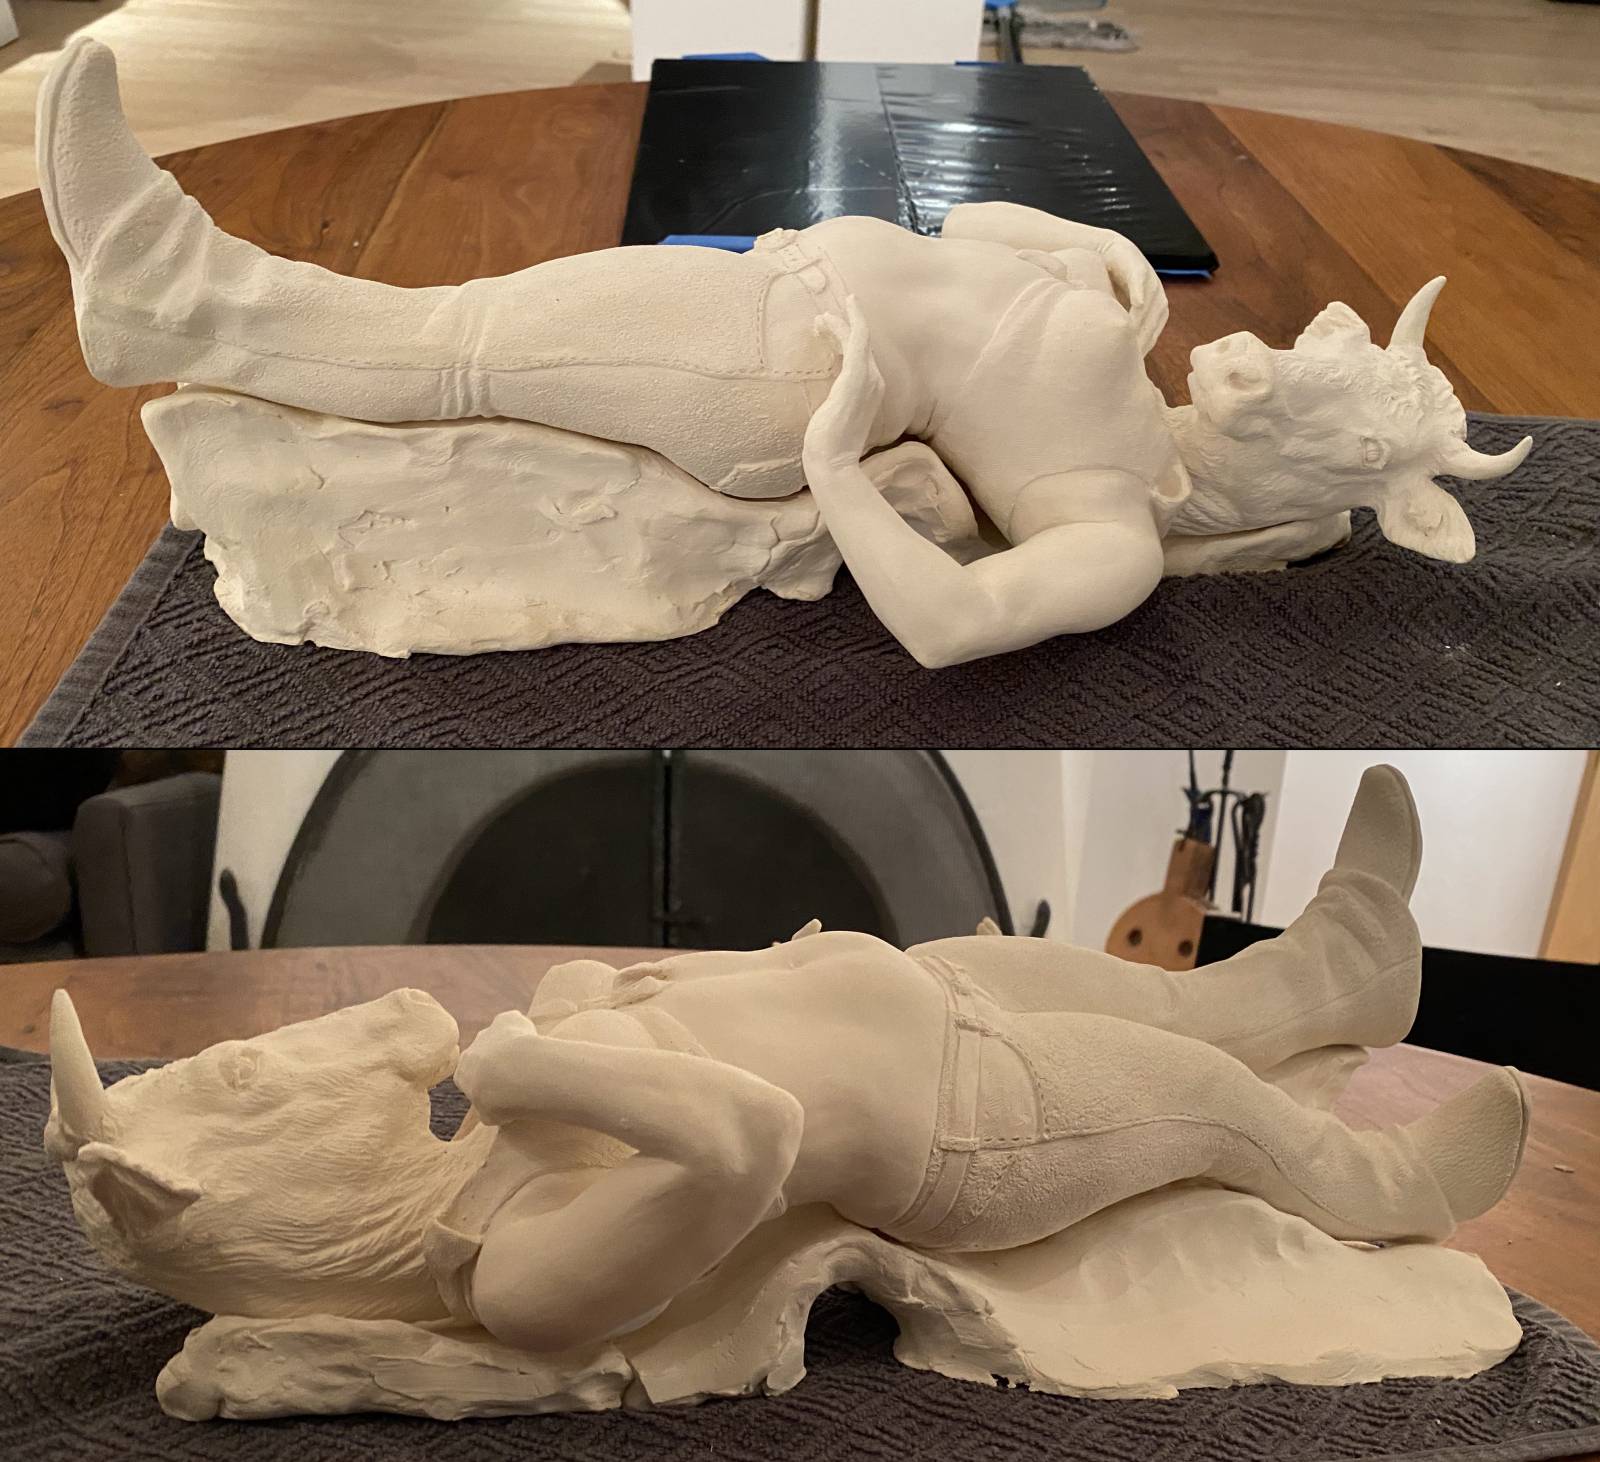
At this point she has been hollowed out and is leather hard (the clay is dried enough to be strong and not slumpy, but is still workable enough to shape, carve, etc.) Just after this point in the sculpting, I removed her from the spikes, filled in the holes and refined that side of her body that was inaccessible due to the armature. She was stable enough to stand on her own during the remaining parts of the sculpting. Once the sculpting was complete, I dried her laying down. Read on…
 During firing, the clay can get to temperatures in which it expands and moves, becoming a bit more “fluid.” This can cause some moderate to severe warping, which is very hard to fix post-firing. Again, the weight of the upper part of the sculpture on the relatively thinner legs could be a problem if I fired her standing up and things started moving. To minimize the chances of warping or moving of parts, I made a “bed” for her that would support her in the proper position (a clay orthopedic chaise lounge). When I loaded her in the kiln, I sprinkled a very thin layer of refractory sand underneath the bed as well as between the sculpture and the bed. This thin layer of sand allows for movement and helps accommodate the shrinkage that happens during firing.
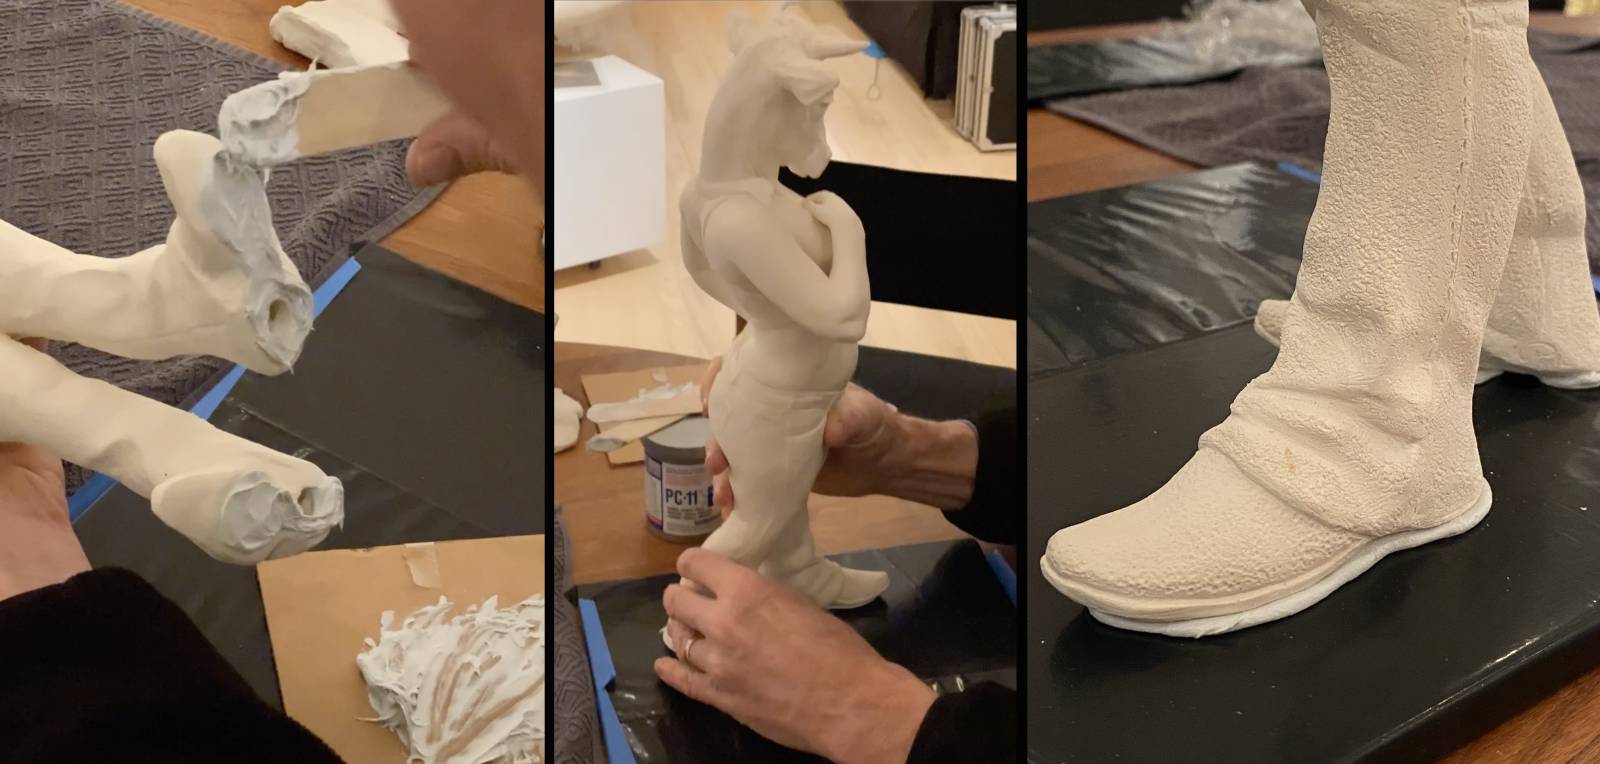
 It was a successful firing – yay! Now to the pre-finishing process. Cowgirl had a bit of a rock when standing after firing. Not good, but also not unexpected. With all of our smaller ceramic sculptures, we put an epoxy “pad” on the bottom to tidy up the underside, help stabilize the sculpture and to prevent scratching of the surface it will ultimately be placed on. It removes any “wiggle” that the sculpture may have when placed on a flat surface.
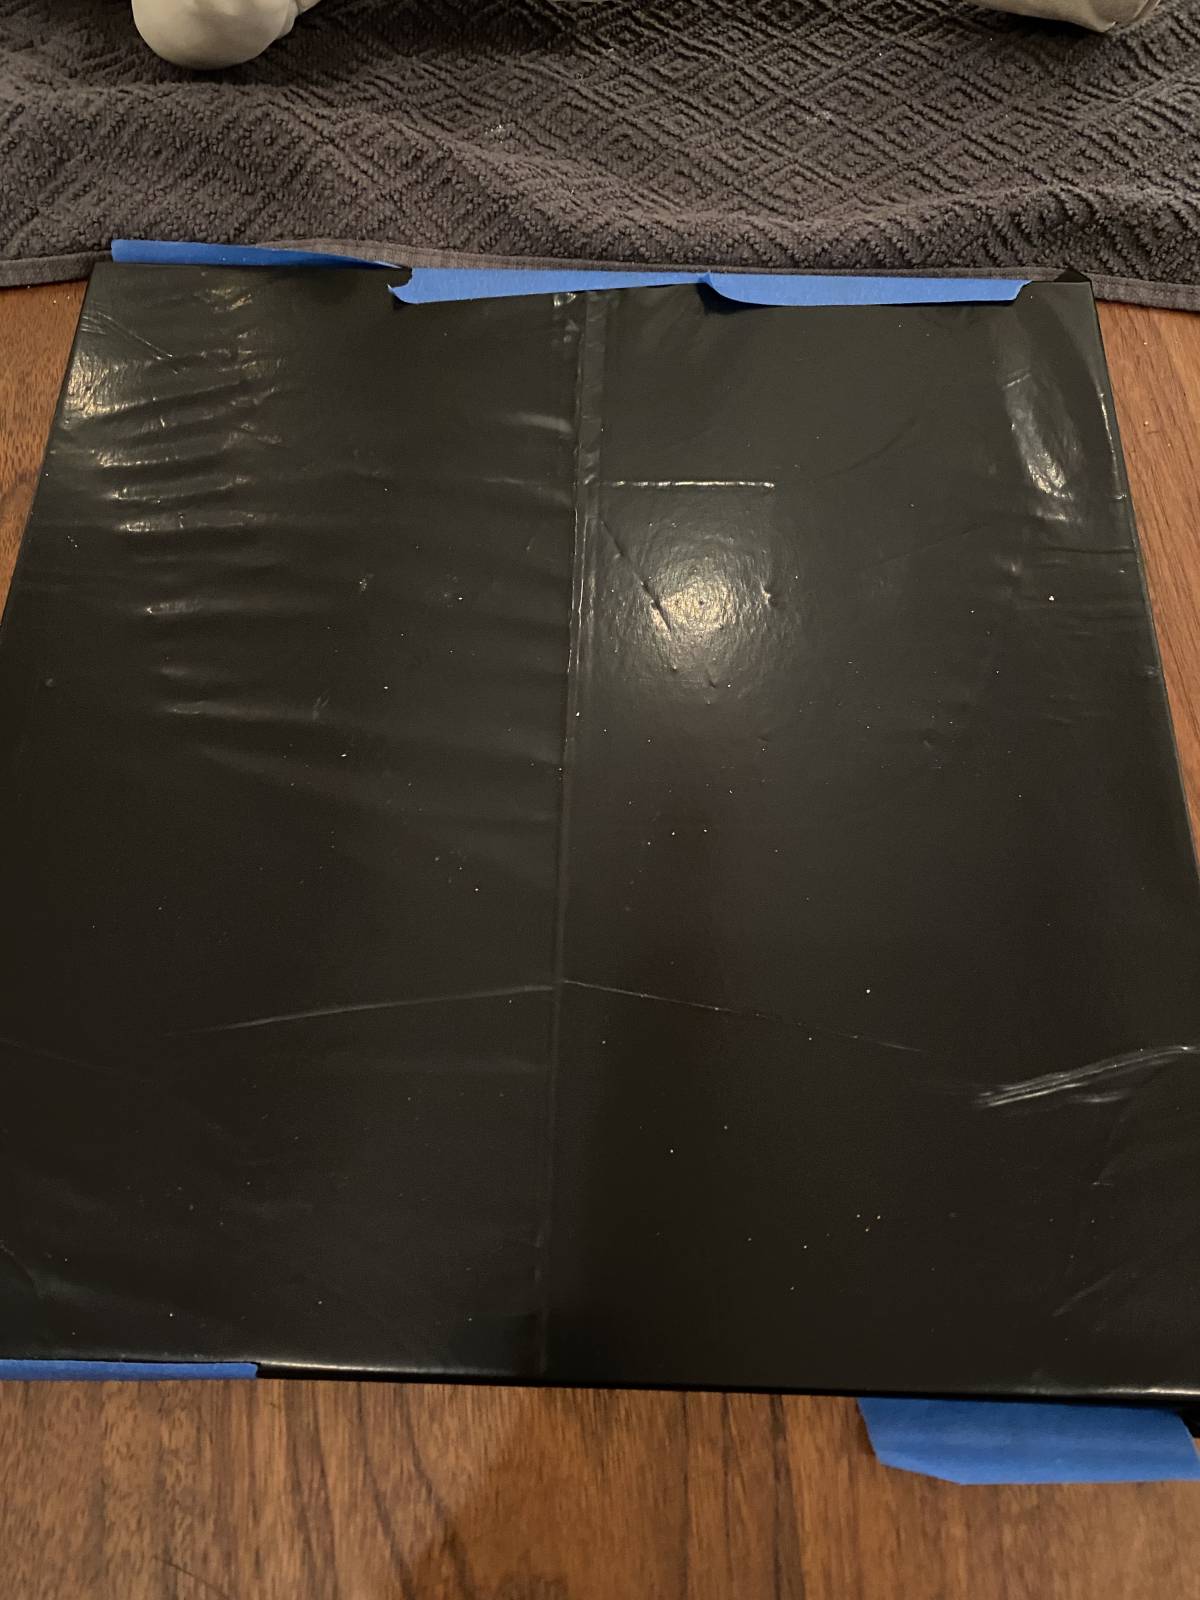
To be certain we have a perfectly flat surface, we use a marble tile covered with a double layer of thick plastic. Contractor bags work well. The double layer is important as this method creates such a precise fit that removing the sculpture from a single layer can prove problematic (ask me how I happen to know this… ) Two perfectly milled surfaces can be difficult to pull apart…scary.
 Since this sculpture will have a lighter color finish, we used PC-11. This is a two-part marine grade epoxy paste. Although we’re not planning to take the sculpture for a swim, the off-white color is a good base for tinting. We know that the finished color will be in the lighter range, so white will work well on the base. We spread on a thick enough layer that it will ooze out the sides a little when we stand her up. This ensures that we’ve covered all the contact points.
 We usually do this part in the evening so the epoxy will have about 10 – 12 hours of cure time by the next morning. We remove the sculpture from the plastic and very carefully use a utility knife to carve a tidy edge around the epoxy. If you wait until the epoxy is fully cured – 24 hours or more – this task becomes notably more difficult and therefore, dangerous. We then do a quick sand on the edges to make them really smooth.
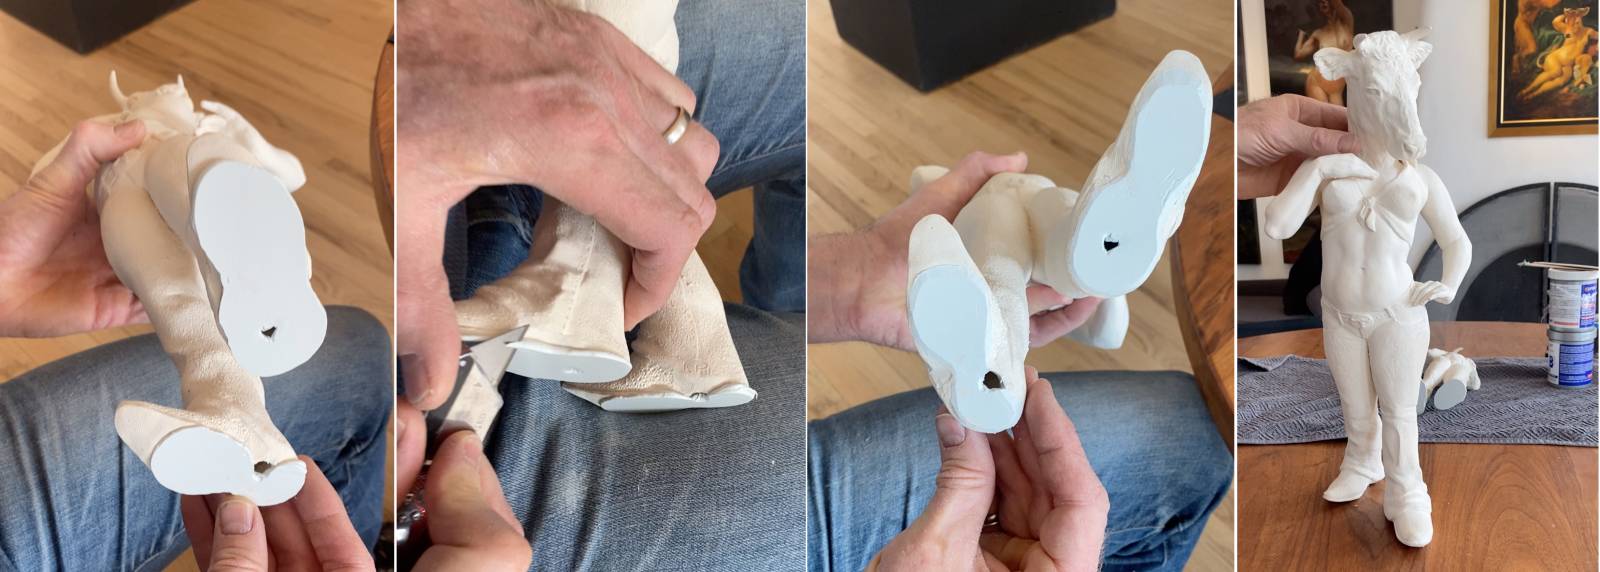
1. Epoxy pad upon removing from plastic 2. Carving the edges 3. Edges before sanding 4. Look Ma! No wiggle!
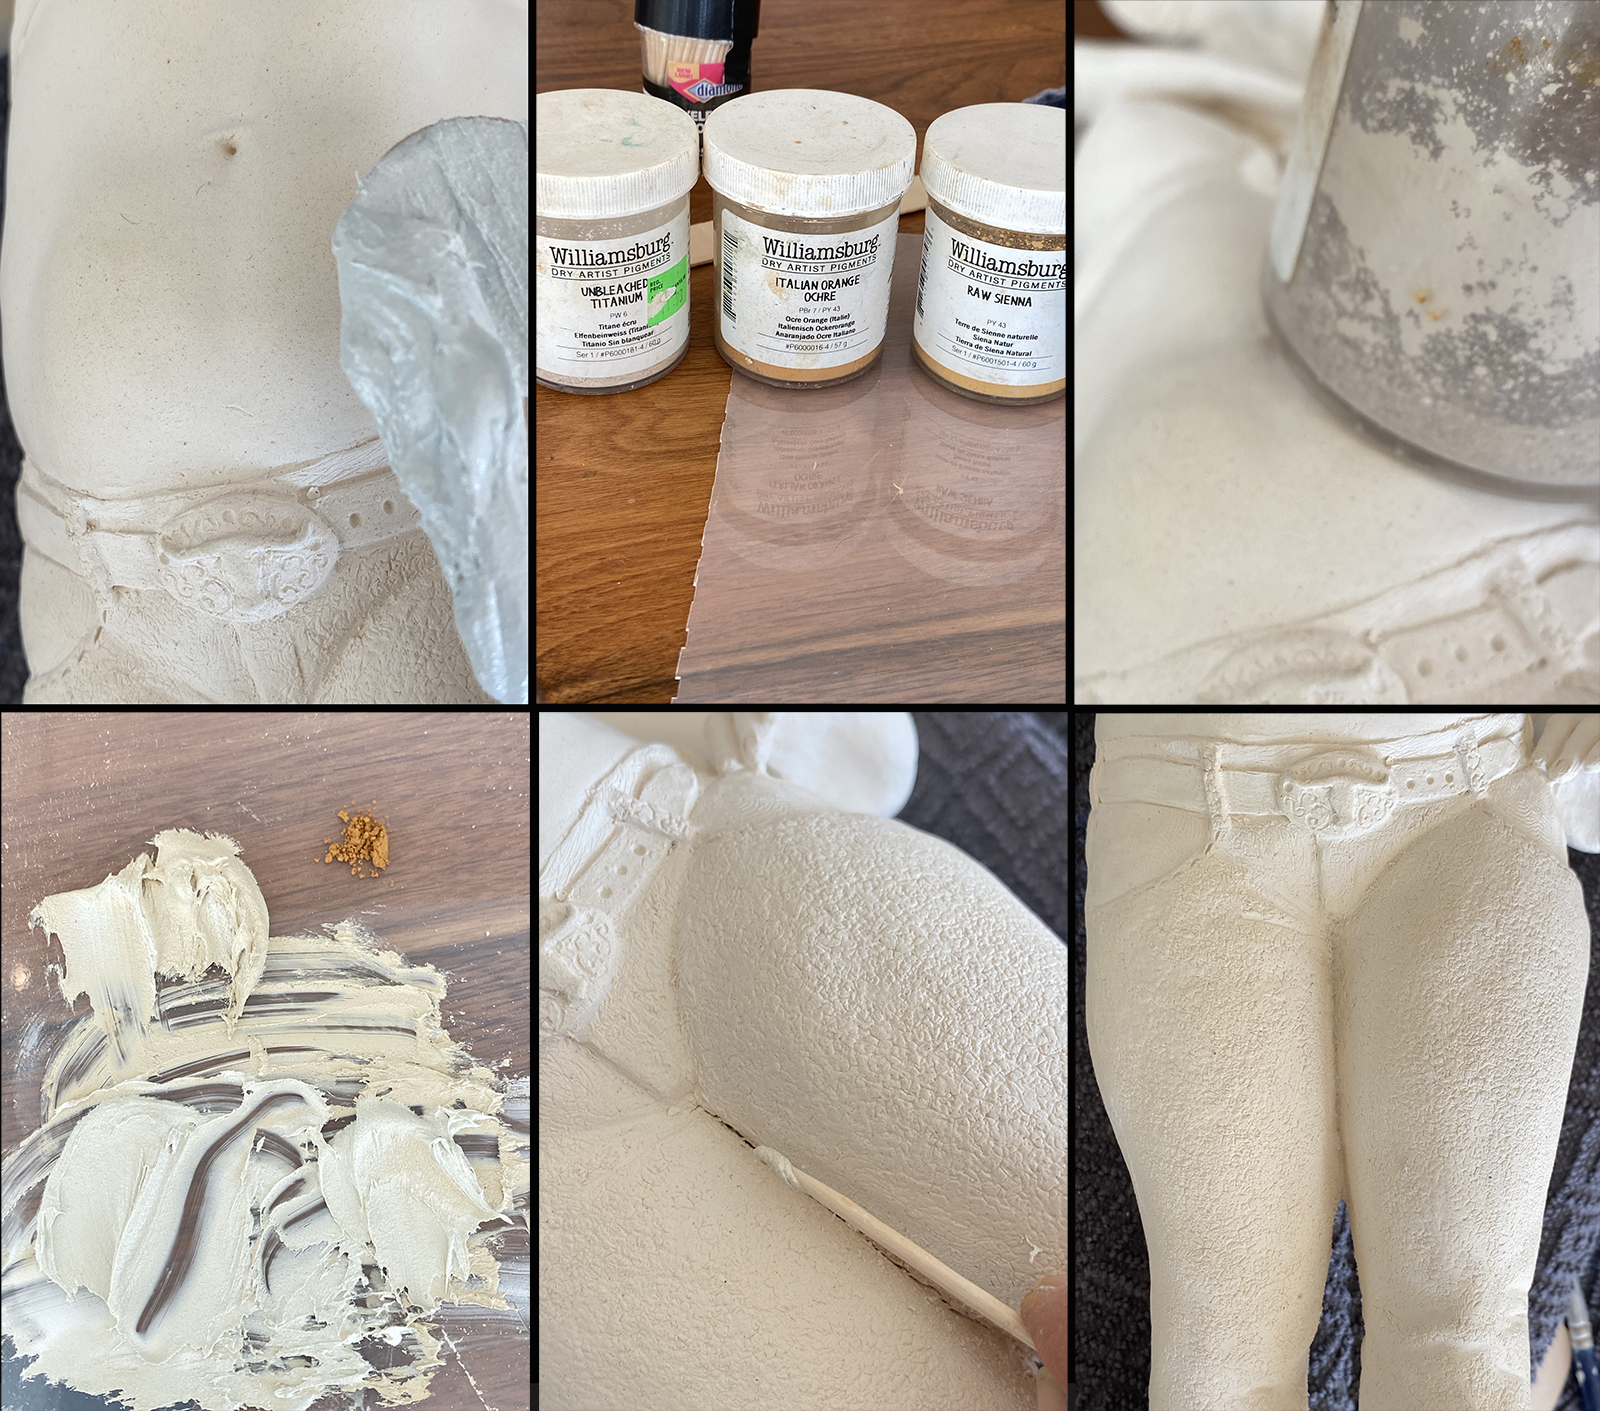
If you work with ceramics, you will be dealing with cracks at some point or another. It’s just part of the process. The different parts of the clay may shrink at slightly different rates in the drying or firing and this causes tiny cracks to develop. They’re generally not structural. Some people choose to leave them as part of the process being visible. We prefer to repair them as we find them visually distracting.

This lady had two tiny hairline cracks.
I had some epoxy left over, so thought I’d tend to the cracks. The bluish tint of the PC-11 epoxy isn’t a match for the warm fired clay tones. We tint the epoxy using powdered pigments. We try to make the repair as invisible as possible as this gives us the most flexibility in choosing how we want to finish a piece. If the repair matches well, we can do very light tinting of the surface or full coverage.
When seen side by side with the clay, the blue hue of the epoxy is quite evident. Unbleached Titanium is a pretty good match for the clay, but when mixed with the blue-toned epoxy, it gets a greenish cast. We added a bit of Italian Orange Ochre to warm it up and came up with a reasonable match. Using a toothpick, we pack the cracks with the epoxy, then texture the surface to match the surrounding areas. Once this cures, we’ll be ready to apply our final finish – in this case, we’ll be using acrylic.
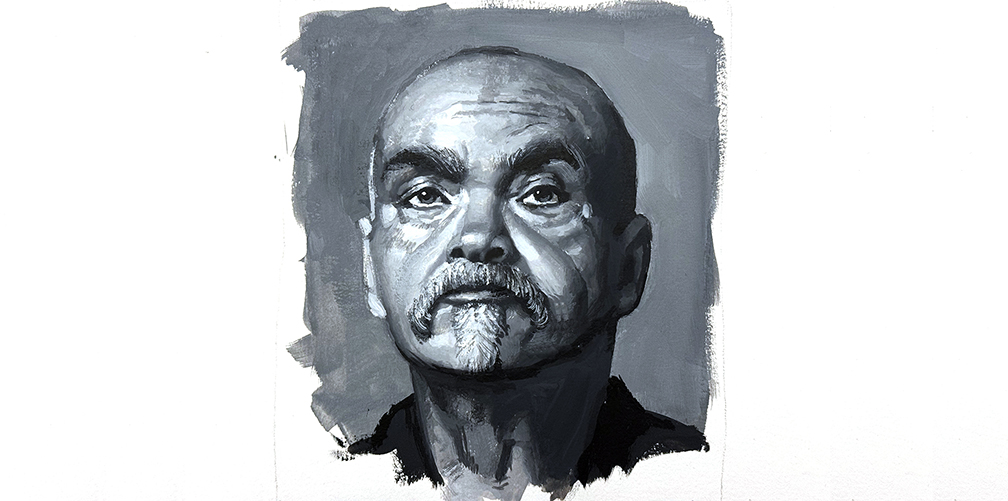
 Cowgirl is now ready for her final finish. She and her sidekick – the concept sketch – will be part of the “Character in Context” show at the A.R. Mitchell Museum in Trinidad, Colorado this June.


0 Comments