I’m going to share a brief tip today on aligning a projected image with your surface when transferring a sketch or image. The traditional tool for this is called “keystoning” where you adjust the vertical or horizontal perspective distortion of the projector to roughly match your surface. However, I find this method often imprecise and fiddly and so I use a more custom approach.
I’ve made a short video on the topic which you can watch here, or read on and I’ll describe the workflow.
First step, this method requires that you have your projector connected to a computer or laptop. Open your image in your preferred photo editing program and set the view of the image to fill your screen so that it is big but you can still see all edges.
Make certain that your image is the same proportions as your surface. If the proportions do not match, crop or expand the image so that they do.
Position the projector so that the image extends just a bit beyond all four sides of the surface.
Flatten the image (it is wise to save before doing this if you want to preserve a layered file) and then “select all” so that the entire image is selected.
Transform>Distort the image.
While looking at the projection on your surface, click and drag each corner of the image to match the corners of your surface.
And you’re done! If proportions are correctly matched between the source and the surface, this will give a distortion free, perfectly aligned transfer image.
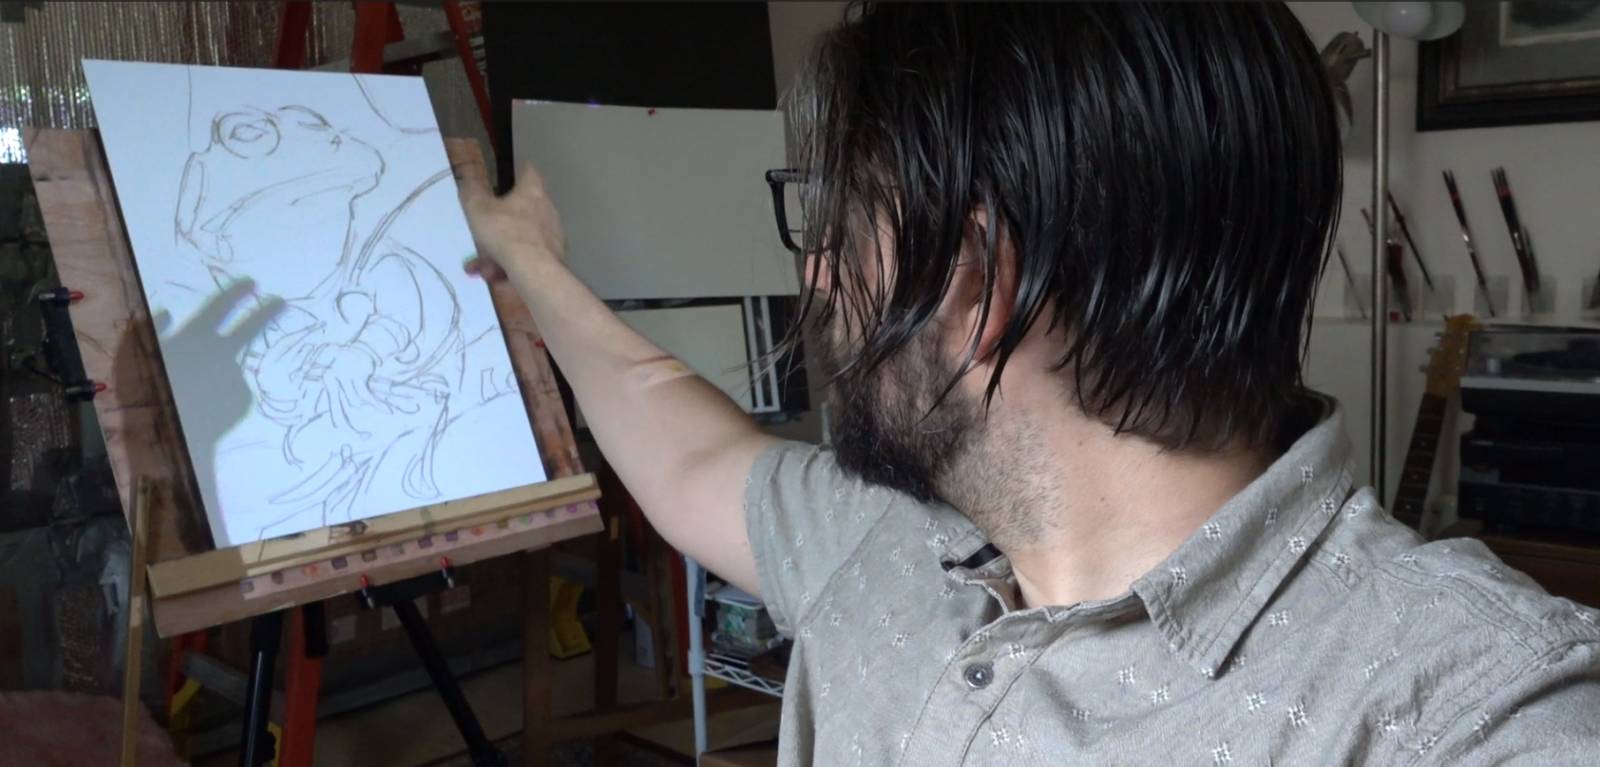
Start with the image slightly larger that your surface
Flatten, Select All, then Transform>Distort and pull each corner to fit the corners of your surface
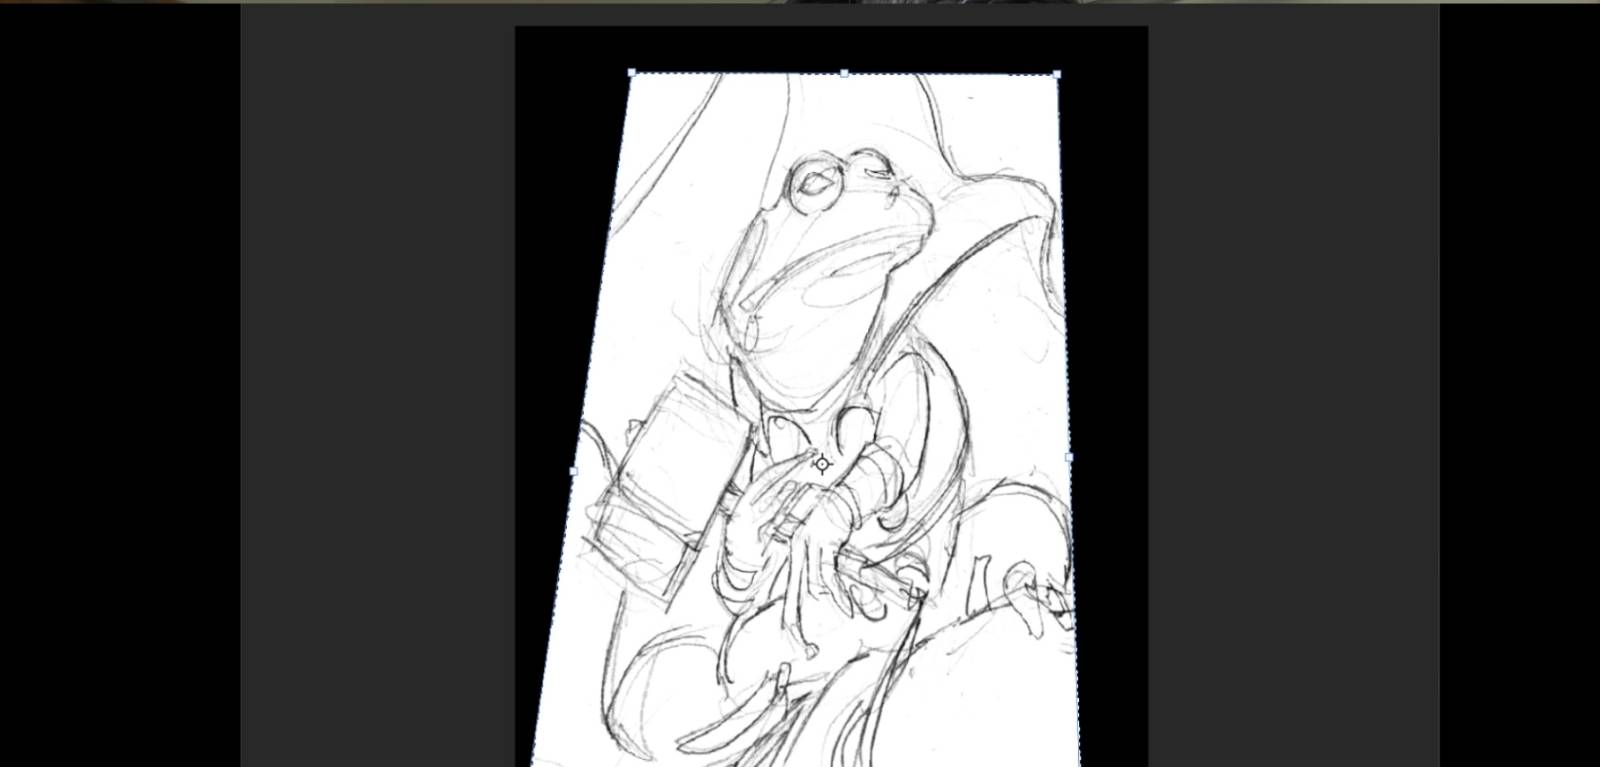
On screen, the image will look stretched or distorted…
…but on your surface, you will have a distortion-free translation of the source image

Simple and perfect. Great tip, thank you!
I just recently started using a projector for transfers. This is a really handy tip David. Thank you!