So You Wanna Sculpt?
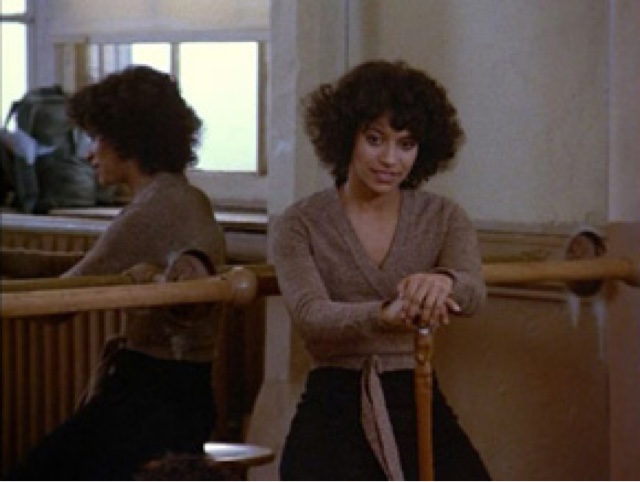
As I began writing this, an image from the 80’s show “Fame” came to mind. Miss Grant, the uber dance teacher, pounding her staff on the floor saying the iconic line from the series: “You got big dreams? You want fame? Well, fame costs. And right here is where you start paying, with sweat…”
So you wanna sculpt? Well, right here is where you start playing…with clay.”
To inspire your sculpting, there’s a link at the end of this post to a “You Are Awesome” Spotify playlist that we created just for all of you.
Sculpting, Round 1
We are frequently asked what’s the best way to start into sculpting. Wow! That’s an enormous topic featuring a boatload of information. Detailed specifics on the many approaches to sculpting will take many posts, but for a basic “How do I start?,” read on.
Sculpture can be created with just about anything: clay, bronze, polymer, aluminum, wax, wood, steel, epoxy, Elmer’s Glue, ice, rice, butter, blood… you name it and probably someone’s tried it (and most likely created something pretty spectacular with it).
Sculpting is a magically sensory experience. Creating a piece that will be viewed from all angles involves a unique decision making process. Even if your ultimate goal is digital sculpture and 3D printing, getting your hands dirty working with clay will improve your modeling in the virtual world. For 2D artists, knowing a bit about sculpting can help with creating rough models to show the fall of light on your subject. Besides, it is so much fun!
Introducing the heavy hitters
Water-based clay (Terra cotta, Earthenware, Paper clay)
Pros:
-It just feels soooo good! You get it in your hands and naturally start squishing it and wanting to make something. It is pliable, sinfully tactile and malleable.
-Inexpensive (usually around $15 for 25 pounds), so if your sculpting dreams are big, this may be the way to go.
-Great for sketches, immediacy.
-Once fired, it will be on this planet forever (clay sculpture has been found from 30,000 – 40,000 years ago).
Cons:
-Equipment: water-based clay has to be fired to around 2000º F to become permanent – your kitchen oven’s not going to cut it.
-Heavy and fragile.
-Requires specific knowledge of building techniques so as to keep parts joined together and prevent cracking as it is dried and fired.
-If building large, it has a tendency to want to collapse.
-Must be kept damp while working – this can be stressful if you have other things on your plate.
Oil-based clay (Plasticene, Plastilena)
Pros:
-moderately inexpensive: $15 for a 2-pound block, but it stays pliable indefinitely and can be reused over and over.
-used with armatures which allows for more freedom in choice of pose
-plays well with mold materials (other than sulfur based versions – avoid this even though it has a wonderful workability)
-take as long as you want to work on a sculpture
-different available hardnesses allow flexibility in working through large areas or small detail areas
Cons:
-if you want your sculpture to be permanent, you must make some form of mold and go through a casting process (whether bronze or resin) to create a finished product
-workability not as satisfying as water-based clay
Polymer Clay (Sculpey, Kato Clay, Fimo)
Pros:
-bake at 275º F, so can be finished at home.
-can be baked repeatedly through the stages of sculpting, so detail work can be quite refined
-take as long as you want to finish a sculpture
Cons:
-Expensive $2.50 for 2 oz., 1 pound for $15
-plasticky feel – for me, not a satisfactory tactile experience
-generally not as effective for larger-scale work
Bozzetti
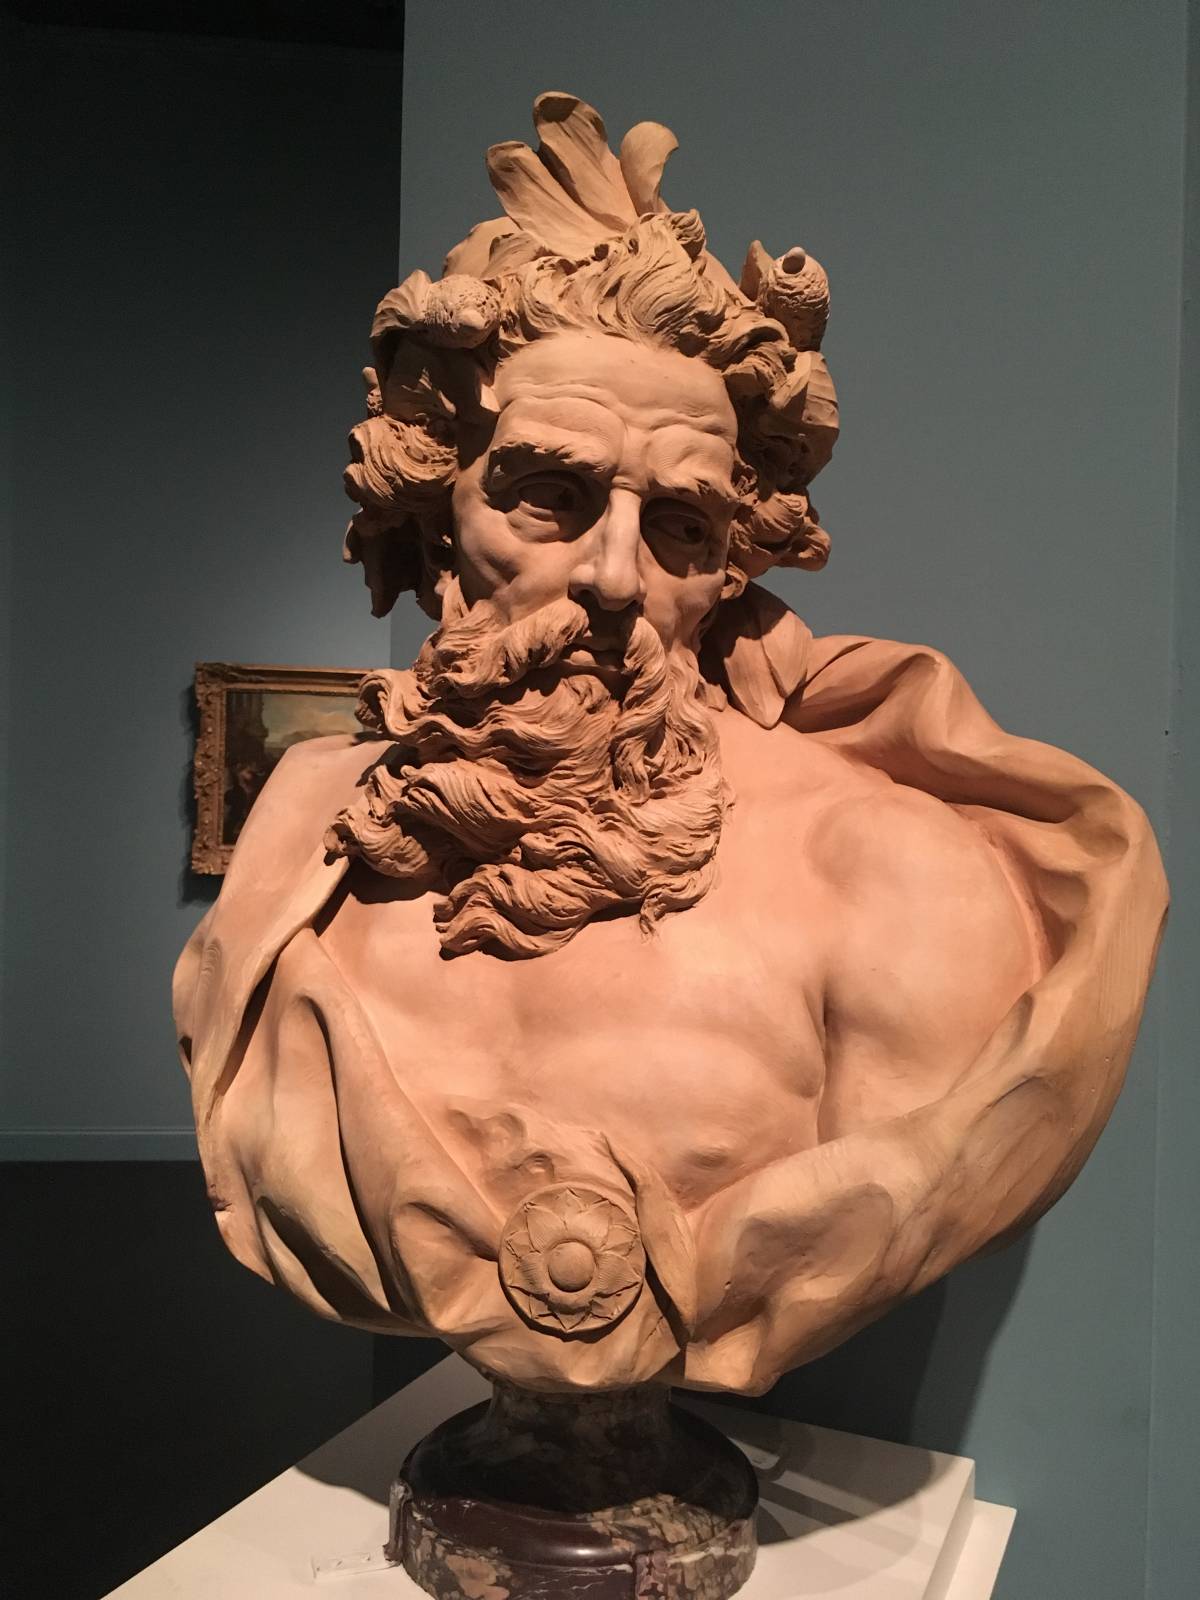
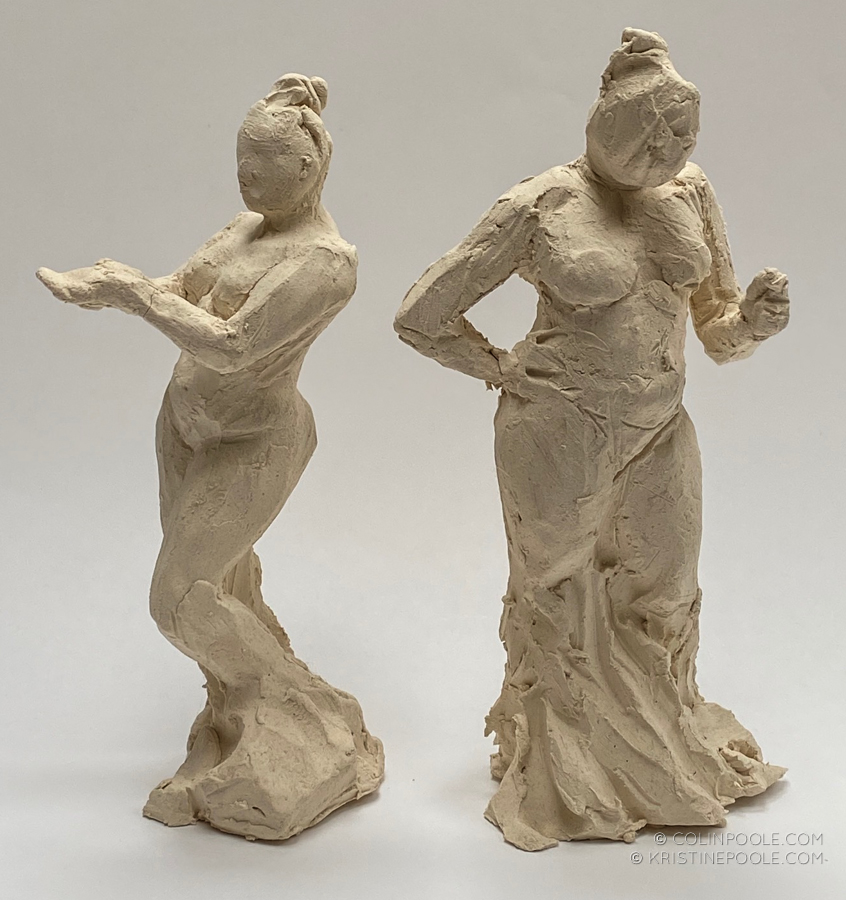
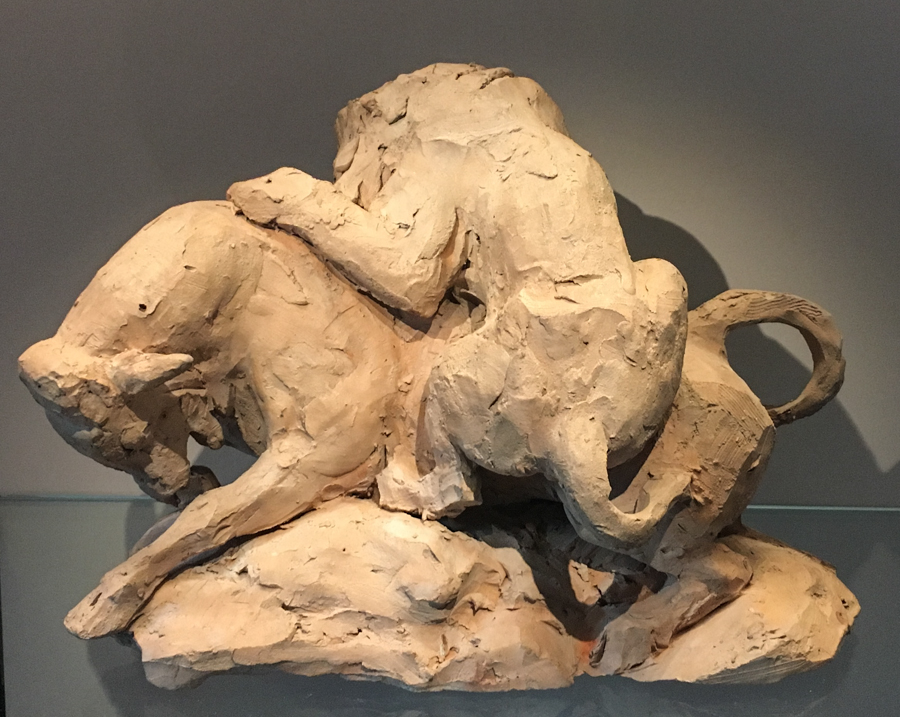
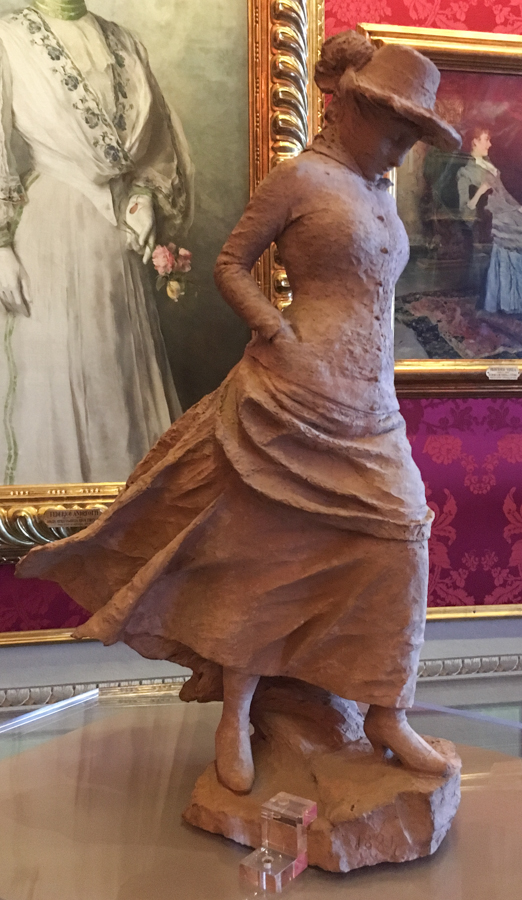
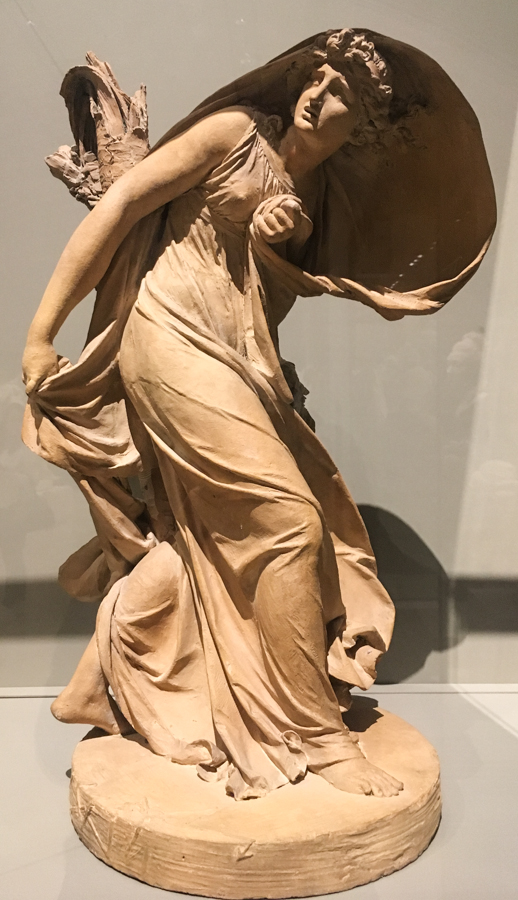
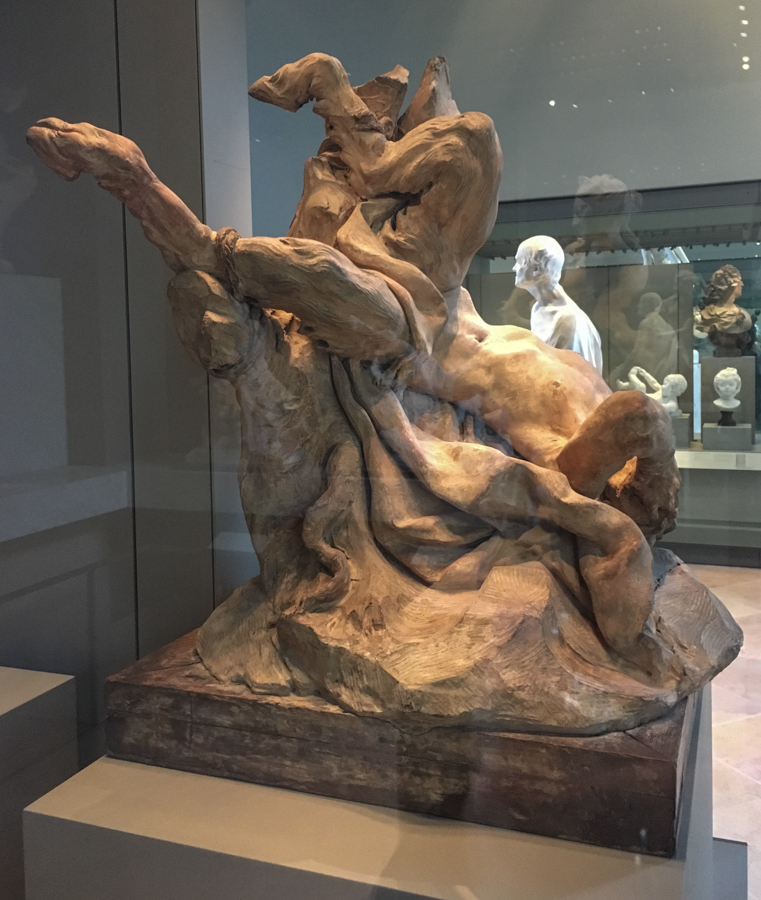
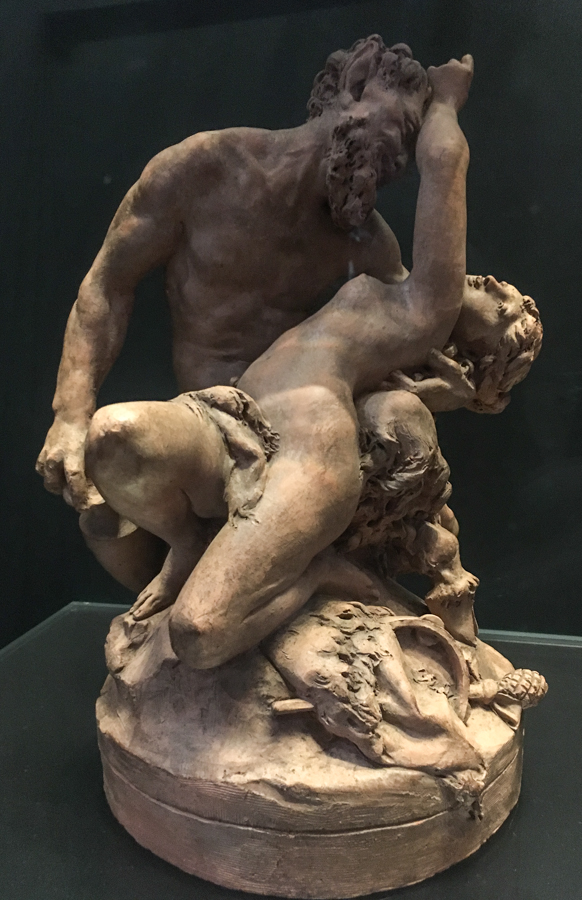
For our purposes today, we’re going to talk about starting with simple water-based clay sketches. We wouldn’t typically begin a painting without some preliminary sketches. Sculpture is similar. With the malleability of water-based clay, we can create a rough gestural sketch in 20 minutes to 3 hours that will allow us to see the sculpture idea from all sides and remedy the problems before we invest our time in a full-scale version. Here are some examples of clay sketches-both contemporary and historical.
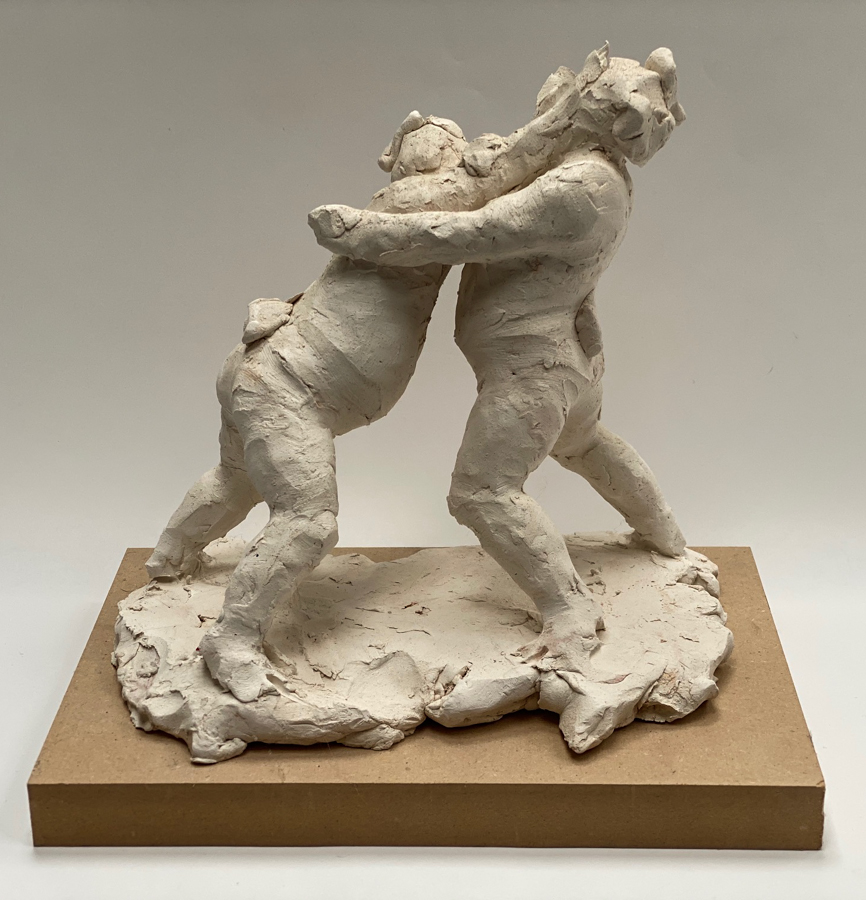
Leroy Transfield’s sketch of two Sumo wrestlers captures tons of information about the action of the sculpture in a simple dynamic gesture.
Bozzetti, or maquettes, are more refined versions of clay sketches that are then used as “models” for full scale versions of sculptures.
Oh yeah… tools
Your best tools are at the end of your arms, but yes, if you are going to seriously get into sculpture, you will need some tools outside of your hands. Before investing in piles of tools you may or may not like let alone use, you could go on the cheap and find things around your house to experiment with. Alternately, Amazon has various sculpting tool sets for $7 – $25 that would give you a decent start and help you find out what you like.
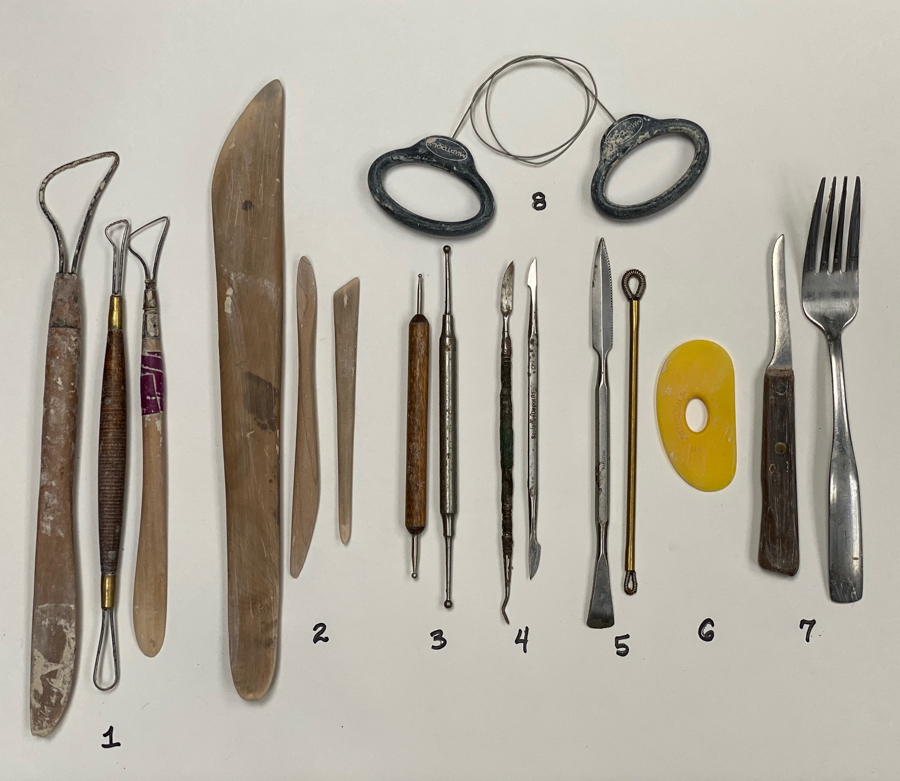
1-loop tools are useful for carving clay away, 2-a variety of wooden tools are used to shape planes and refine details, 3-ball tools are used for texture and tiny details, 4-these steel tools are great for clay detail and working on waxes. These are two of my all time favs, 5-texture tools, 6-Mud Tools throwing rib is great for smoothing surfaces and impressing lines between forms, 7-knife for cutting and shaving, fork for joining parts with slip in water-based clay (and sometimes for eating), 8-wire helps cut chunks of clay efficiently
Let’s Go!!!
1. Get clay (probably for most with busy schedules, this is a good first assignment for this month. For you superstar overachievers, carry on)
2. Open bag
3. Take some clay out and start to play with it-squish it, roll it, pinch it, move it around – see what it does.
4. Don’t judge yourself – enjoy the process of playing with a new material and see where it takes you. Cut yourself some slack – you’ve had most of your life to become skilled with a pencil – it will take some time to get acquainted with clay. Most of what you do, you will squish up and remake into something else later – no pressure.
If you come up with something you really like, you can dry it very slowly and find a friend with a kiln or a local clay studio to fire it for you for a fee. Generally you don’t want clay thicker than 1” anywhere on your sculpture if you’re going to fire it (most clay sculptures are hollow as are bronzes), but I have gotten away with thicker if I dry it (and fire it) super slowly.
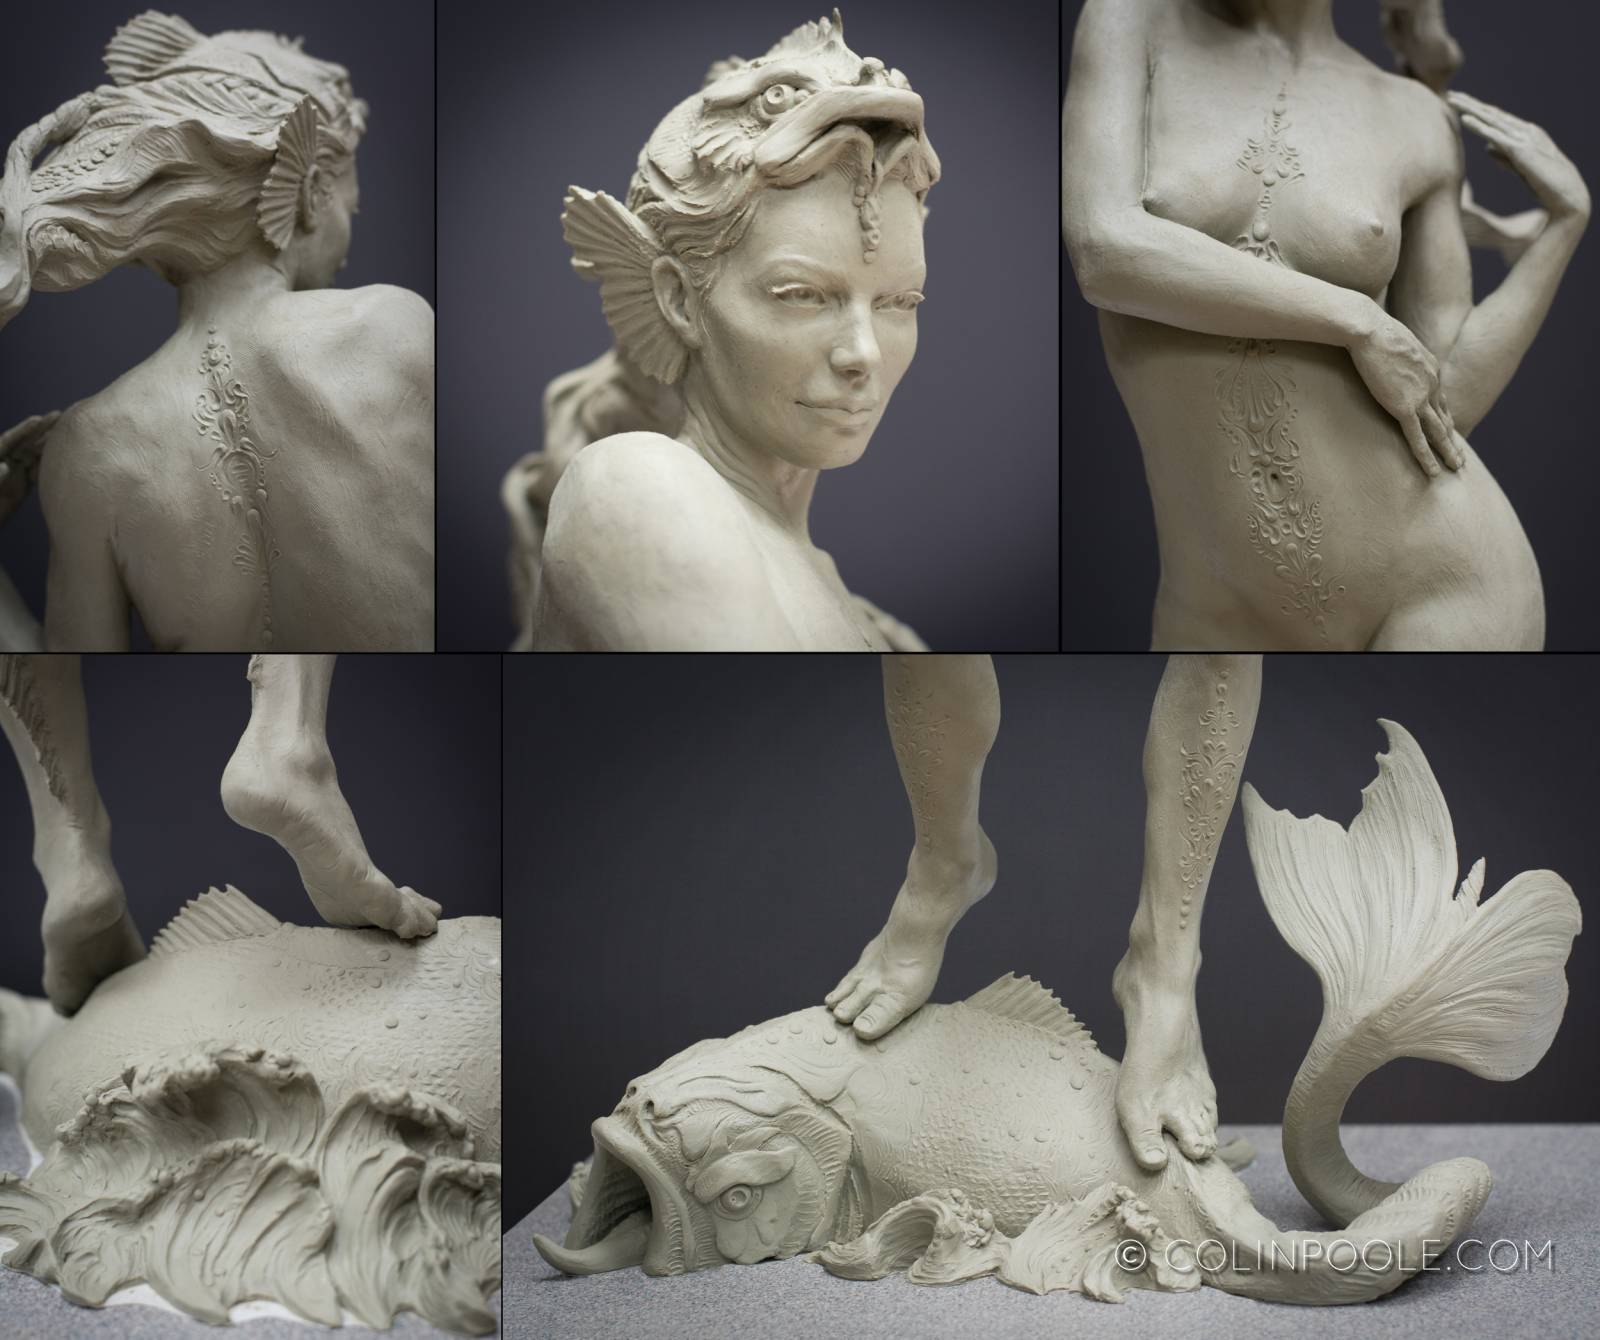
Now, if you end up making something like this, CALL US and we’ll help you figure out how to get it fired! Seriously – I mean it.
A tiny, little wrap up H*Art to H*Art Chat
As you launch into sculpting, be patient and have fun with it. Try to put the inner critic to rest and give yourself freedom to just play, which leads us to our final topic, the Ad Hominem Artist syndrome. There can be a lot of distressed energy running around the internet regarding being an artist – maybe it’s a touch of the winter blues or the slow down/let down between convention seasons, but whatever the source, as I see it, you all are waaaaay too talented to be getting down on yourselves like that.
The Ad Hominem Artist
While being an artist is all most of us have ever wanted and most of us spend a good part of our days doing just that, the process of creation often goes south for a bit somewhere in the middle. Whether we’re creating a new personal piece, putting together a show, doing a commission or presenting work to the public, the process of creation often goes something like this:
1. I looooove this idea!
2. This is harder than I thought/isn’t going how I planned/
isn’t getting the response I’d hoped for/isn’t working
3. This sucks!
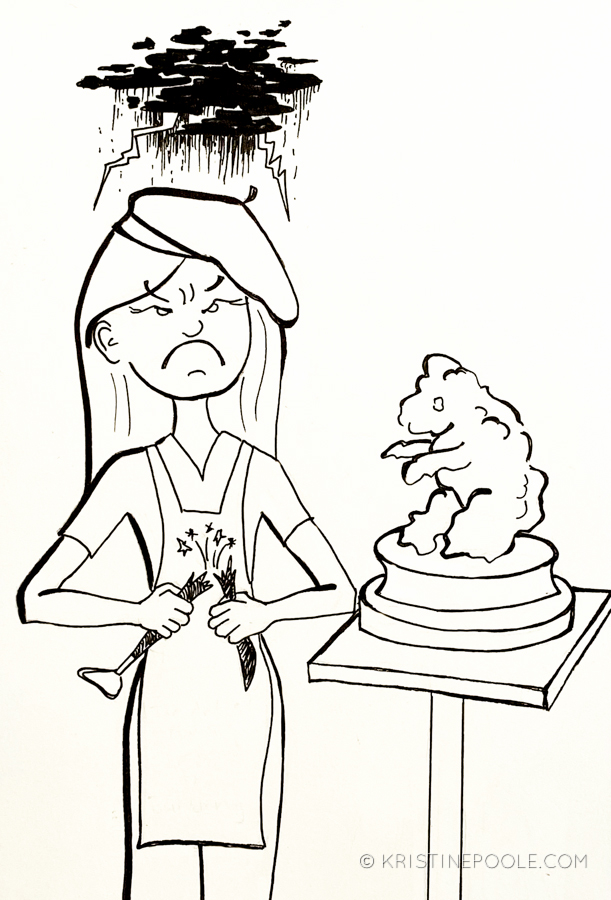
At this point, we can get drawn into the “Retrograde Amnesia Spiraling Vortex of Doom” wherein we forget every success we’ve ever had as an artist, every person who’s ever bought our work, every positive thing that’s been said or written about our work, every person who’s shared our posts on social media and start thinking maybe we should just get a job, because then we might at least get health insurance.
4. (Therefore…) I suck.
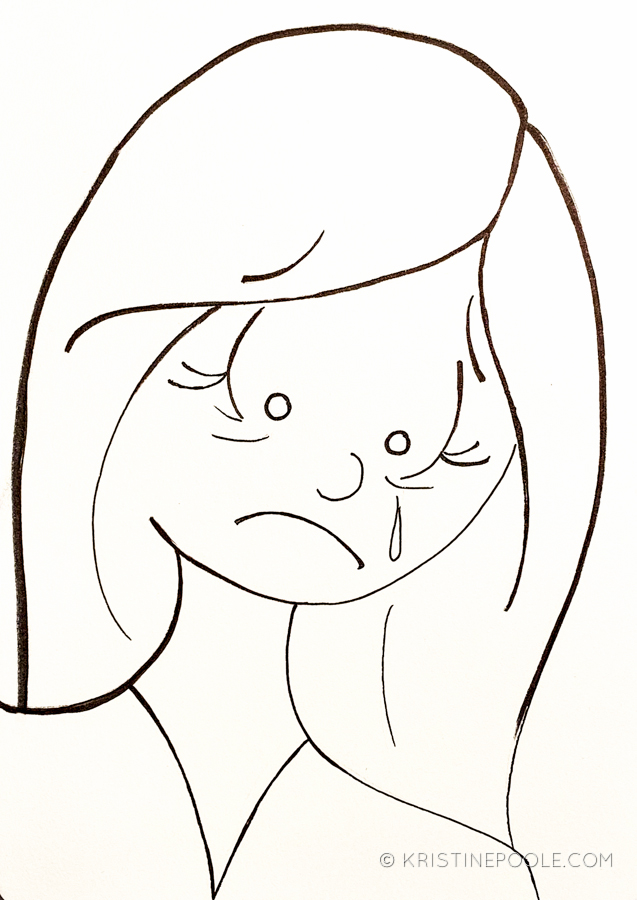
When looking at our work through the “I suck” glasses, not much looks very good and we can get very sad. At some point, we get back to work and find:
5. Hey – this really isn’t so bad after all
6. I looooove this idea!
The real trick seems to be not allowing ourselves to slip from 3 to 4. When in level 3, we can still engage in problem solving, starting with changing our way of thinking and speaking about and to ourselves. For instance, saying “I am a failure” has quite a different effect on our mind and belief structure than saying “I just experienced failure.” With the former, we label ourselves and are in danger of believing the negative thought to be true. The latter puts the negative judgement about ourselves and who we are firmly in the past and leaves room for us to be something else in the present.
Attack the problem, not the artist. Instead of saying, “My work sucks and I’m a failure,” we can say, “I have experienced failure, and boy did I learn a lot from that one! Now, what am I going to do about this sculpture of mine?” Maybe it’s starting over (my second go at a sculpture has always been better in my experience), getting some feedback from a trusted friend, learning something you don’t know yet, trying something different and so on.
If you’re really stuck, do something that feels like you’re taking care of yourself or doing something special for yourself or that lets your mind wander and sort through the issues when it’s not under pressure to create. For me, it’s taking a jog/hike with the dogs, European fashion magazines, Ulta, cappuccinos and chocolate…or weeding (but that’s a topic for another time). Just be mindful not to get sidetracked for too long – we never know how much time we really have to create all our imaginations have envisioned.
You Are Awesome!
For the times when you could use a little “atta-boy-girl,” click here for the kcpoole “You Are Awesome!” playlist we created for you on Spotify. https://open.spotify.com/playlist/7EuhmOqTU2lio0TFuplssJ
Keep creating and happy sculpting!









This is the post I didn’t know I needed today! Thank you Kristine:)
I am more delighted than I can express to hear you say that. Thanks for sharing your thoughts. <3
Kristine, that was a wonderful article! I’m so glad you’ve joined the Muddy Colors crew. I did step 1 a few months ago, guess I better pull up that playlist and proceed with the rest of the steps.
Hey Carly! Sounds like you’re ahead of the curve already-go get ’em! 🙂 I am really honored and greatly charmed to be playing with the Muddy Colors crew- what an amazing community to get to be a part of. Have fun sculpting!
These are fantastic posts, Kristine. as is your work. Thanks so much for sharing these! Looking forward to more as it comes, and I’ll stay busy in the meantime. 🙂
Thanks Steve! I’m delighted to hear that you’re enjoying them. If there are any topics that would be of particular interest for future posts, please let me know in the comments.
Wow! Thank you, Kristine; this is exactly what I needed today, as I flounder in an Ugly Stage as vast as an anaconda is long. 🙂
You are so welcome Courtney. Wow- the Anaconda Sized Ugly Stage sounds pretty rough (but I’ve been there myself ;). We all struggle through those ugly stages-it’s a challenge, but keep plugging away and you’ll find your way out the other side before you know it. The finished work (and/or what we learn from it) is always worth the climb.
Loved the way you break down the first steps into sculpting Everything feels approachable and encouraging and it really motivates beginners to give it a try The practical tips make the whole process much less intimidating