This month I have a brief little underpainting process guide to share with you! I’ll be starting with a tight pencil drawing before transferring to a panel, sketching in ink, and adding two layers of oil color to establish my underpainting.
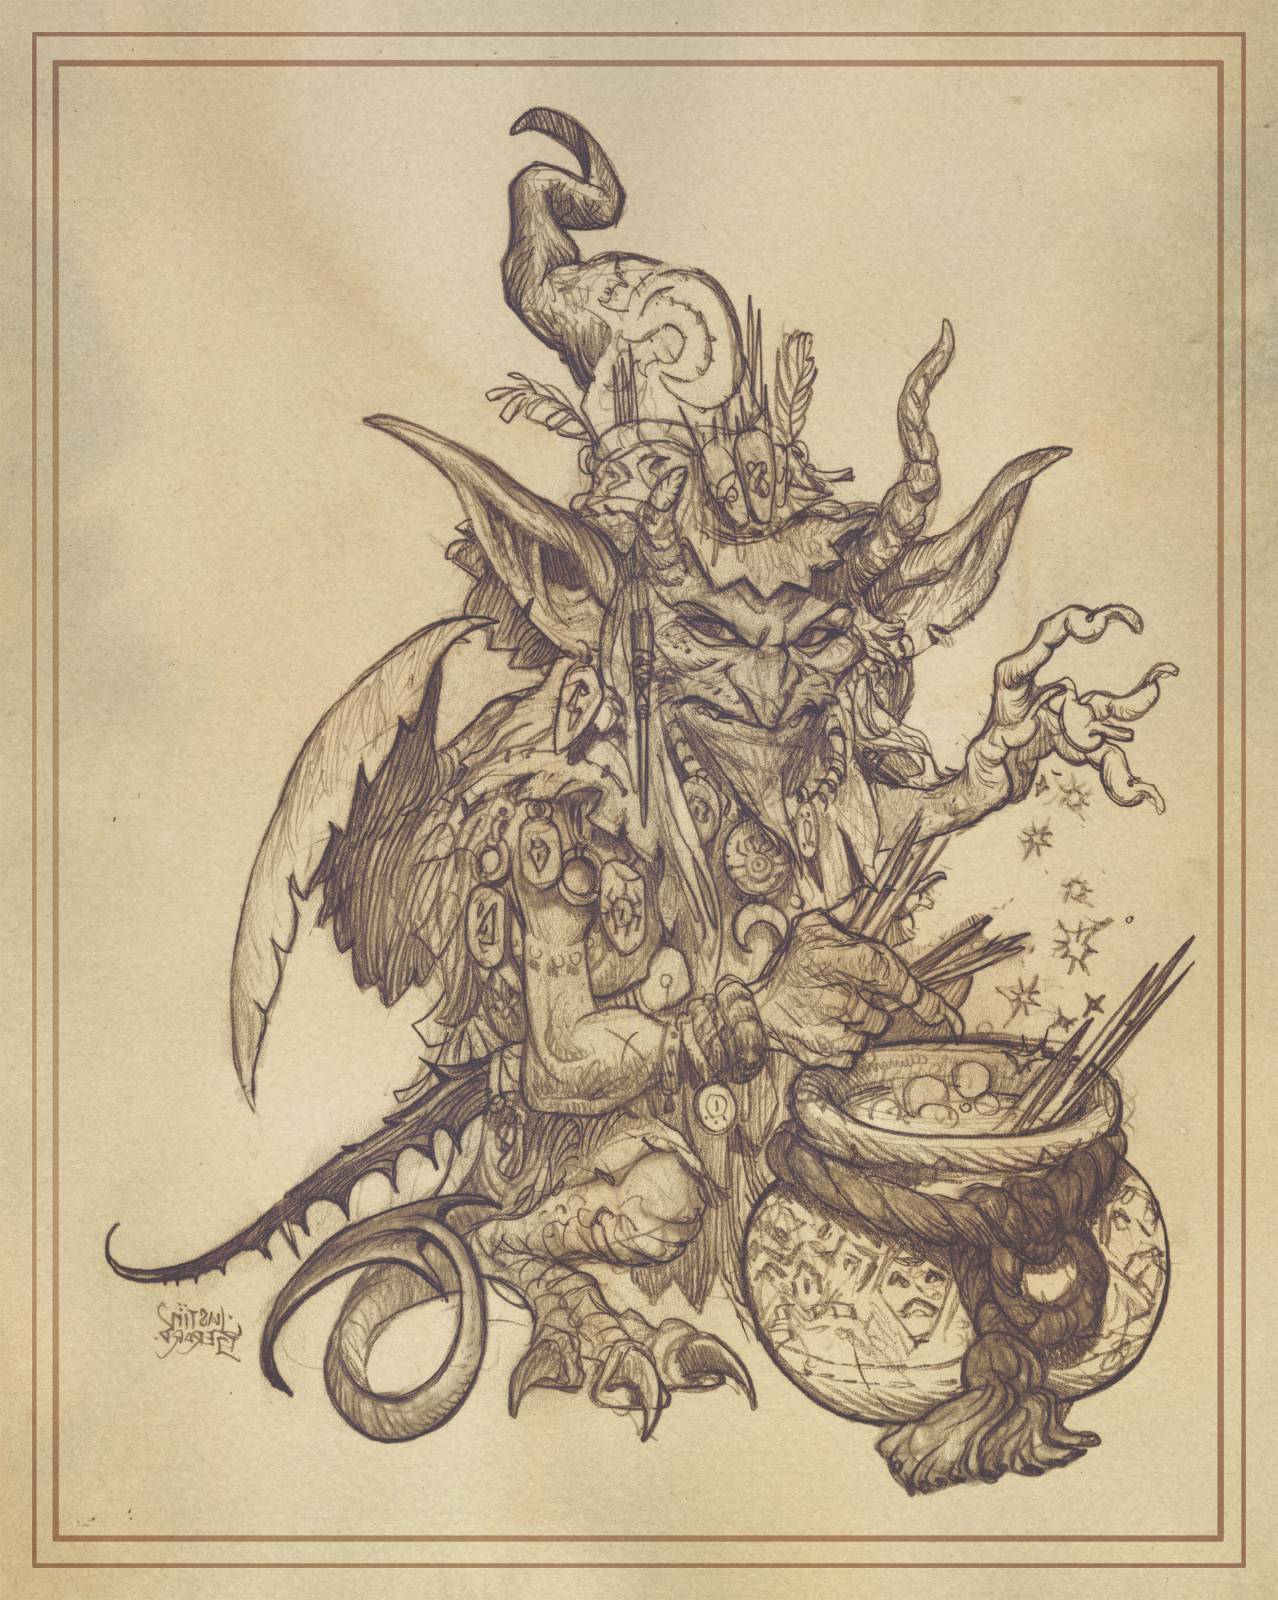
I’ve had this drawing of a “Nettle Warlock” on my desk for some months now, and it has been daring me to paint it. So this seems like an ideal time to take a stab at it! To begin, I did a quick carbon transfer onto a gesso-primed panel:
![]()
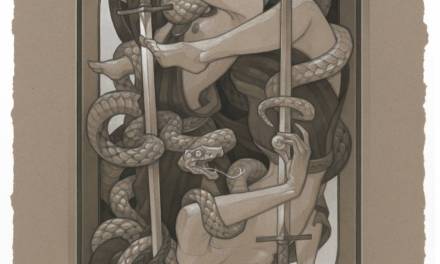
The carbon transfer is fairly straight-forward. I trace over a print-out of my drawing with a sheet of carbon paper underneath to transfer down onto a gesso-primed panel. You will notice that I changed some odd bits from the original drawing here as well. The bird feet were cool in theory, but in practice their shape just felt wrong in the space they were in. So I used a classic and timeless illustrator’s trick: Cover it with oversized costuming! The tail as well was twisting away from the character’s sword in a way that showed I was clearly making compositional decisions during the drawing process based on fear of those objects running into one another. (Always a poor choice! Typically one driven by having drawn something I really liked, and that I was having a hard time finding the heart to erase out for the sake of the composition. Always be prepared to murder your darlings!) So for the carbon transfer I committed to a longer tail that dramatically overlapped the sword to fix that area. I like this version a LOT more.
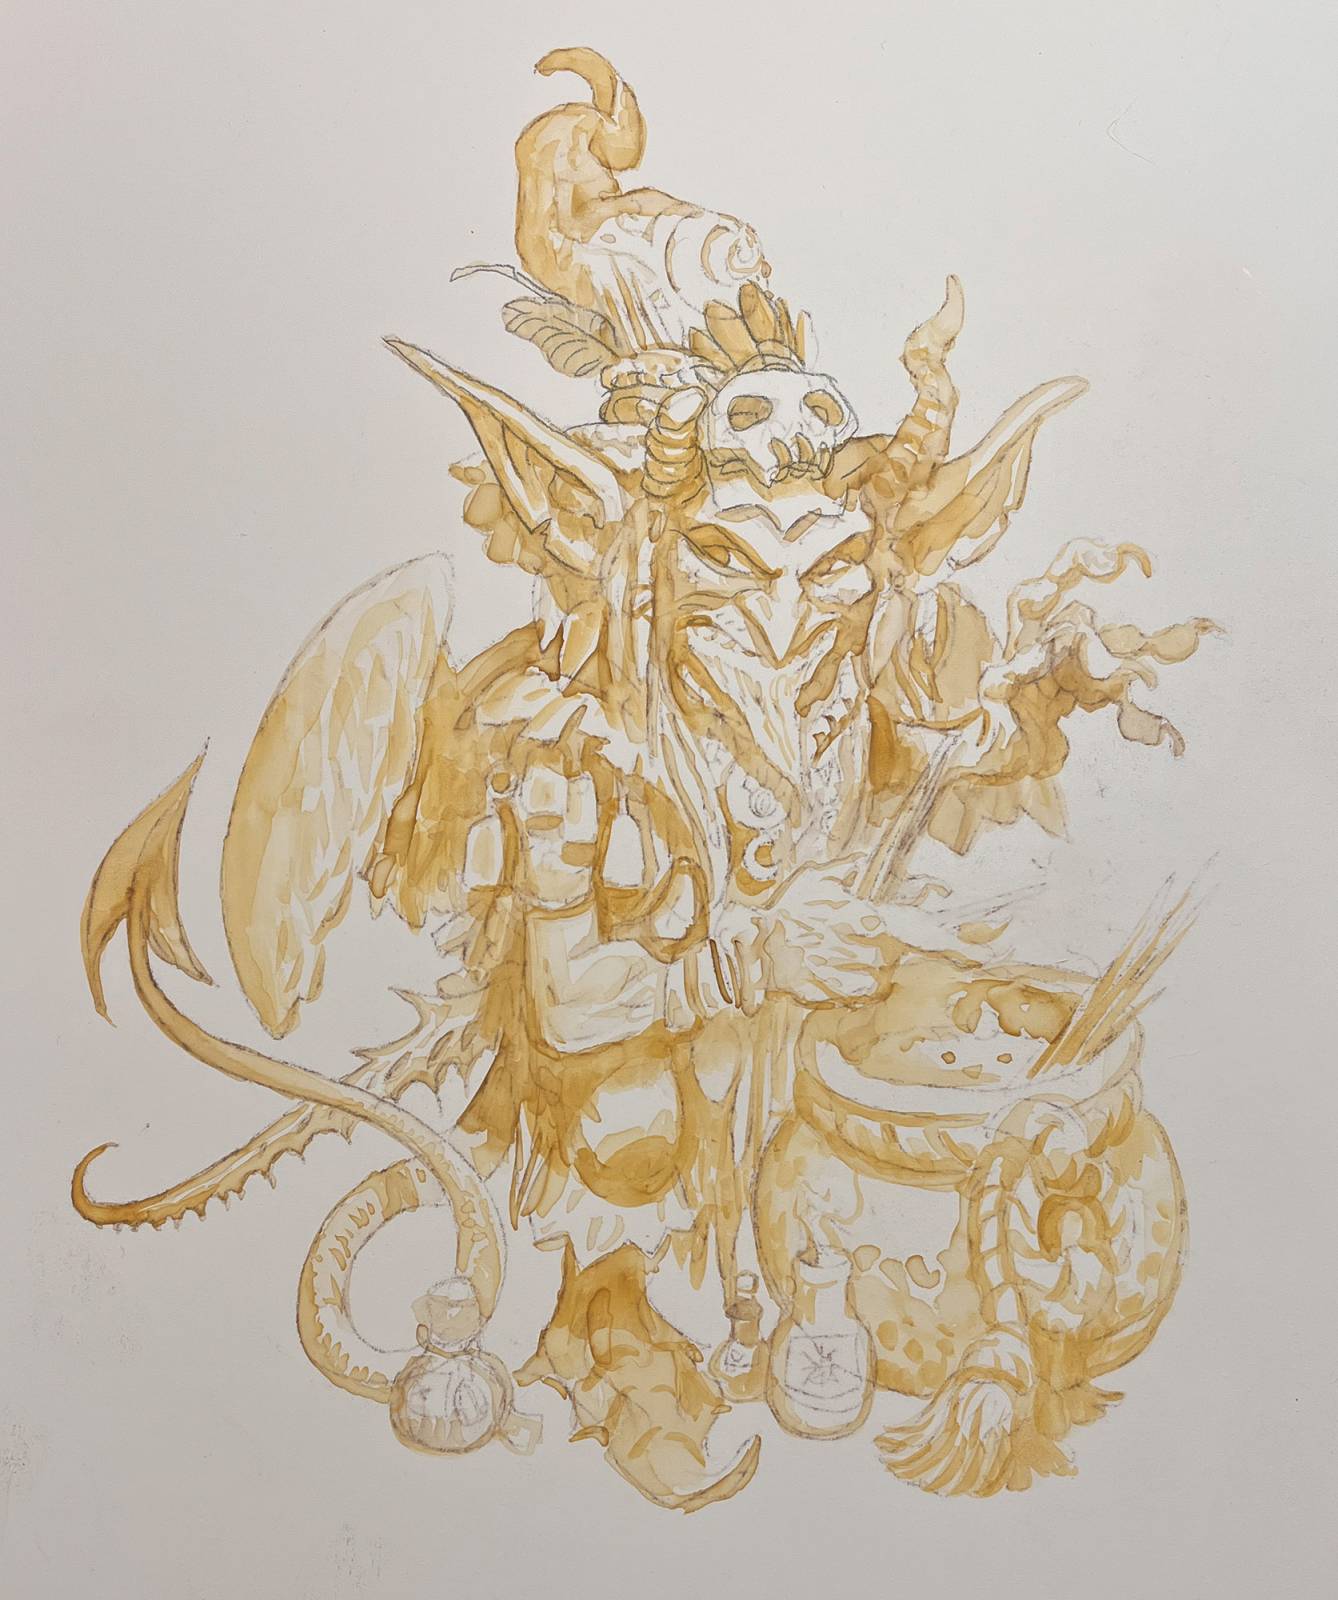
Next, I use Liquitex acrylic ink to create a really quick sketch of the drawing and the shadows. Acrylic ink is great for working FAST. The whole thing comes together in minutes and then dries instantly so you are ready to dive into oils right away. That said, acrylic ink comes off as a bit sharp, and lacks the subtlety of a slower to produce oil sketch. To ensure this doesn’t cause me any problems I work with a lighter color (yellow ochre here) that it is easy to cover and won’t be competing with the oil paint layers that come next.
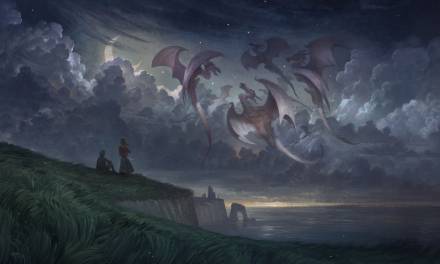
I am still keeping the studio solvent-free, so I am using only refined linseed oil as a medium here, and that sparingly. I am primarily using Raw Umber and Titanium white from Old Holland, which are beautiful to paint with right out of the tube.
As this is an underpainting, I am primarily focused on lights and shadows. In the first layers I am mostly using raw umber, and then raw umber mixed with just a bit of titanium white to give it some better opaque coverage and blending. I try to stay just slightly lighter than I anticipate the color being on this one, as oil tends to darken. I also don’t worry about absolute whites yet. I will be adding those in a follow-up layer. (Adding them now tends to only make things muddier.)

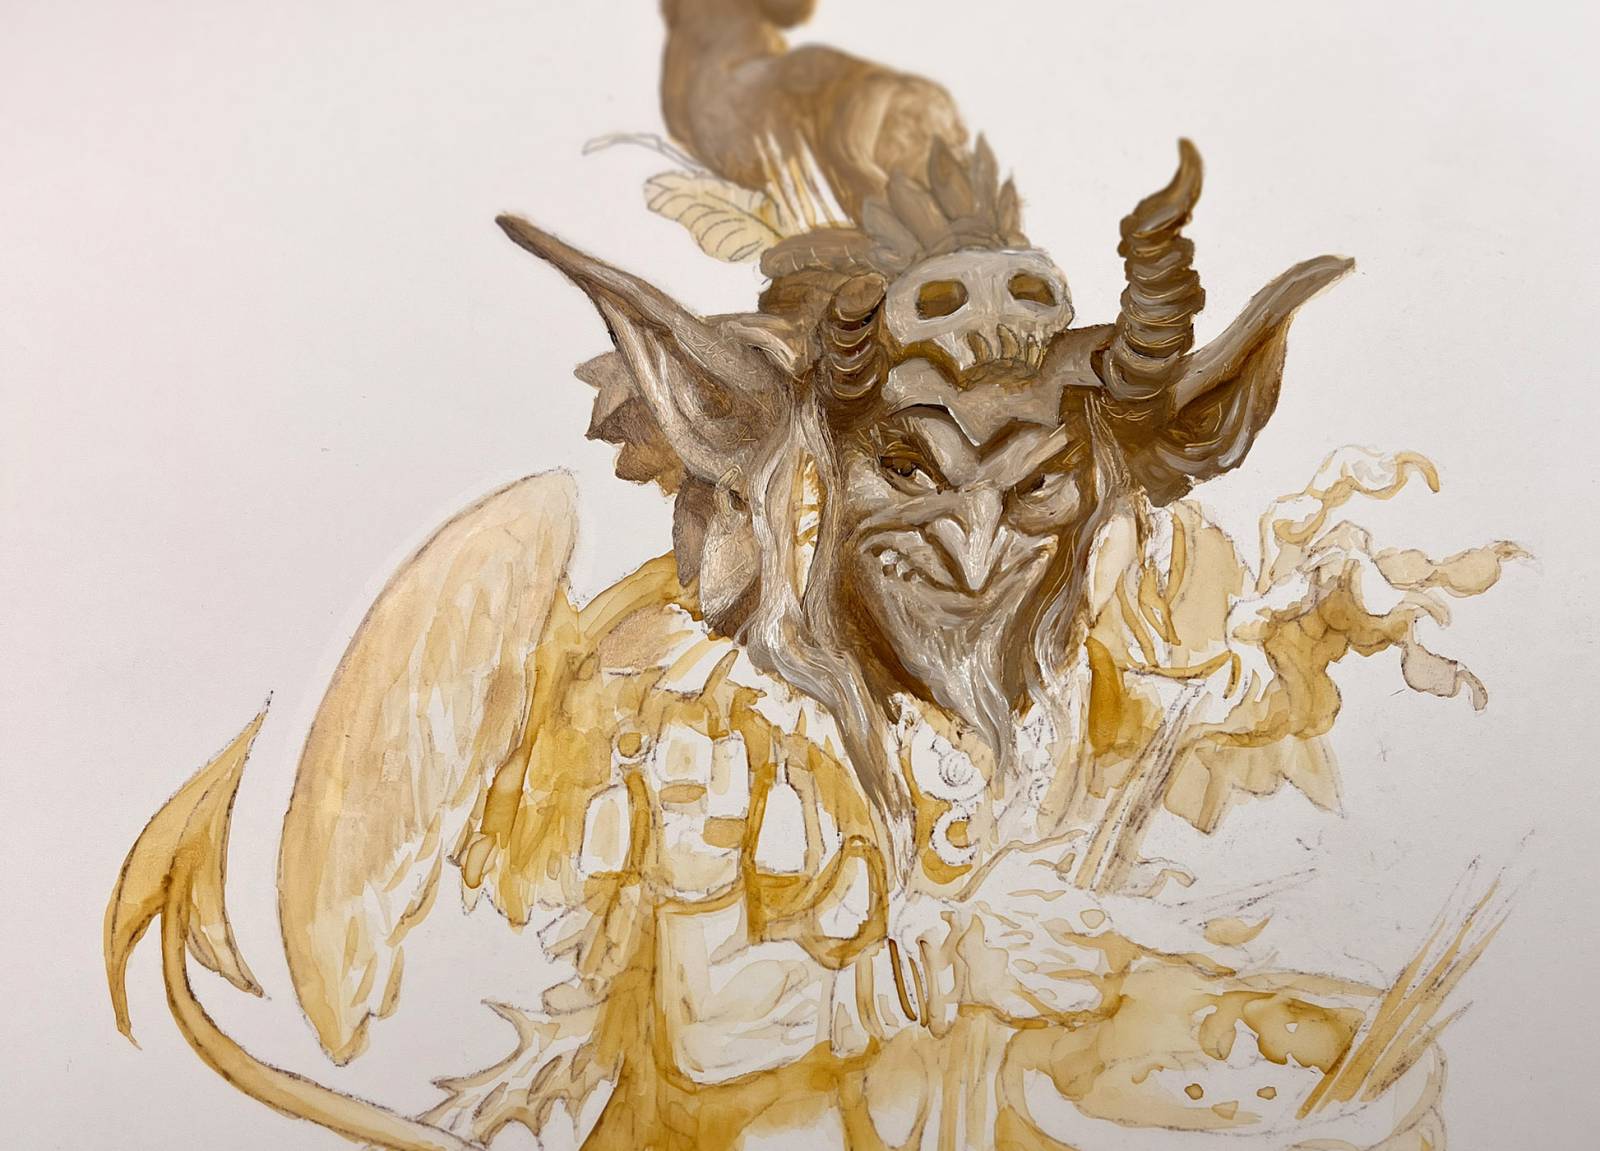
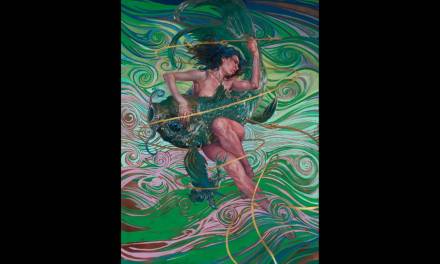
As I am not using any alkyds, the drying time is longer in between layers, but not terrible. Raw umber is a faster drying pigment and having even a little of it in the painting will cause it to dry much faster. This layer was touch dry after about a day. Now that it is dry, I begin to add the second layer, still using the same raw umber and titanium white. The second layer is always my favorite. Everything has been established and, painting over a thin layer of oil always feels so much nicer than painting over the gesso base. Passages become smoother, shadows more deep and murky, and the lit areas can now be detailed quite sharply in pure white.

Next time we will dive into color!
-jg
LOVELY.
THANK YOU, JUSTIN.
Wow. Reading this is pretty inspiring. It makes me want to go break out the paint and see what happens.
This is fantastic, Justin! Thank you for showcasing this method and looking forward to the next step/article.