Illuxcon is an annual art convention dedicated to fantasy art with a heavy focus on traditional art. Much of my commercial work is often digital, and doesn’t offer me the chance to work traditionally. So I always look forward to Illuxcon, where I can finally get the brushes and paint out and really sink into some real painting. This year I have abandoned my usual watercolors and gone in for some classical oil work.
Today I’d like to share some of the work that I will be bringing to the show as well as the process by which I am painting them.
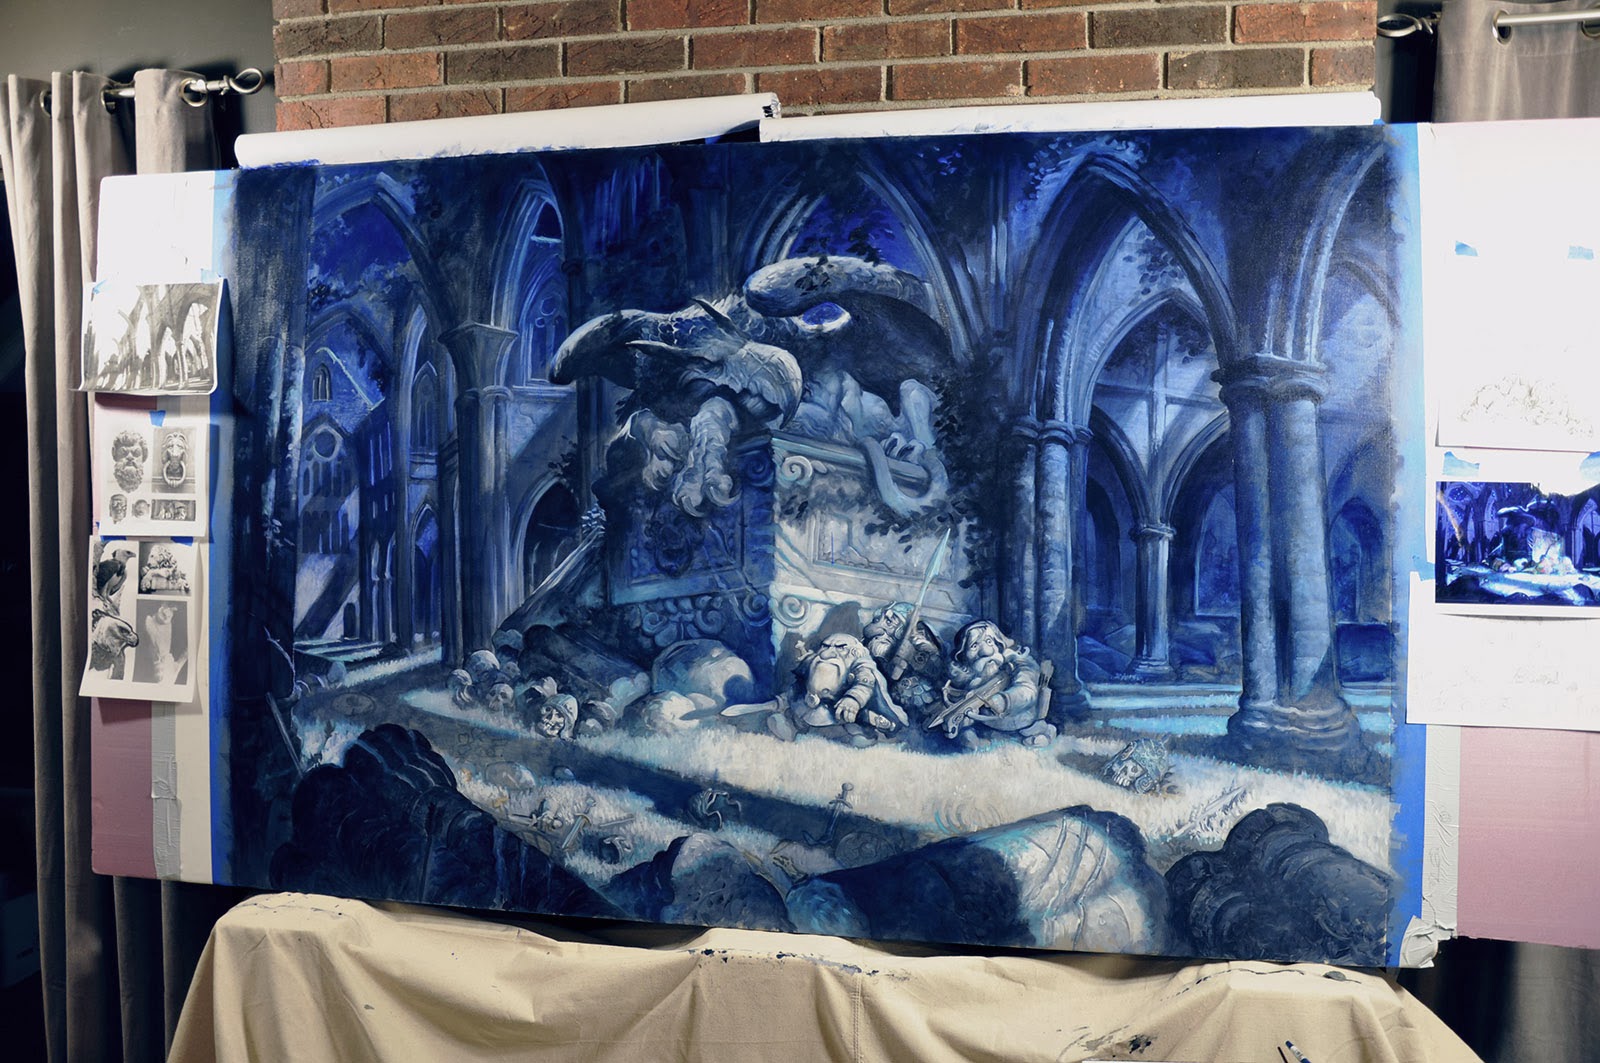
In the steps shown above, I am working as follows:
1. DRAWING
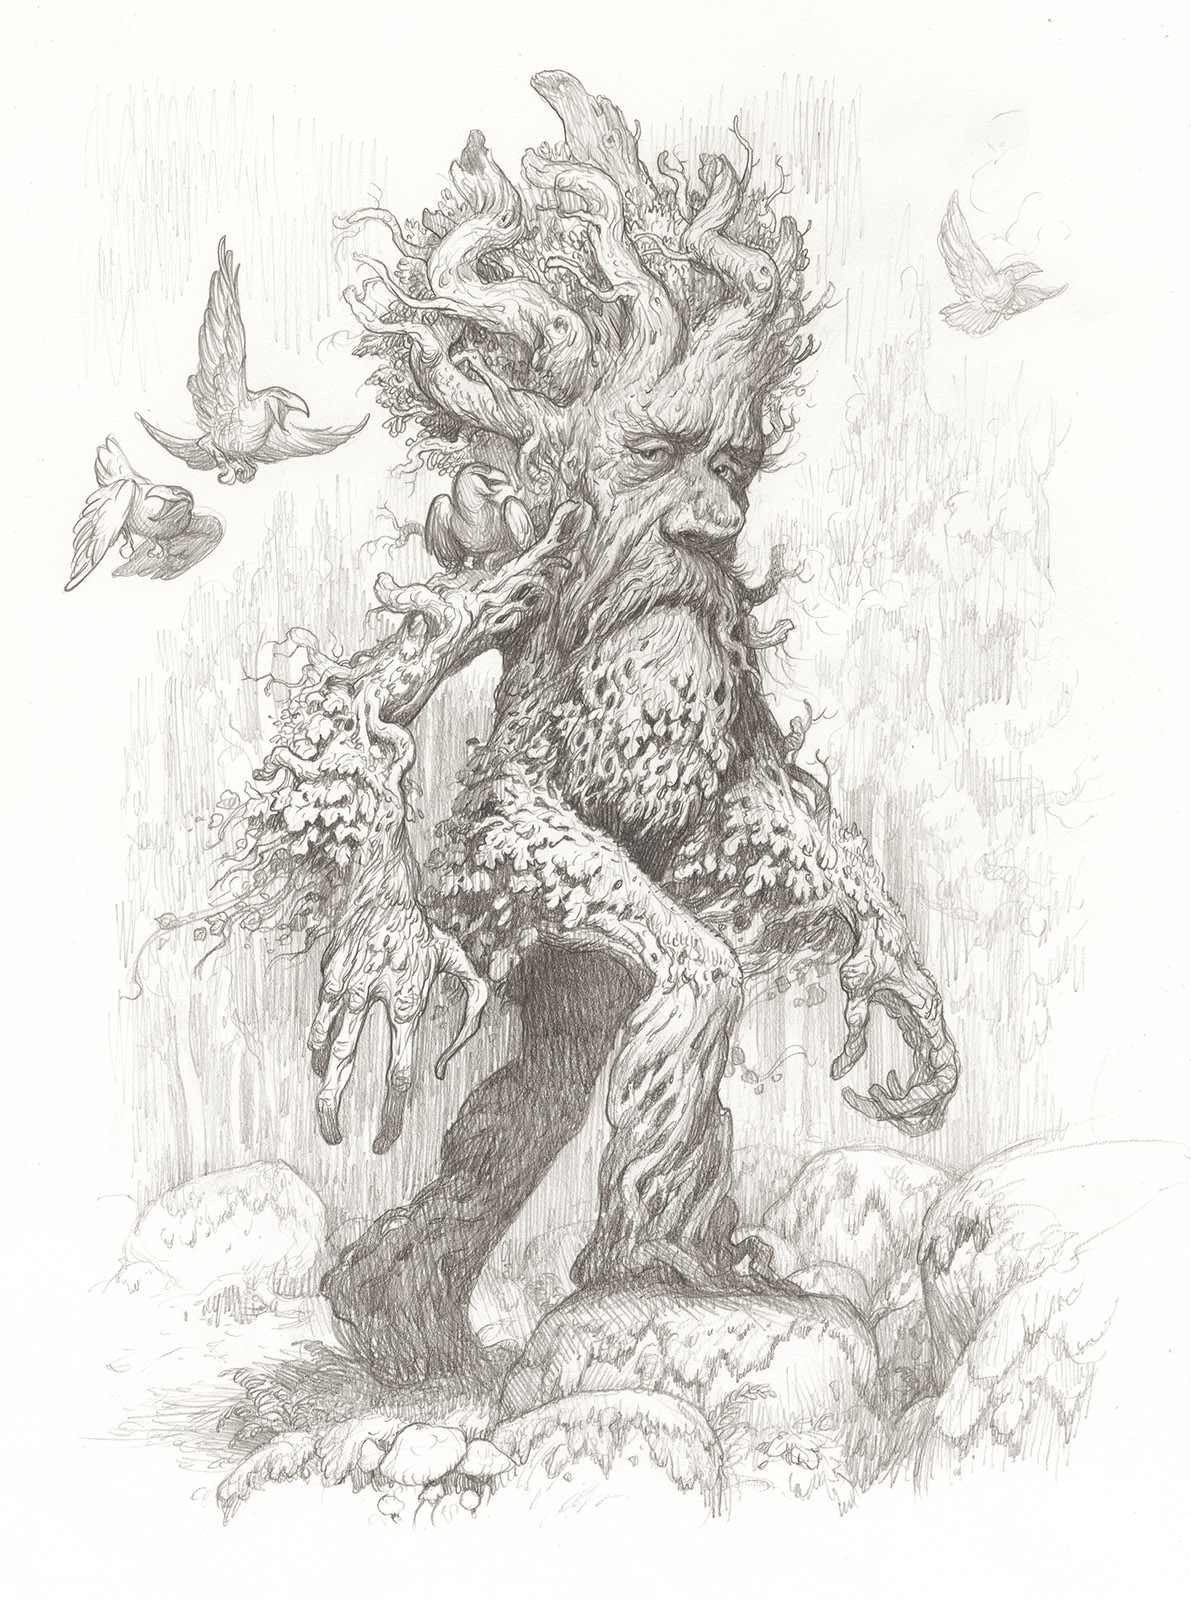
For the drawing I am using acrylic ink on Panel. I find acrylic ink to be great for starting a painting as it can be applied quickly, it dries immediately, and it isn’t as messy to paint over as pencil is.
2. IMPRIMATURA
Switching now to traditional oils, I lay in tones with Umbers and Siennas, mixed with titanium white to establish my shapes.
Now technically, the imprimatura is just meant to be a flat fill, but I tend to sneak a little grisaille in with my imprimatura to keep things moving along. I was raised on video games and nuclear energy, not windmills and tiddly-winks. Things have to get moving fast here or I am going to lose it.
2.5. EAT A TOASTED AND LIGHTLY BUTTERED ENGLISH MUFFIN
I don’t need to explain myself here. They are delicious.
3. GRISAILLE
Using umbers I now push up the shadows and highlights to really nail down my lighting. After this I set the painting aside for several days until it is fully touch-dry.
4. DEAD COLOR
Dead color pass to begin to fill in colors and work up chroma. This is perhaps the scariest stage of the painting. More often then not, I am really happy with the underpainting and would just as soon not disturb it. But the image cries out to be seen in color, so on we must go.
4.5 KEEP CALM
5. GLAZE
After laying in a thin glaze with medium and color, I work final shadows, highlights and details in.
While this method is not new, it does have a long a decorated history of just working. The stages listed above were used by classical baroque and dutch-flemish artists for centuries because it was more or less foolproof way at arriving at a powerful image. (Just don’t screw up your drawing!)
That means that even a shiftless lay-about like my cat could paint something decent if they stuck to the manual. Not that he ever will. Sure, because he is a cat; but also, I think if he were human he would still be too lazy. You can just tell with some creatures.
For medium I am using walnut alkyd medium, which is a great medium if you are wanting to go non-toxic in your studio. One of the best manufacturers for this is M. Graham and that is who you should go with if you are interested in trying this out.
My walnut alkyd medium is made for me by actual bees. Well, they are wasps at least. Or maybe ground hornets. Anyway, I’m using their winter food storage as a medium and I am not sorry. If they wanted me to be sorry then they shouldn’t have been winged, stinging insects and they shouldn’t have built their nest outside my window.
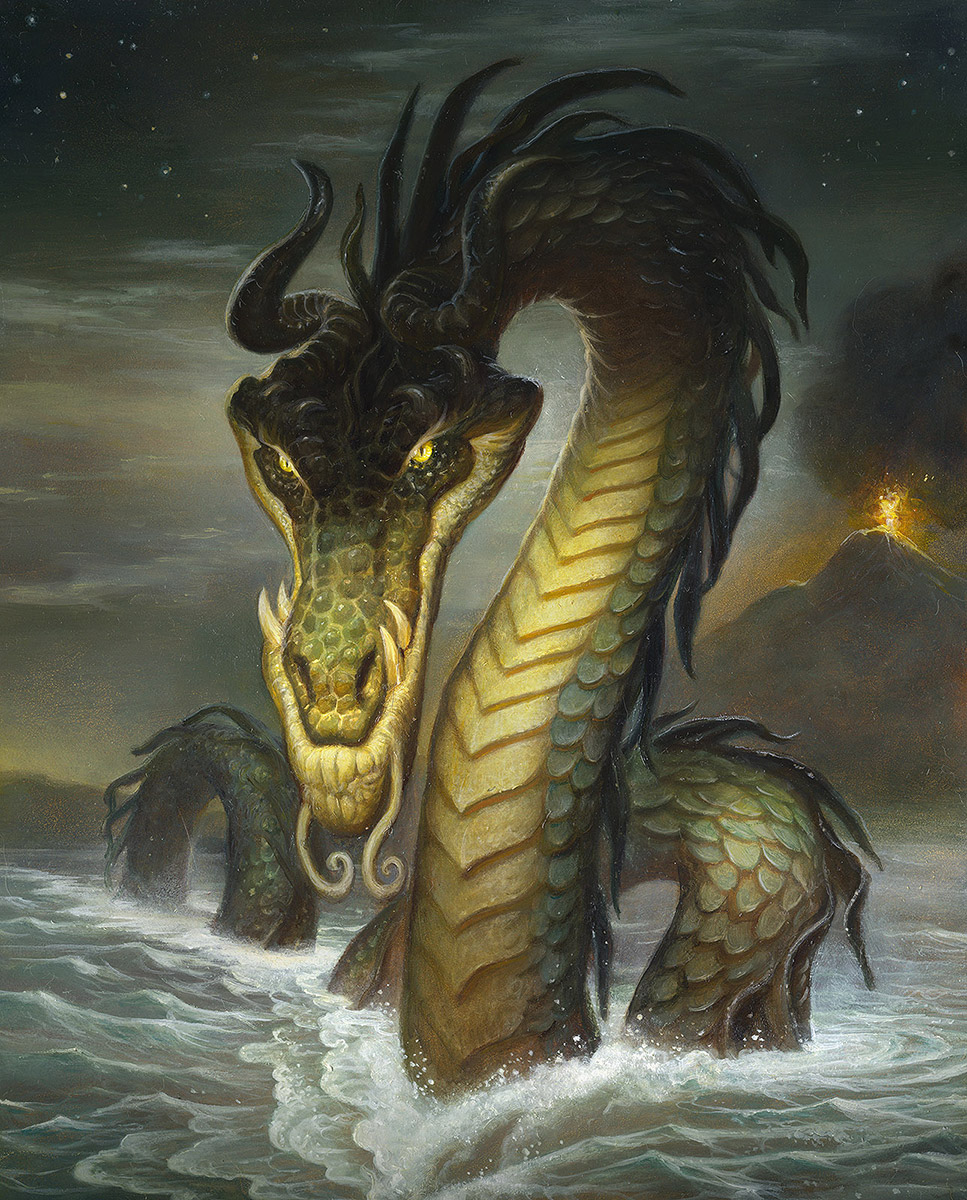
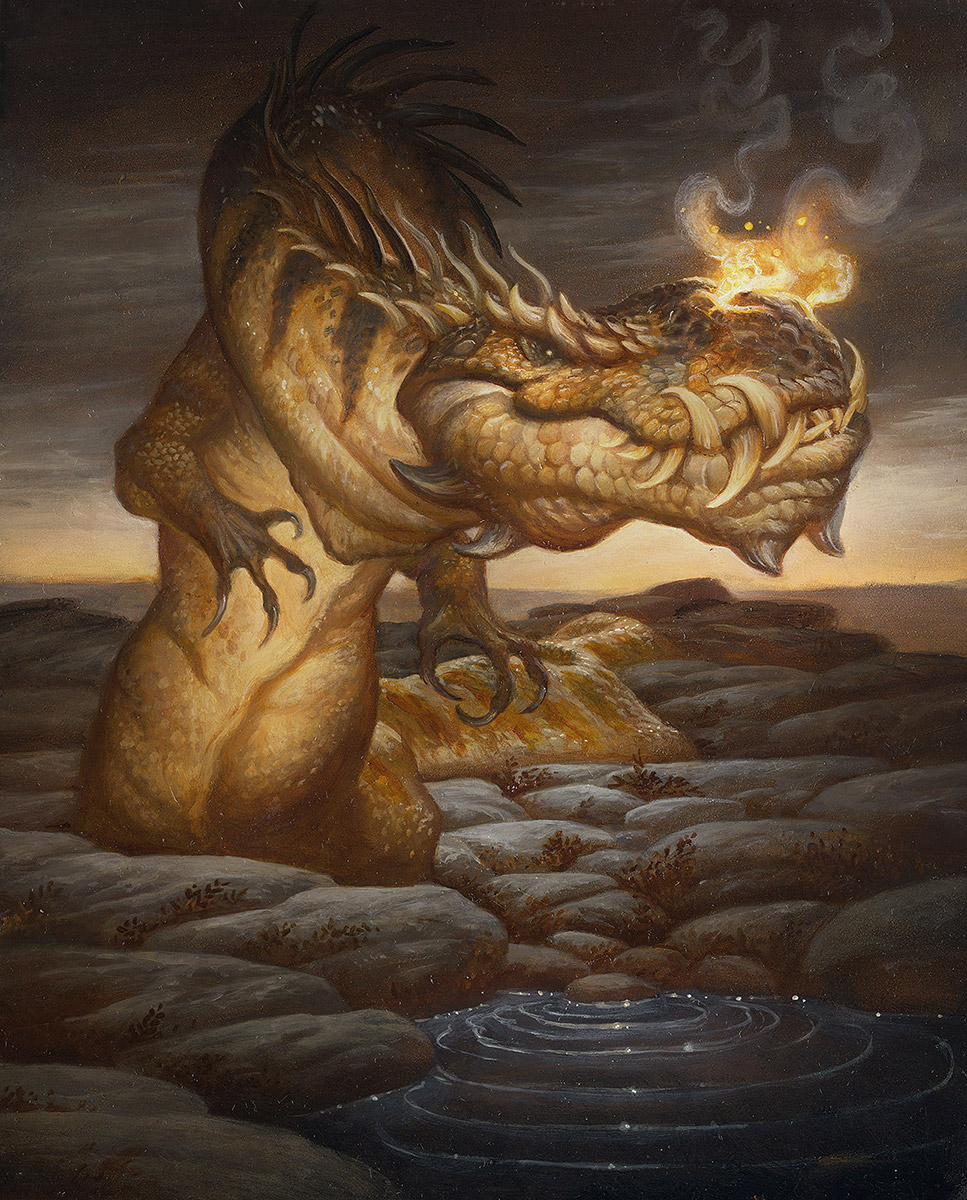
For the 3 dragons, (there is a third and secret dragon still on the easel) I work on Ampersand gessoed panel. Or as we call it in the field, “the Cadillac of Masonites.”
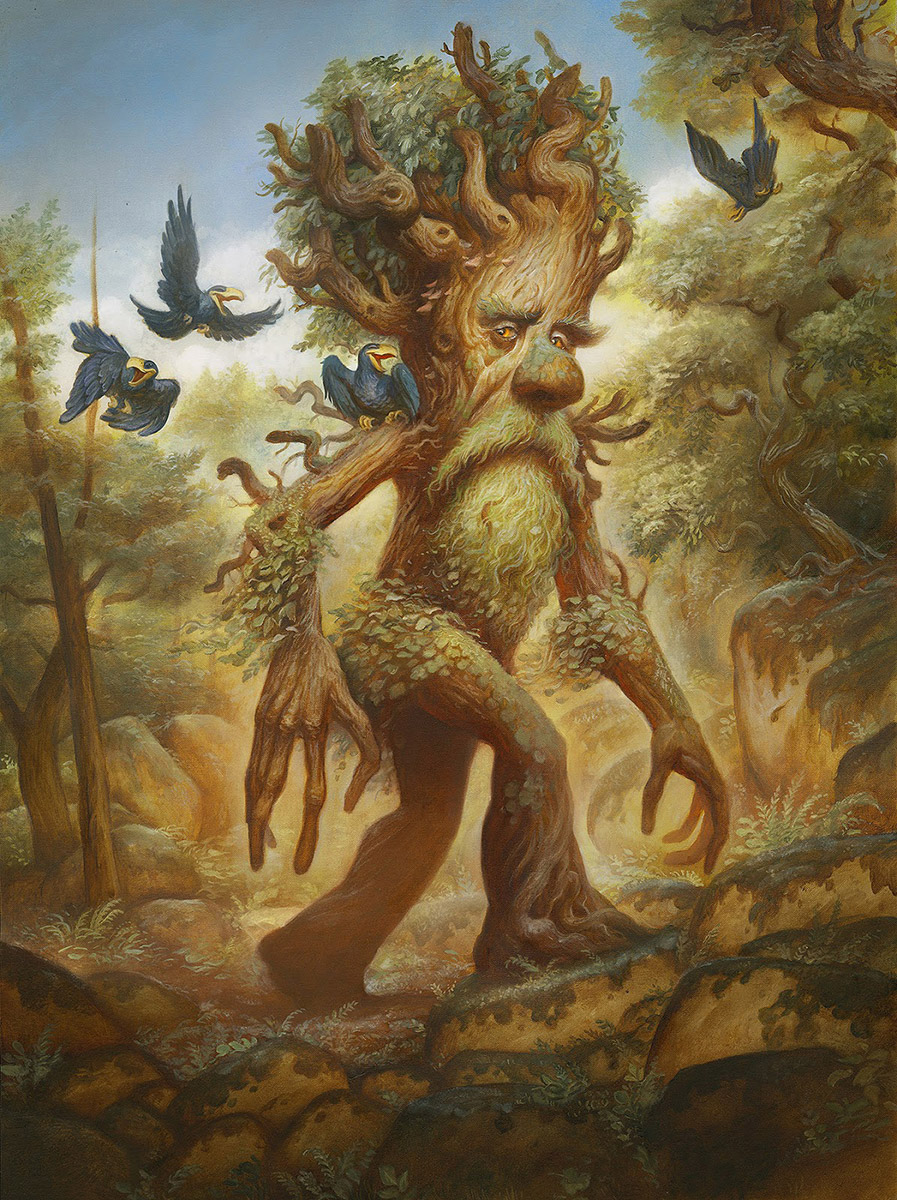
“Mean Tweets”
While the dragons were painted on panel, “Mean Tweets” was painted on the divine Belgian Linen.
Fun fact about Belgian Linen: It is pound for pound worth more than gold, and is in fact, what the paintings in Valhalla are painted on. It may well be the finest painting substrate in the known galaxy.
It’s just that good.
I hope you’ve enjoyed this little tour. All of the drawings and paintings here will be available at Illuxcon, October 18-22 in Reading, PA. I hope to see you there!





Nice method and fantastic work Justin. I will have to disagree with you on the paintings in Valhalla. They are painted on the shields of the Numbskull's stupid enuff to get in a Vikings way when he's swinging his huge mother-humpin' axe!
Your articles have a nice mix of technical details and great humour, always fun to read!
And the paintings are just as great! Always that soft glow, without sacrificing contrast and focus. Especially in that last one “Mean Tweets” (great title, btw) … amazing quality to the light!
Does this mean these are 'pure' oil paintings? No digital magic on top?
Thanks for sharing!
Thanks Nico! And yes, this time around we've gone pure oil with no digital trickery other than color corrections to get the digital to match the original.
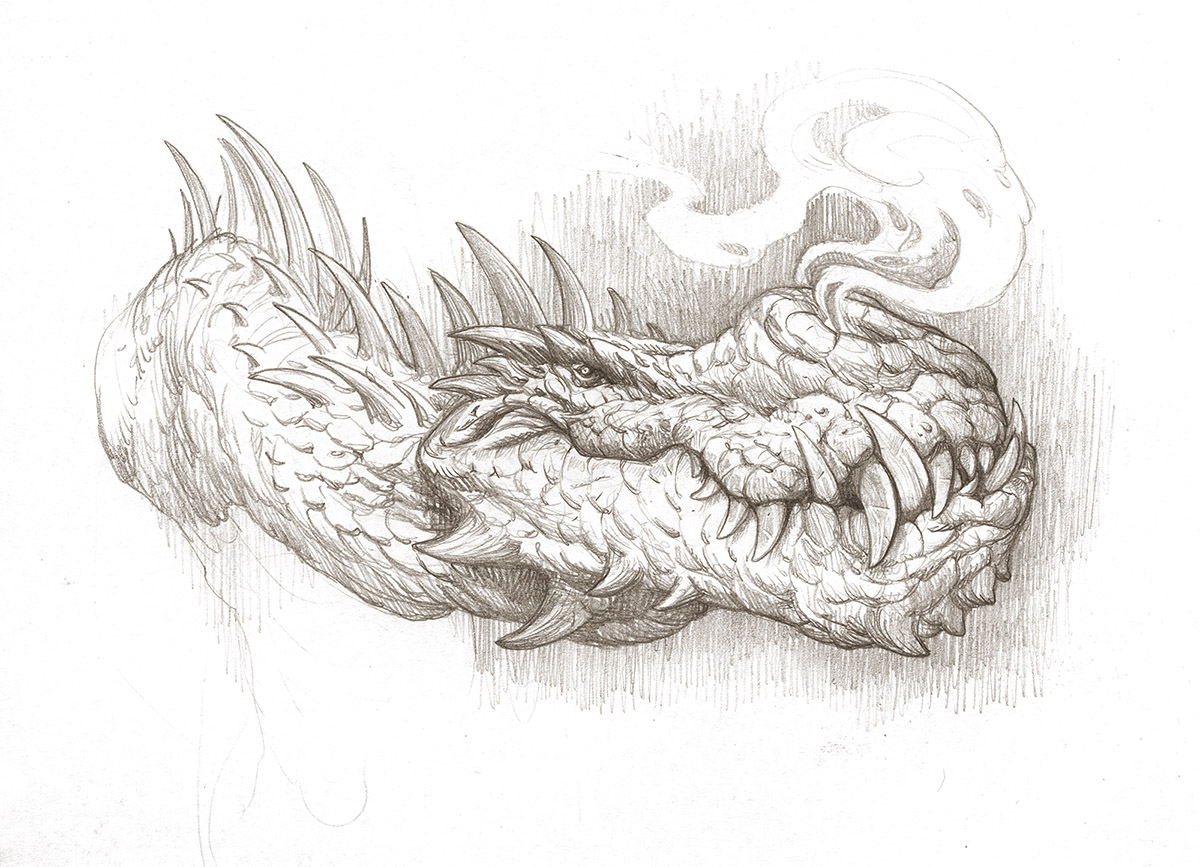
Do you typically put so much detail into your pencil drawings before you turn them into paintings? I know the former is your chance to work out the concept, but that almost seems like twice the work.
I do always have some kind of tight line drawing finished before I start painting (especially for oils since they are so hard to correct later on). But I don't always have rendered and shaded drawings like the ones above. Some projects just don't have the time for it. But when I do have the time I really enjoy having a really solid drawing to work from. It is more work for sure, but it makes the painting process a lot less stressful for me!
Find doing a tight pencil sketch is so enjoyable, almost like meditation. No mediums, tools and 'clean up time' to worry about. Just paper and pencil – so simple yet so versatile 🙂
When the dead color layer, do you glaze over the underpainting or paint with opaque paints on top?
It's kind of something in between the two. I scrub the paint onto the surface with very little medium so that the paint is semi-opaque. After this dead color layer dries the image is often very sunken in and so the next layers are when I start working with more mediums to paint in glazes.
This is awesome! I'm giving it a go with my next piece! I just finish the inking and notice that the graphite passes through, are you using a brown pastel transfer to alleviate that issue? Great post Justin, a lot of questions were answered!
Thanks Richard! I am indeed using brown pastel instead of graphite here! I am also erasing it afterwards to cut down on any of the mess, so it's only the ink I'm working over.
Thank you for such an informative + funny article; beautiful paintings and very clear display of process! I am wondering, would you be willing to share your total drawing + painting times for these pieces? (I am trying to cut down on my overly long drawing + painting times, and am not sure what is a reasonable work time to strive for, for a detailed oil painting!)
Thanks Kat! It is hard to say exactly how many hours I spent on these. The drawings take at least a full workday once you work in all the scribbling and revising and redrawing. The actual paintings themselves are anywhere from a week to 3 weeks. (I tend to work pretty slow in oil) The Ent image above was probably about 15 days or so.