If you have, like me, been using Adobe Photoshop for a long time (almost 20 years, in my case), it’s probably hard to get you to use another software at this point. In my opinion, PS can do everything others graphic softwares do, or at least, everything I need from a graphic software (Comic book artist are probably more drawn to Manga Studio these days.).
However, there’s a tool that I have mentioned in a recent post and that I have been using for a while now that I think deserves being noticed: The Blender tool, from Corel Painter.
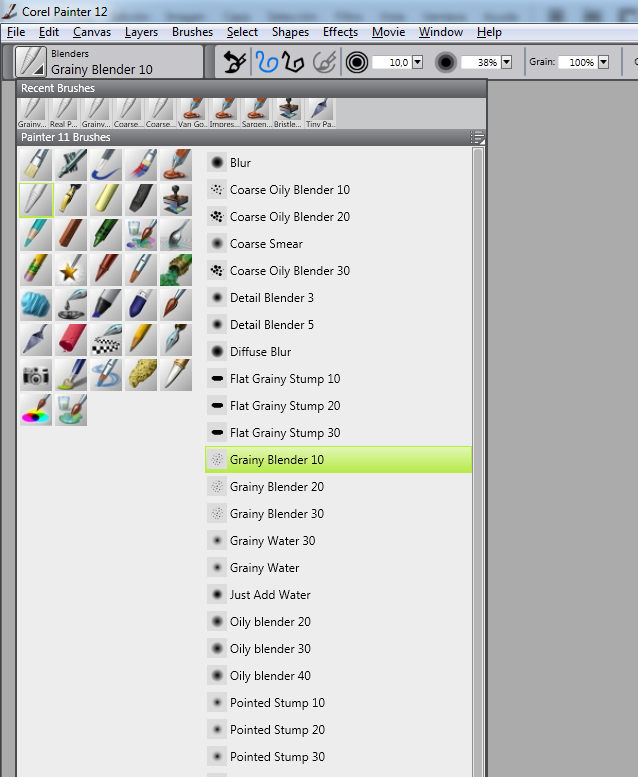 |
| I’m using Painter 12, but you can find the Blender tool in previous versions of the software as well. |
The Blender Tool is like an advance version of Photoshop’s Smudge Tool and, as indicated by the name, allows you to blend the painting and mix the colors in a very efficient way, with a much more “organic” feel than the Smuge Tool.
It doesn’t sound to impressive, I know. But lt does makes a difference, especially if you are seeking for an oil painting finish.
For example:
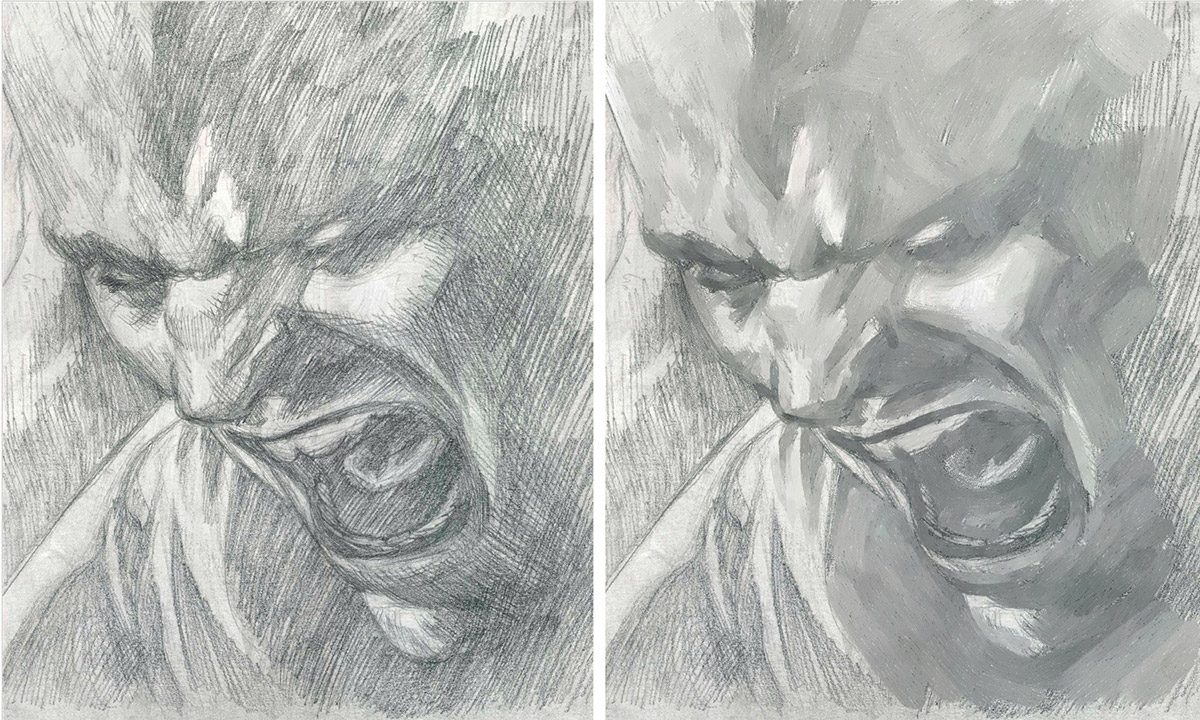
Let’s say that you have a detailed pencil that want to paint, the blender tool will help you taking advantage of the shading work you had already done, making it look like actual brush strokes, instead of graphite. It’s not going to solve the whole painting, not at all, but it will give you a strong foundation to keep working from there, adding colors, defining shapes and accents, etc.
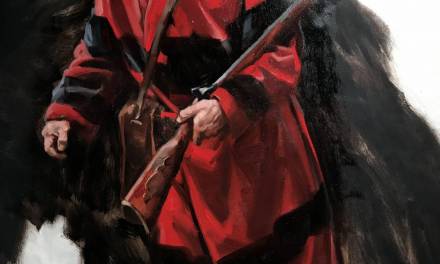
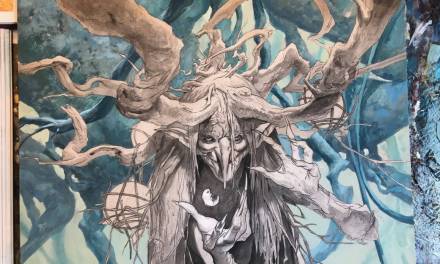
I know a few people that works that way, using the blenders at the beginning, although I personally prefer to save the blending for the last stage (Plus, I like to keep a bit of the grain of the pencil in the mix). Look closely in the next images and compare the stages before (left) and after the blending (right).
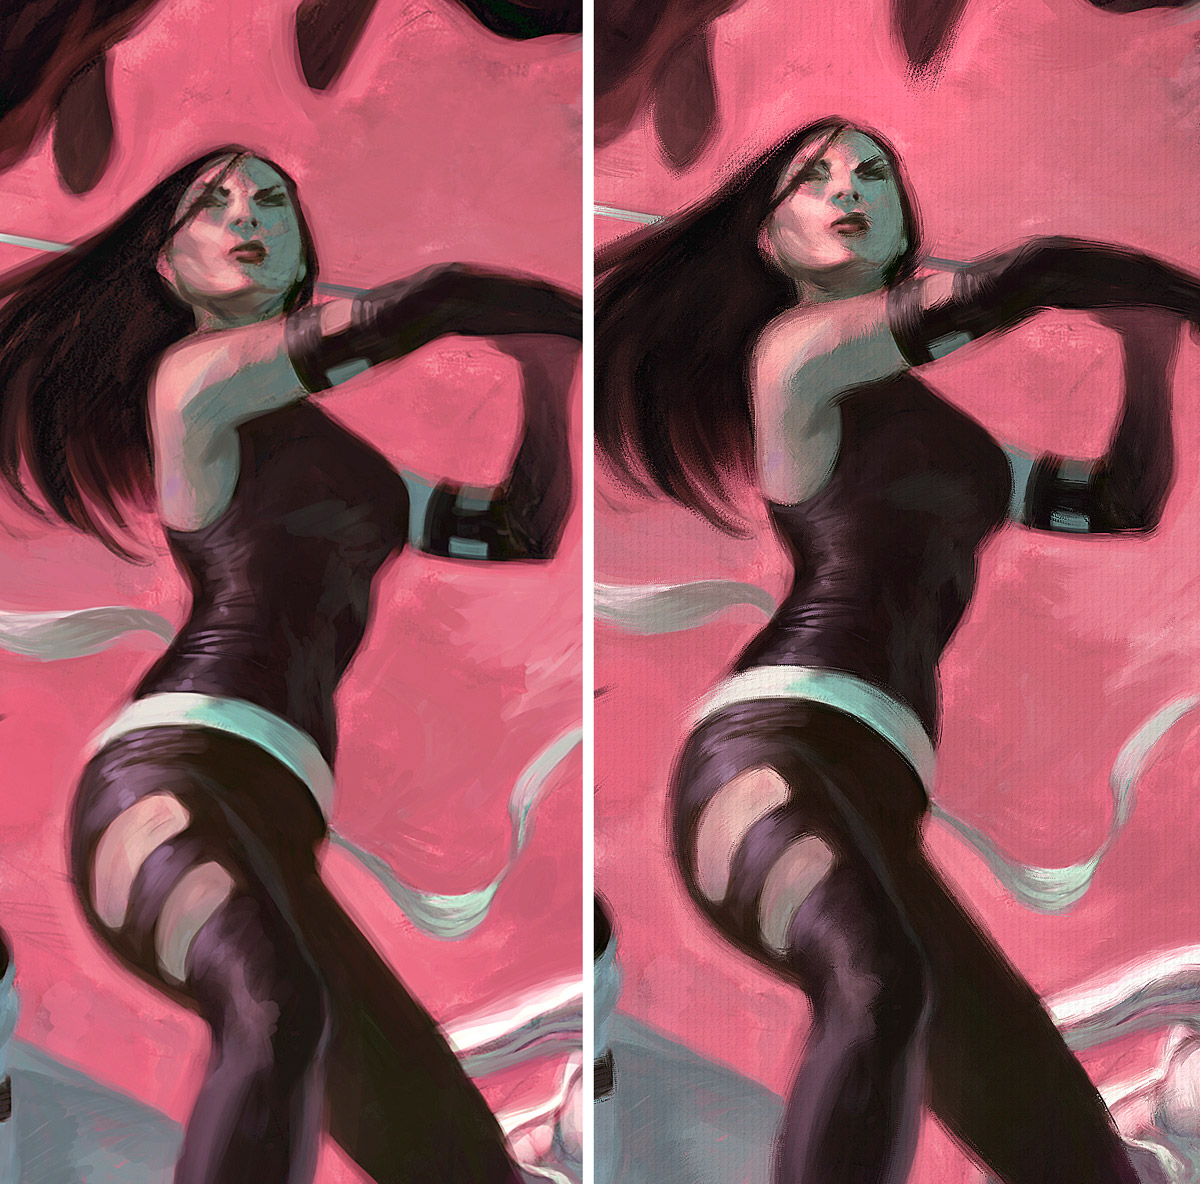 |
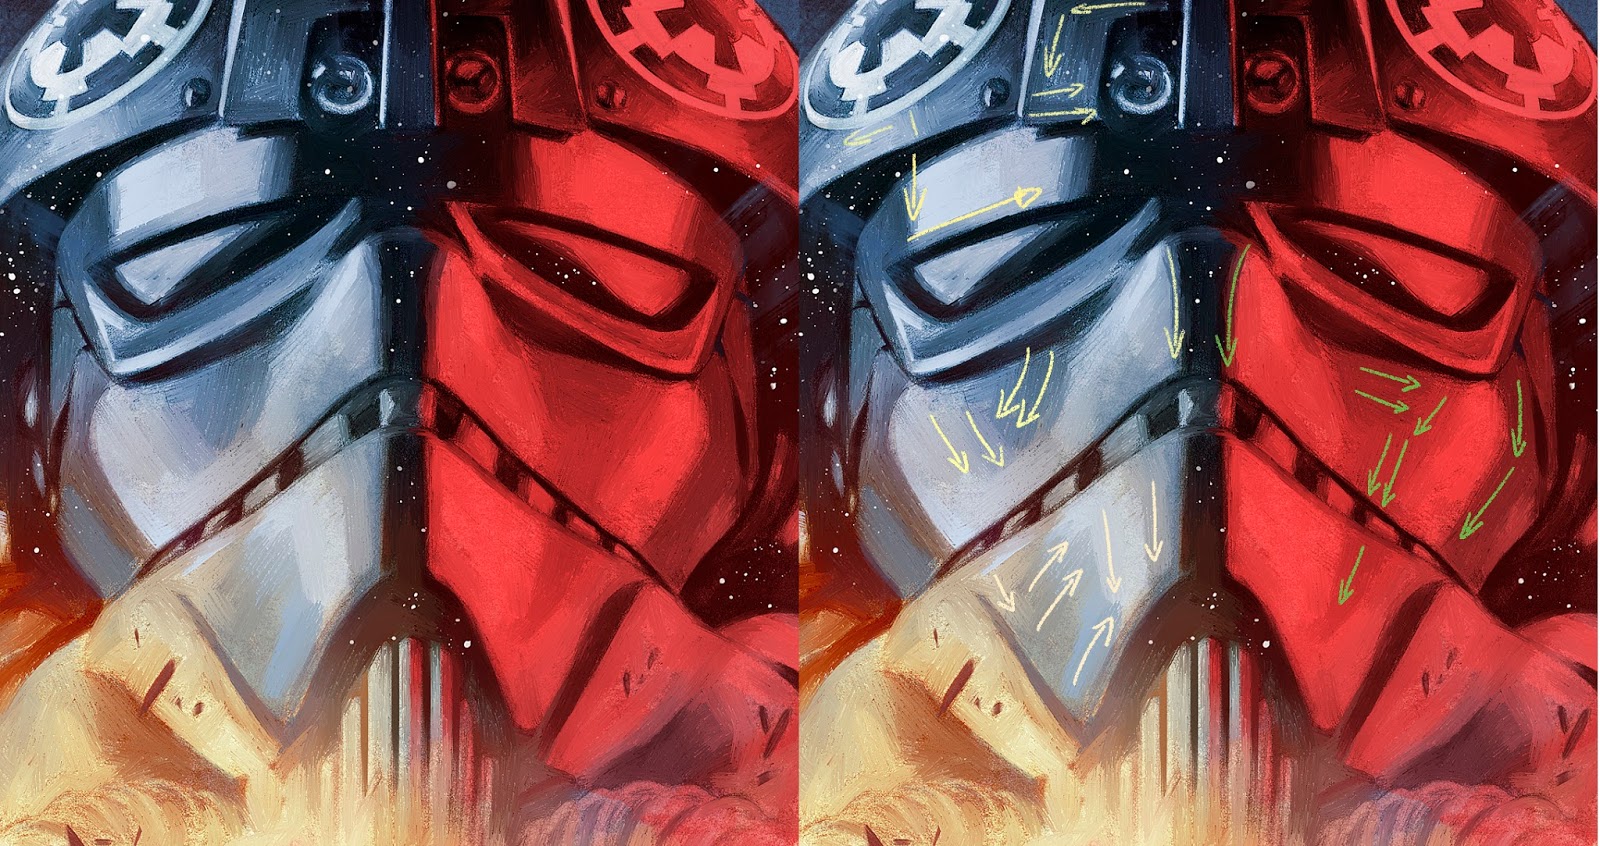
| You can play with the direction of the blending, adding dynamism to the painting, softing edges, creating depth, defocusing areas, etc. |
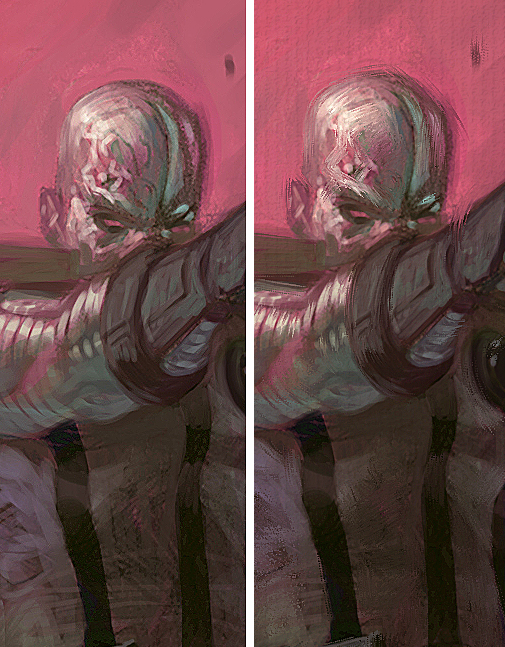 |
| You can correct any “clumsy”brush strokes. |
It’s very tempting, once you have familiarized with the tool, getting carried away and wanting to blend everything. Be cool. You don’t want to end up with a “blurry” and overly soft image.
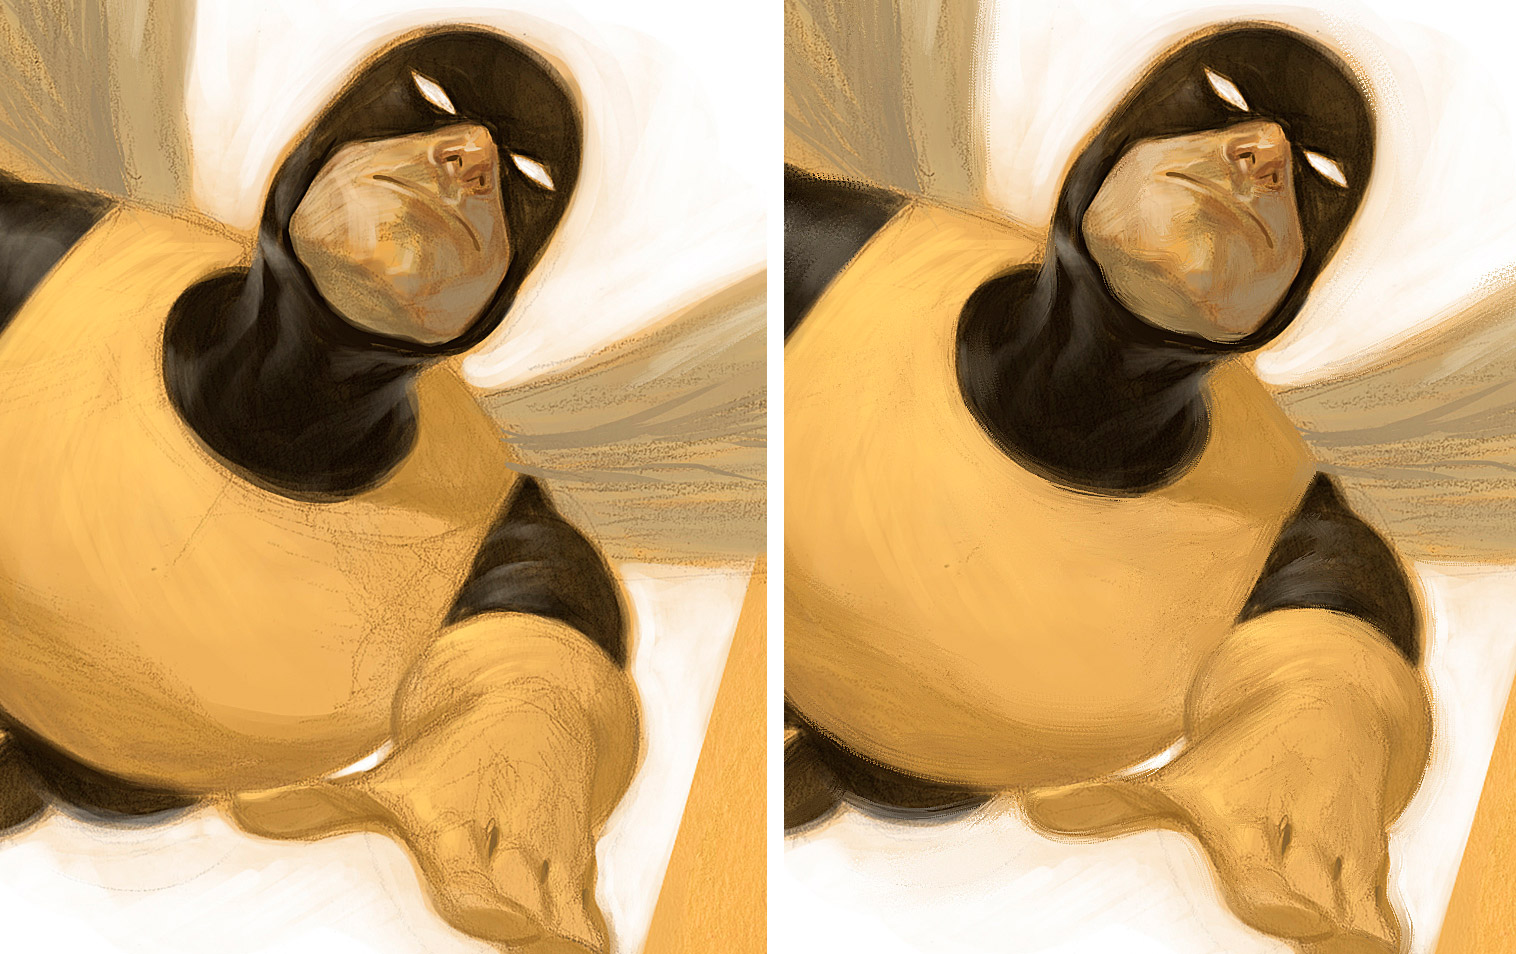 |
| Don’t feel like you have to blend the whole surface. Leave it just for those few areas where you want to smooth things. |
Corel Painter tip: You can change the brush size by pressing Ctrl + Atl and dragging the tablet pencil.
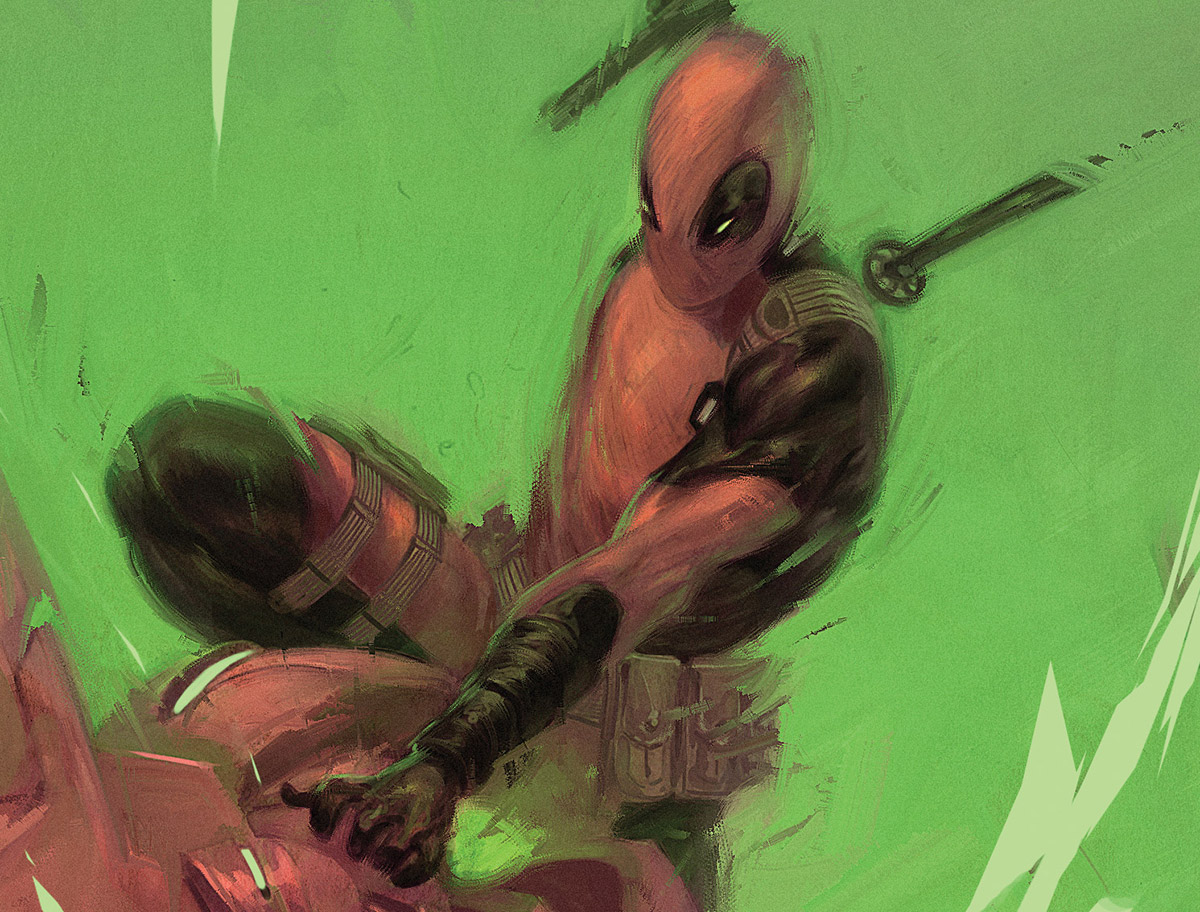
 |
| A lot of the information that you read here as brush strokes, were actually made with the blender. |
There are many different Blenders that you can choose. I mostly use the “Coarse Oily Blender” and the “Grainy Blender”, but you can make your own. I always recommend to play with the settings and look for what would work for you. There’s a lot of options to explore and can be a bit overwhelming, but try at least to modify a few settings and see what happens.
There’s a catch though: While Corel Painter allows you to work with layers like Photoshop (Won’t recognize most of the Adjustments layers, though) the Blender Tool won’t work well unless you flatten your layers. This is another reason why I always leave the Blending process for the last few steps.
If you are planning on trying the blenders, I recommend taking a look at this excellent Greg Manchess’ post, first: 10 Things about…Edges
Nowadays, the use of the Blender in my work is minimal, and in some covers, I don’t even use it at all, but it was a big part of my work process a few years back, when I was more into an “oily” finish. Give it a try and see what it can do for you!




There is a blender tool in photoshop (not the smudge tool) that works in the same way, it's in the drop down menu off the normal brush option. You can then fiddle around with wet/load/mix/flow choose it to sample all layers or just the current and whether to load it with each stroke or clean it. You can then choose any brush tip in the same way as the normal brush option (I use the funny effects brush of the wet media set, it's like a bunch of lines and angles around, its just bonkers enough to give a less digital look). I use it pretty regularly with a short key (N) next my brush (B) – it is tempting to go overboard when you first find it though you're right 🙂
I gave it a try a few times, but I didn't feel quite happy with the result, It felt more like a Blur than a mixer, but maybe I'm not finding the right setting/brush. I'll give it another try. Thanks!
yeah there's too many options for an idiot like me to understand, I just screen grabbed a colleagues settings and copied them. I'm on Wet 30% Load 70% Mix 30% Flow 40%, sample all layers, clean brush after each stroke and the brush is 'round brush streaks'… apparently! That's all gibberish to me, but it works and lets me blend rather than blur 🙂 I probably should explore what it can do more after reading your article, thanks!
I'm going to echo Phil on the utility of Photoshop's Mixer Brush. It's a little hidden in that drop-down menu, but once I found it I fell in love with the thing. Just play around with the settings until you get the result that feels right, as there's a lot of variation in what it does.
As I said to Phil, I wasn't happy with the Photoshop's mixer results when I tried it, but you guys got my attention. I'll definitely check it out and explore it more to see what it can do. Thanks for the feedback!
I share Julian feelings that the Photoshop mixed do not feel the same way as Corel Painter blenders. Beside Corel is amazing software and you really do find much more tools and options to imitate traditional media than Photoshop 😀
the blender tool was always one of my absolute favorite things about corel painter when i used it YEARS ago, and I was always disappointed how the tool worked in other programs. Nothing compared to it.