Ive been into painting night scenes for a while now. Think it’s a combination of the drama of it coupled with it being the time I do most of my work. Theres just something special about it. I love the silence to it. There’s an uneasy quietness to night scenes that tend to just pull me in. Realized recently that I’ve unintentionally been working on this series of night studies that could probably sit together as a body of work.
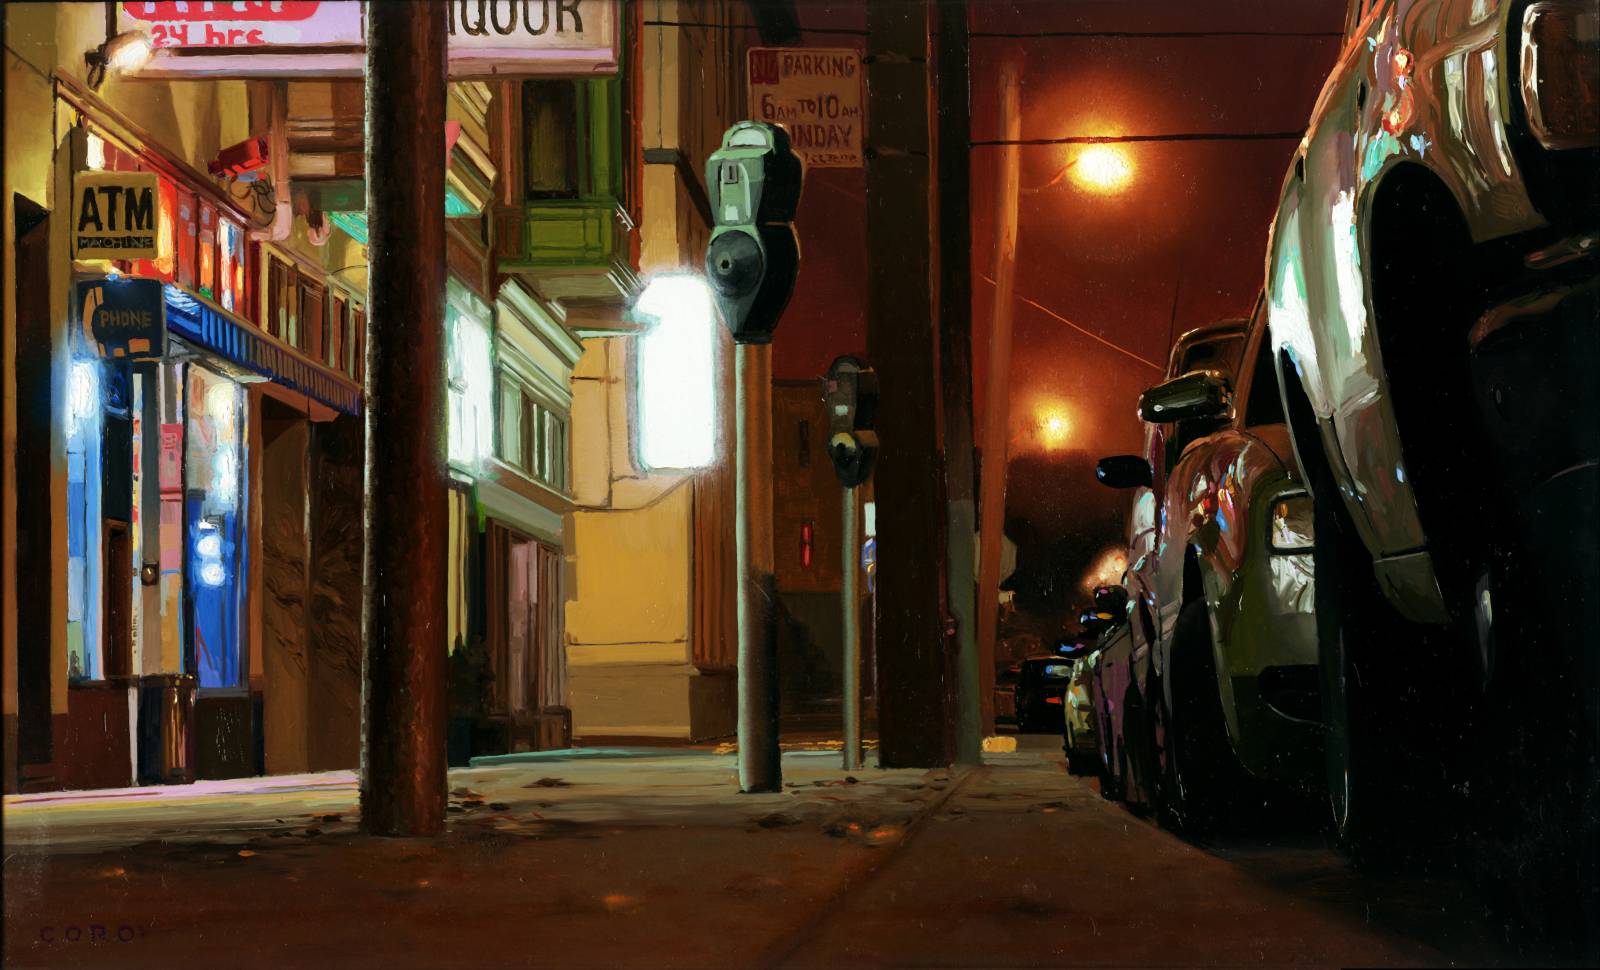
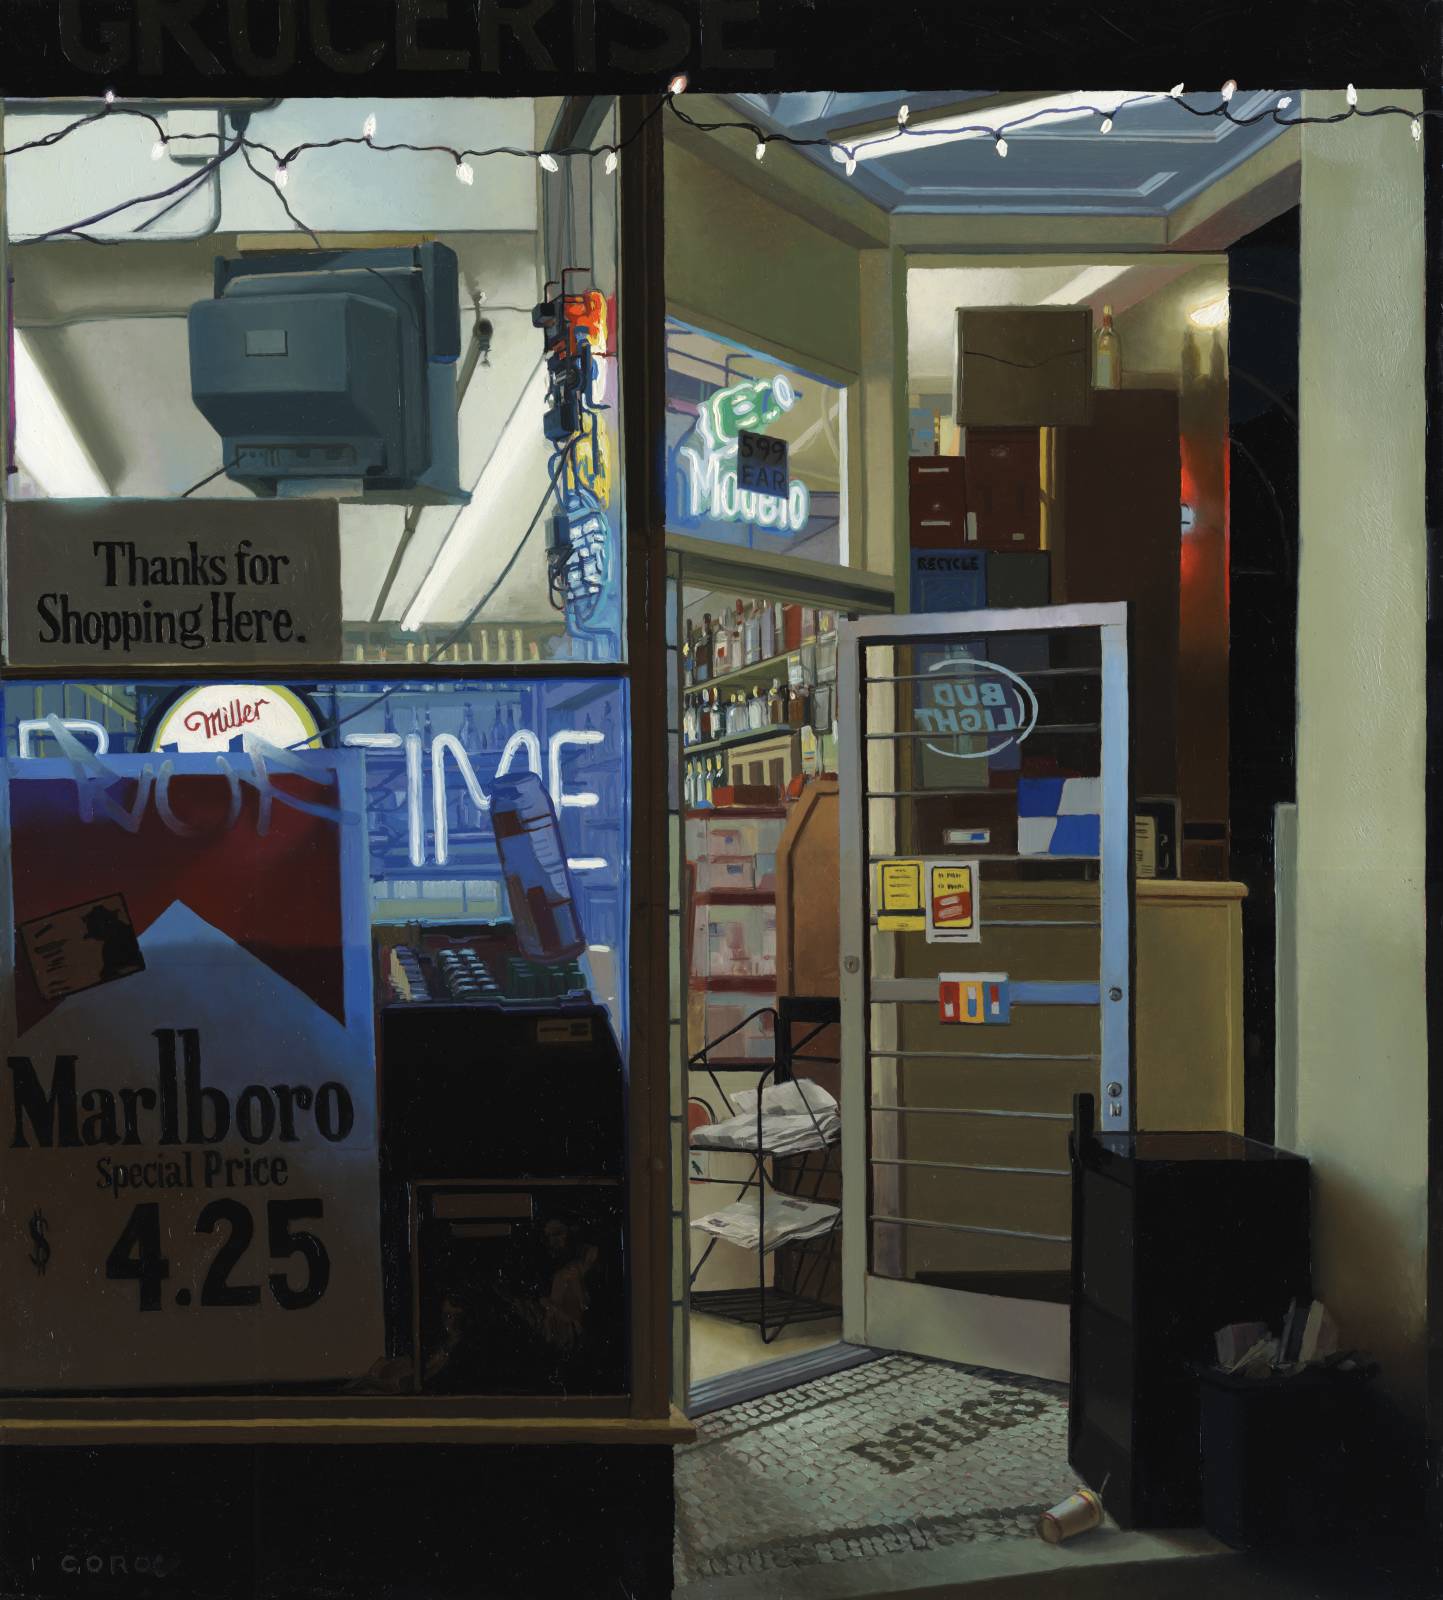
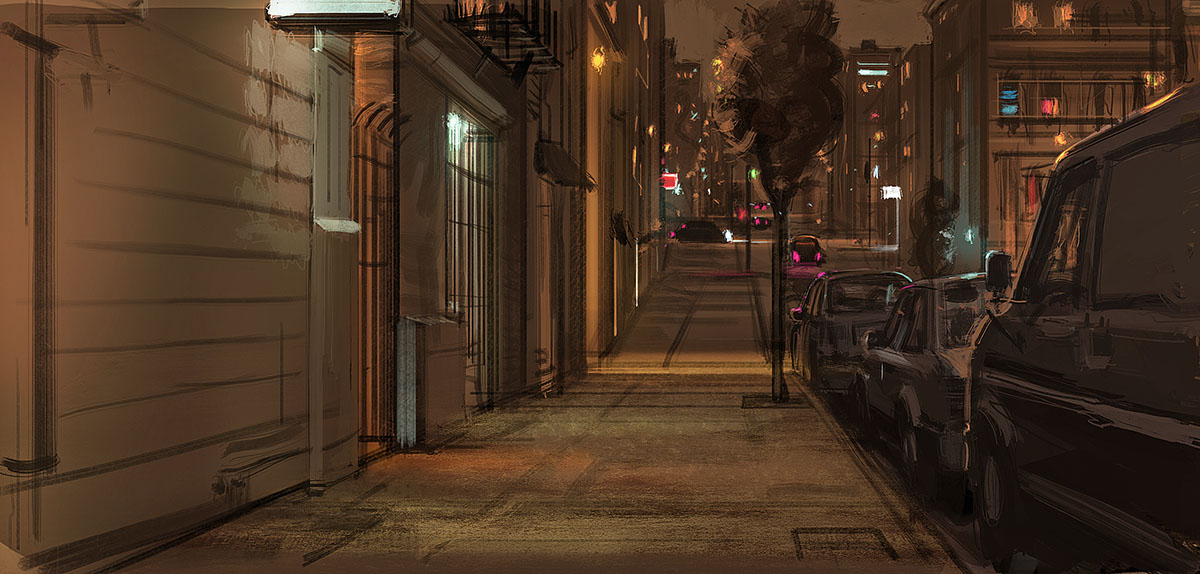
This isn’t a completely new direction. Ive painted plenty of city scapes of night scenes, and made a graphic novel that largely took place in a nocturnal urban setting. With city stuff its all about the lights, surfaces, reflections…theres a mysterious sexiness to this aesthetic, one thinks of rain slicked streets reflecting saturated point lighting created by traffic lights, cars and neon signage. They tend to be commentaries on urban life, the people of the city, the collective urban conscience and electricity that pulses and surges through it. Sure its possible to infuse a viewpoint and hand into it, but at the end of the day at least for me there often tends to be a lack of intimacy because you’re painting very public spaces and objects.
Living in downtown SF for many years I got pretty comfortable and familiar with this aesthetic. I learned how to abbreviate and suggest it in a way that I don’t think I could have without living in it and observing it for so long. In fact, the backgrounds and city scenes I painted in that graphic novel I did were produced mostly from memory and imagination because I got so familiar with it.
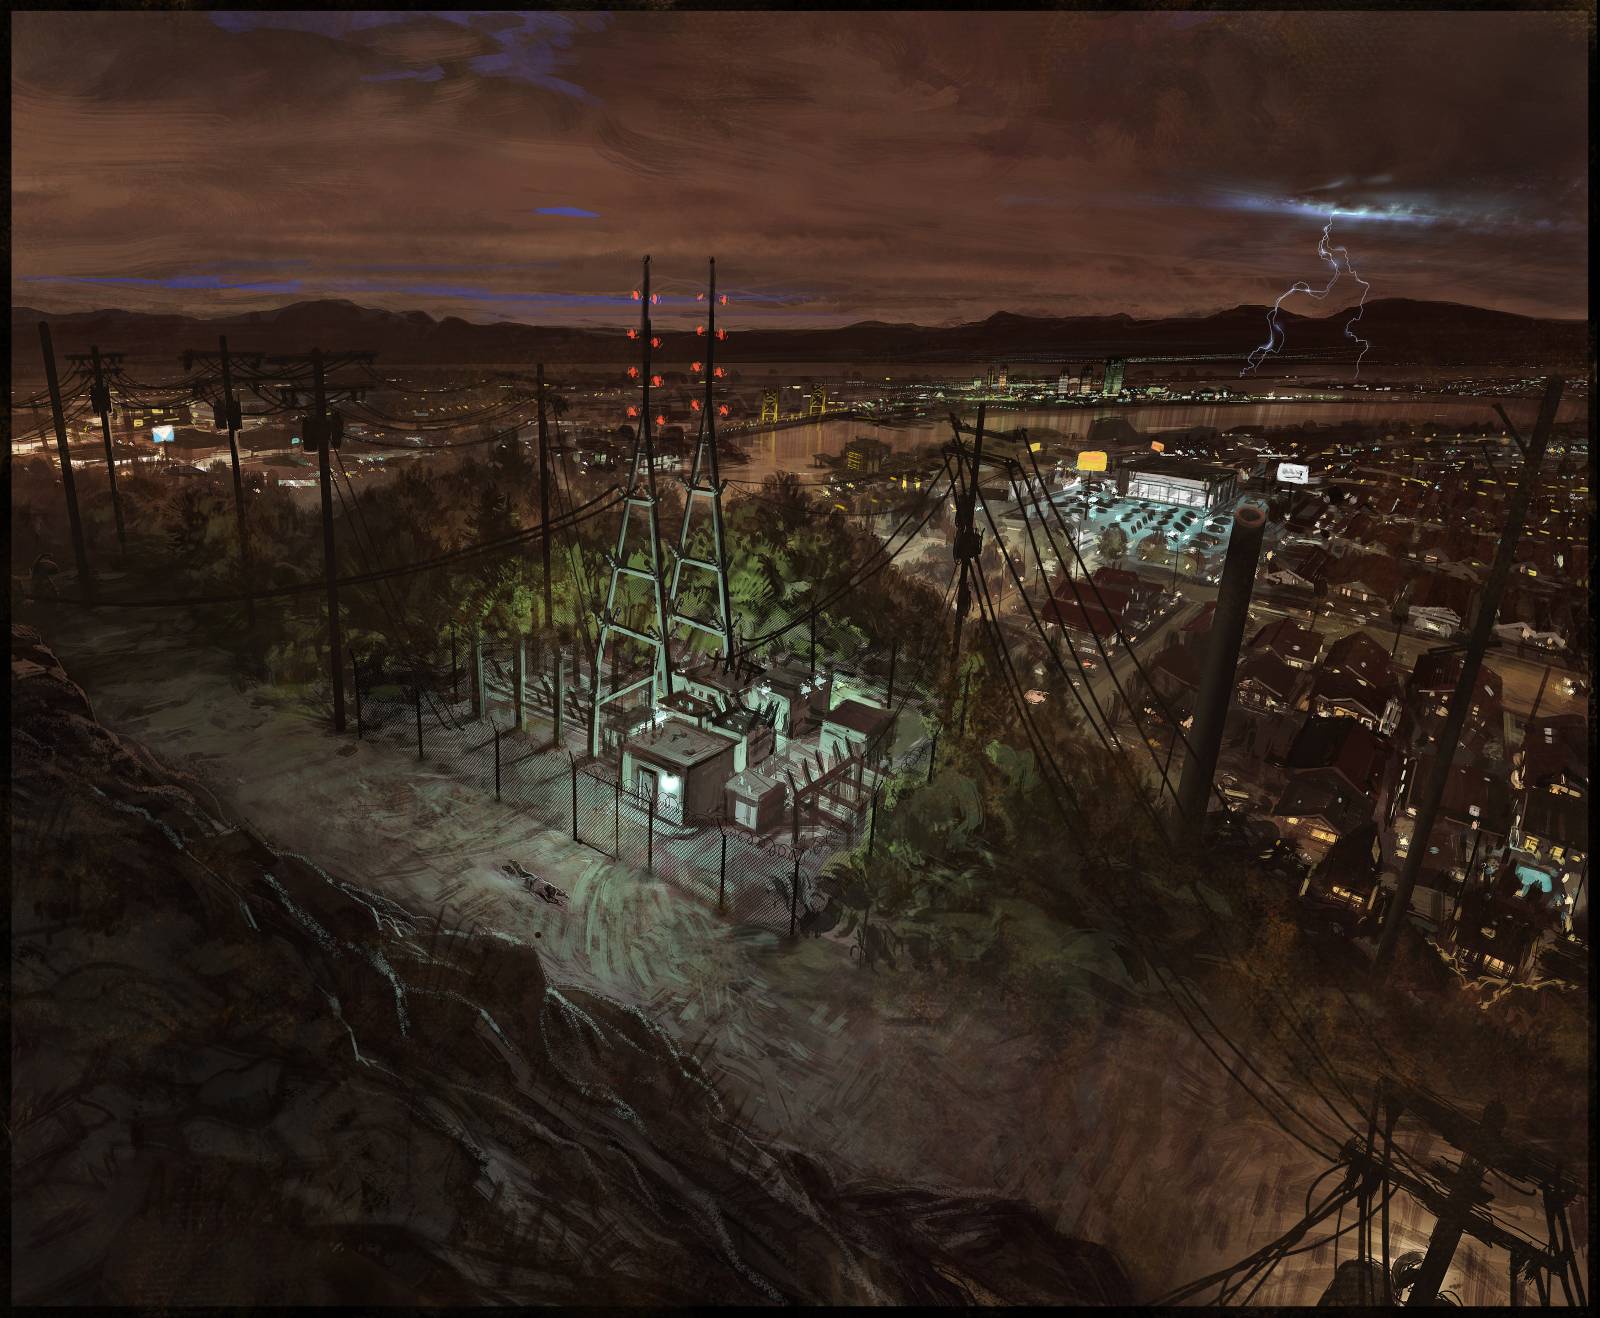
two page spread of Sacramento painted for Transient, a graphic novel i made back in 2011. aside from referencing a few daytime shots for geographic placements, this was painted mostly from imagination
When we moved out to the county it took on a different life for me. I love the darkness of the woods out here. How intimate it makes our place feel. It becomes this tiny beacon of lights enveloped in an ocean of blackness. On clear nights, the dark outside can almost be intimidating, this empty void that almost sucks you in as you stare into it. I catch my self standing outside the barn for longer than I’m comfortable admitting, soaking in this silence and blackness.
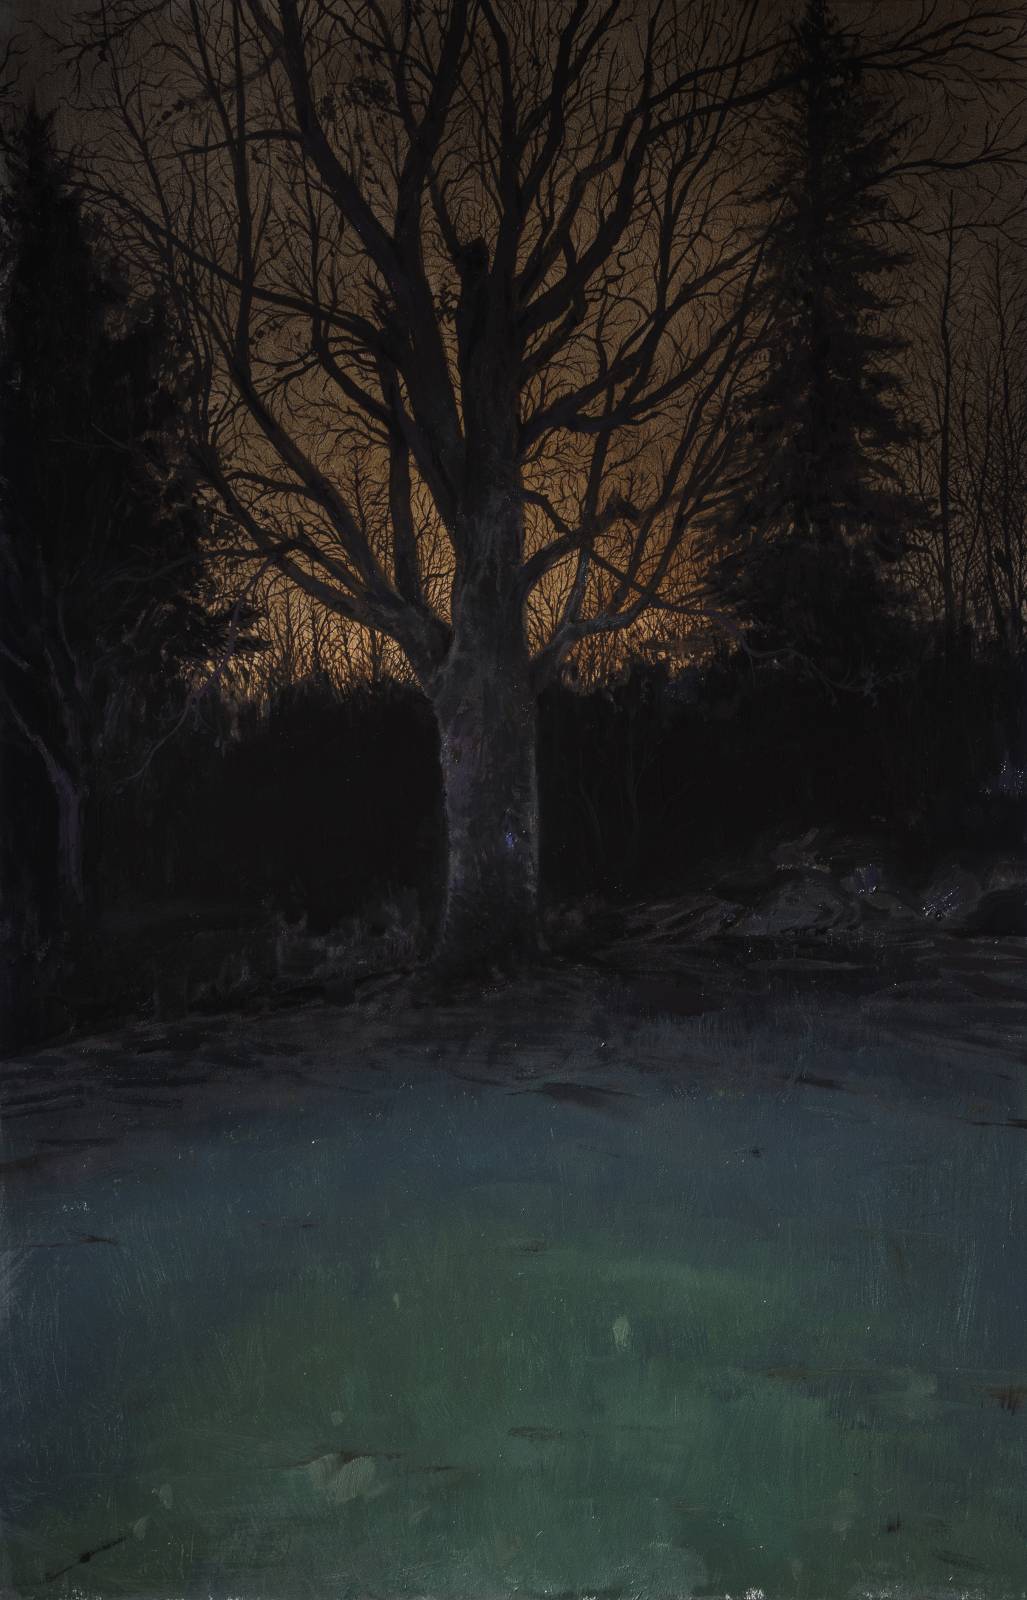
Almost immediately upon moving out here I started messing around with trying to better understand how to paint this feeling the nights out here gave me. I don’t think we’d been out here a month when I first tried painting the maple tree behind our barn. It was the first tree I’d ever tried to paint, so I kept it easy on myself by backlighting and silhouetting it against the night sky. This way I could concentrate mostly on figuring out how to paint branches. Not the most successful painting but learned a lot on it. I view it as a bridge of sorts, still utilizing that high-pressure sodium light bouncing off of the clouds that id used forever painting city stuff.
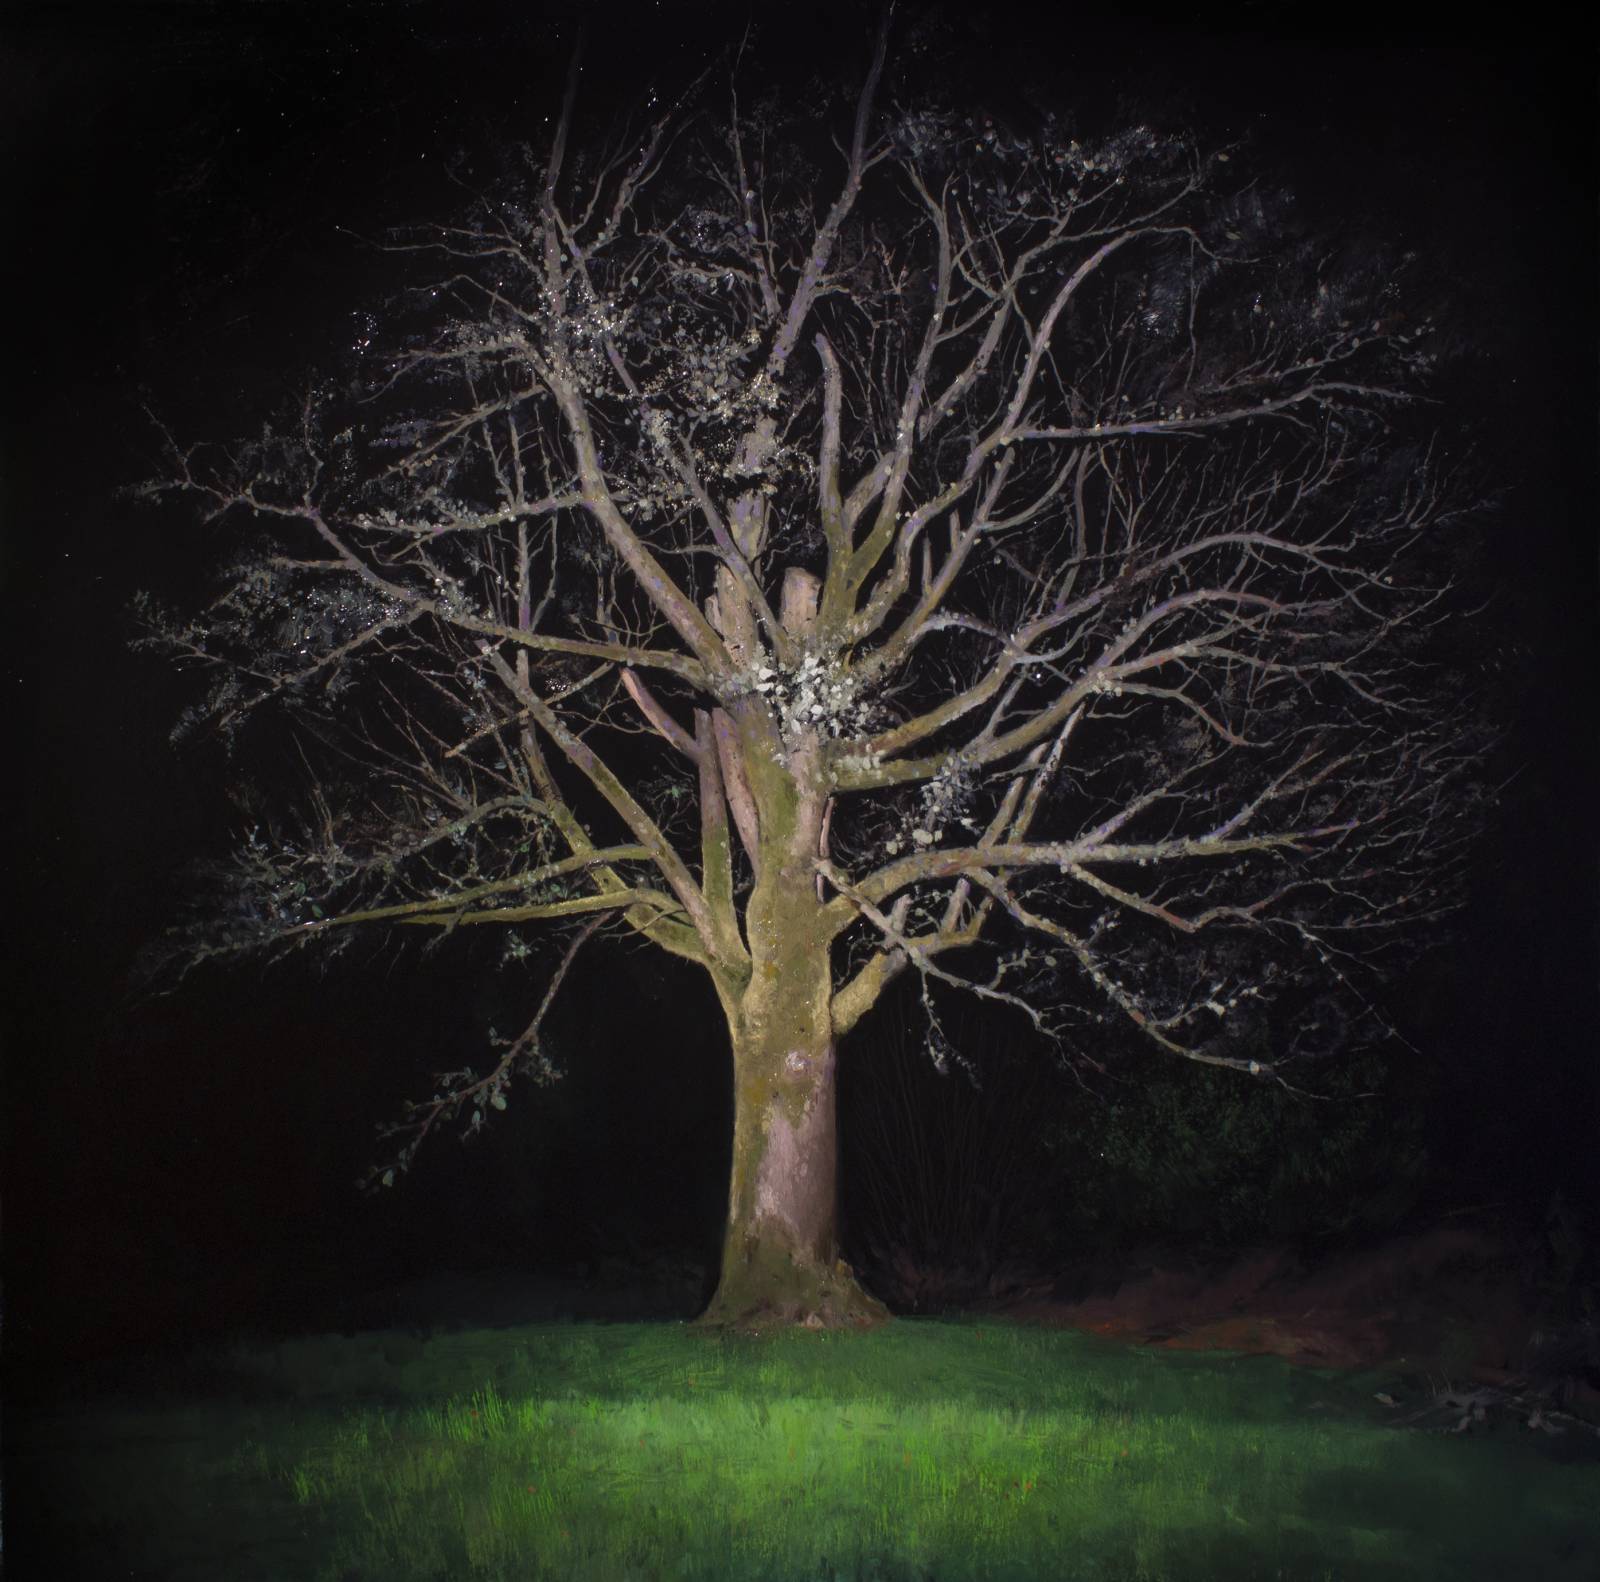
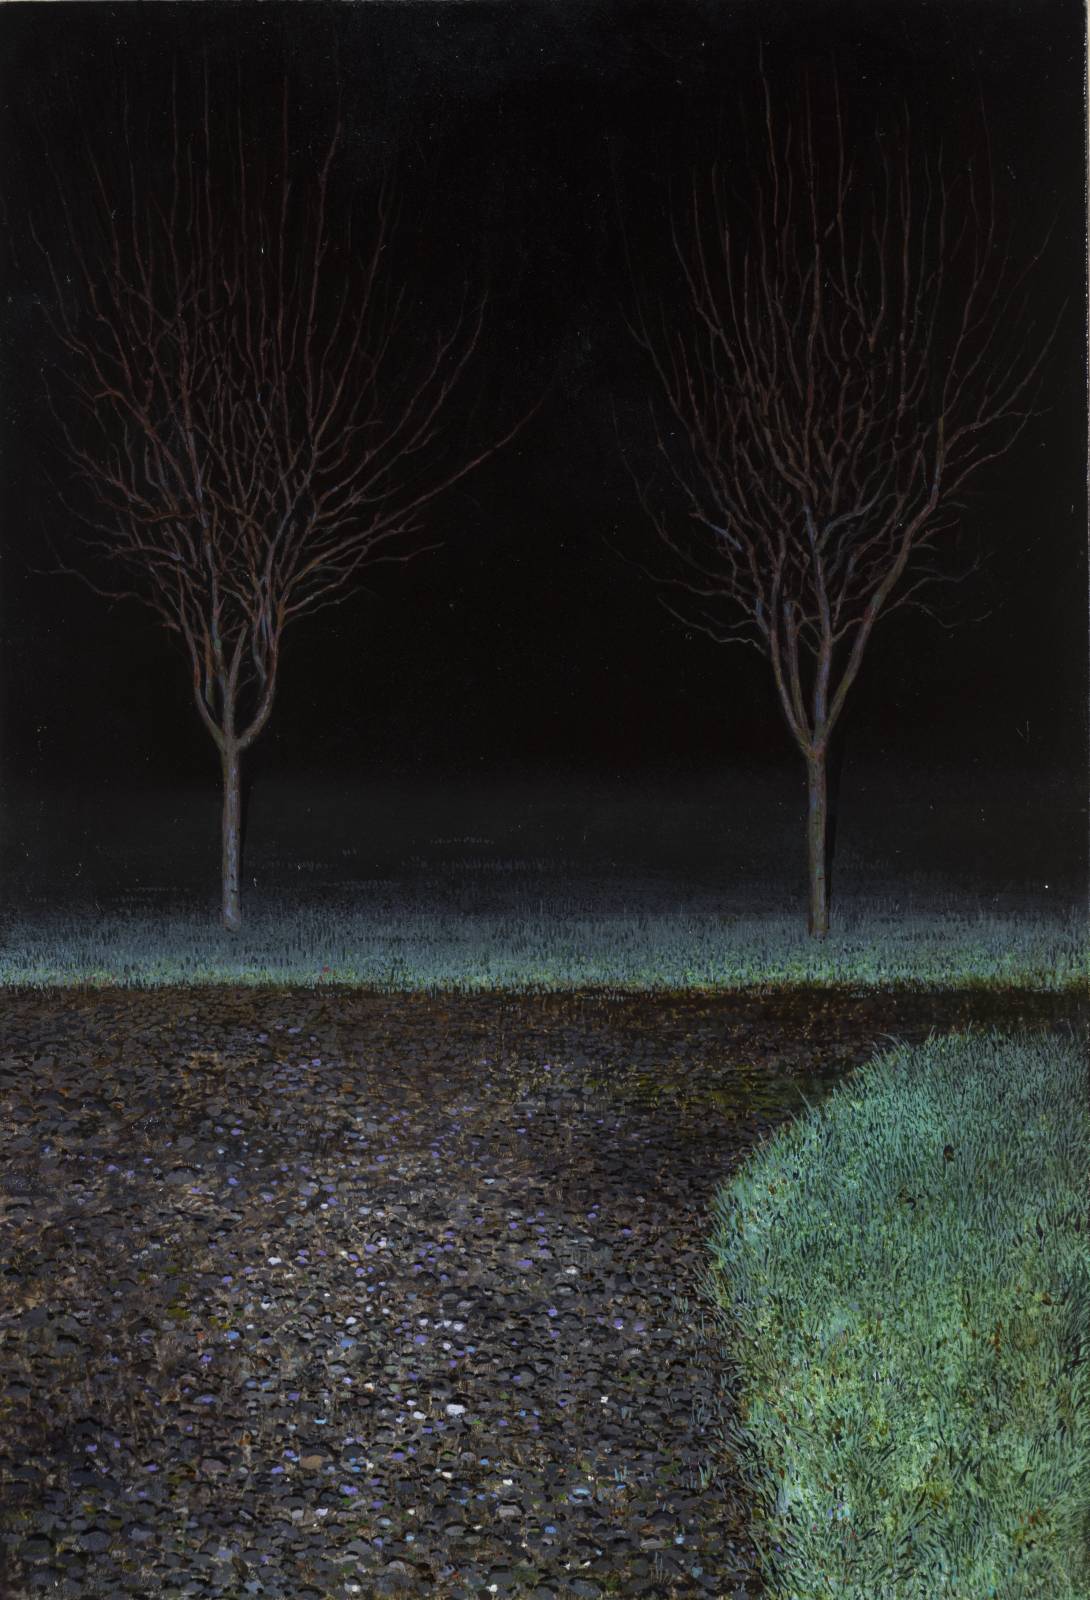
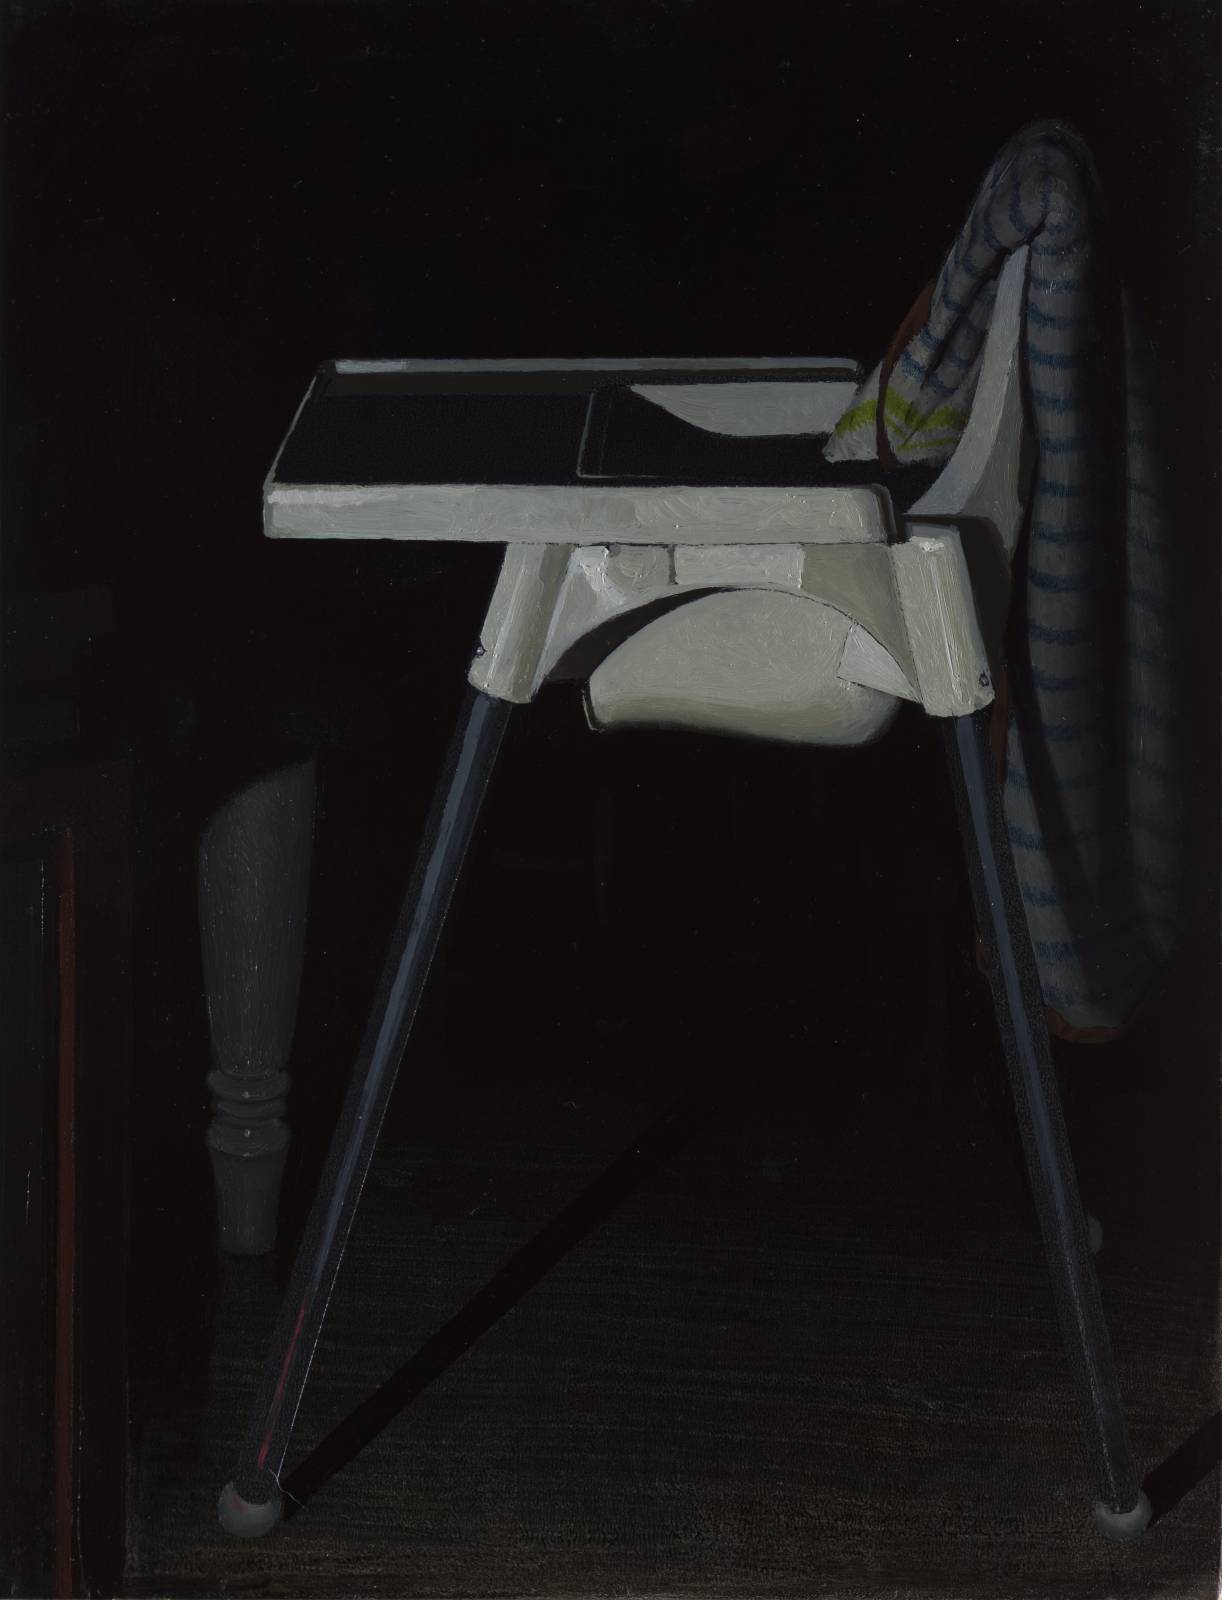
About a month in I bought a good flashlight, which I use to get around here at night. Totally found myself loving that flashlight in the dark lighting scenario, and its evolved into a convention I’ve used consistently in paintings past few years. I like the cool temperature, hard opaque cast shadows and vignetting it creates. I think its helped me to be less afraid to lose stuff in the shadows and embrace the use of heavy blacks, and design more graphically that I could painting a well lit scene. One of the first things i tried it on was the same tree. Applied this approach on a few others as well as trying different low key light sources such as moonlight and nightlights.
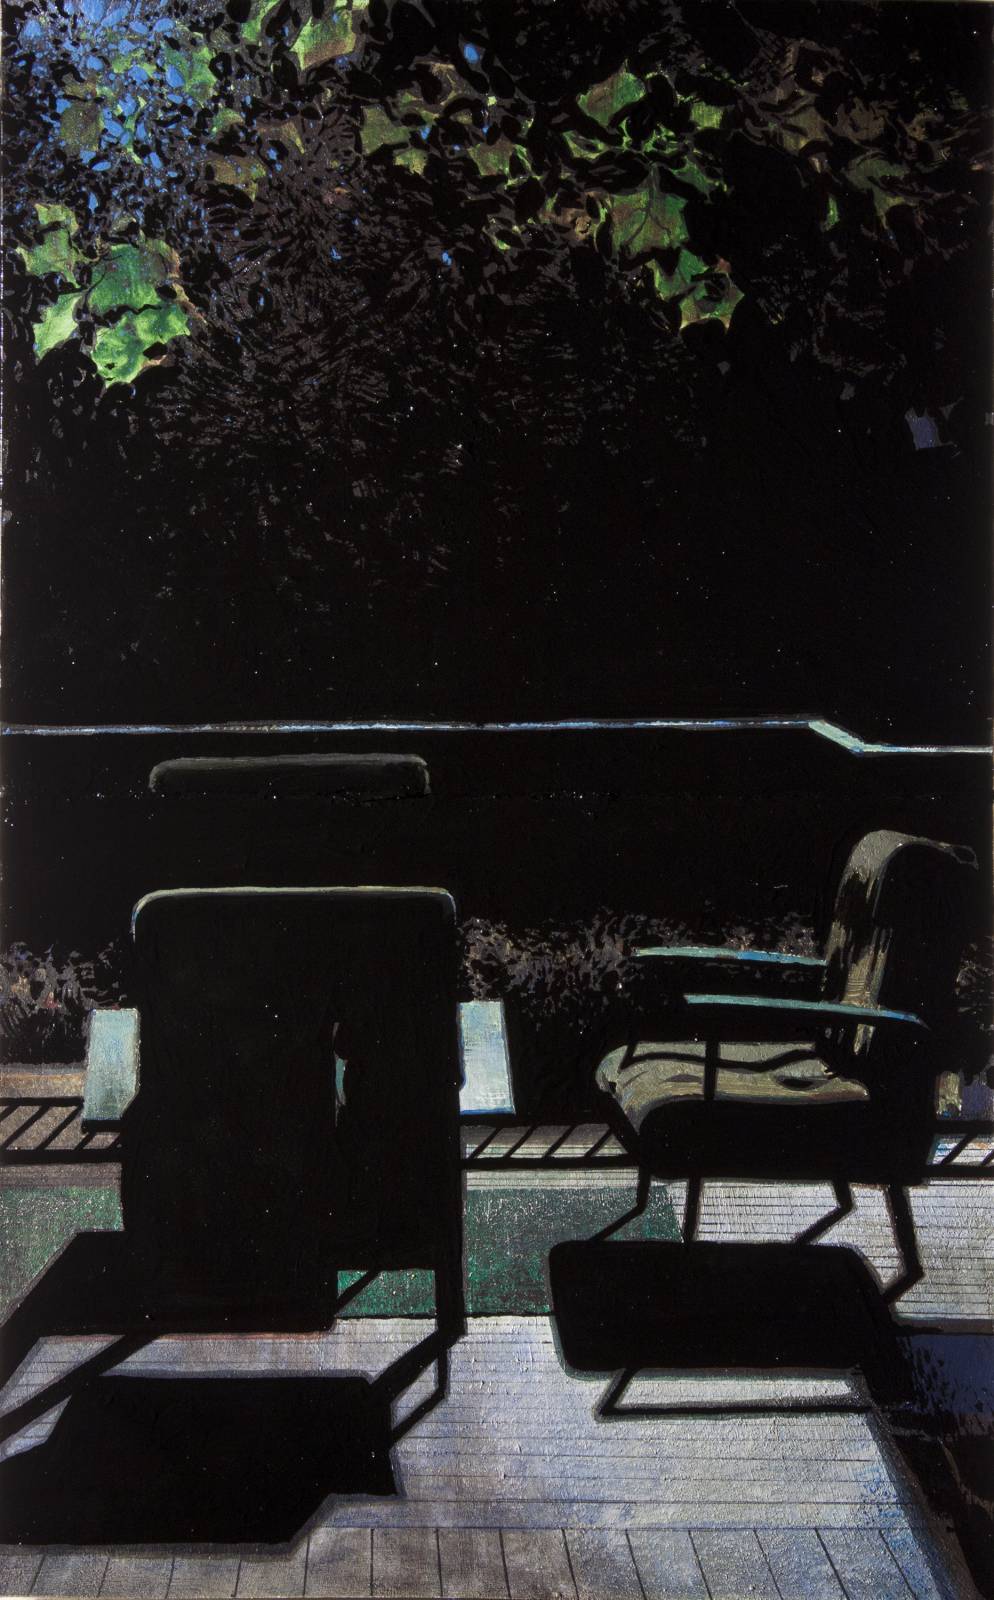
Same maple tree but front lit this time, the front lit plum trees in winter, and a painting of our son Milton’s high chair from a couple summers ago.
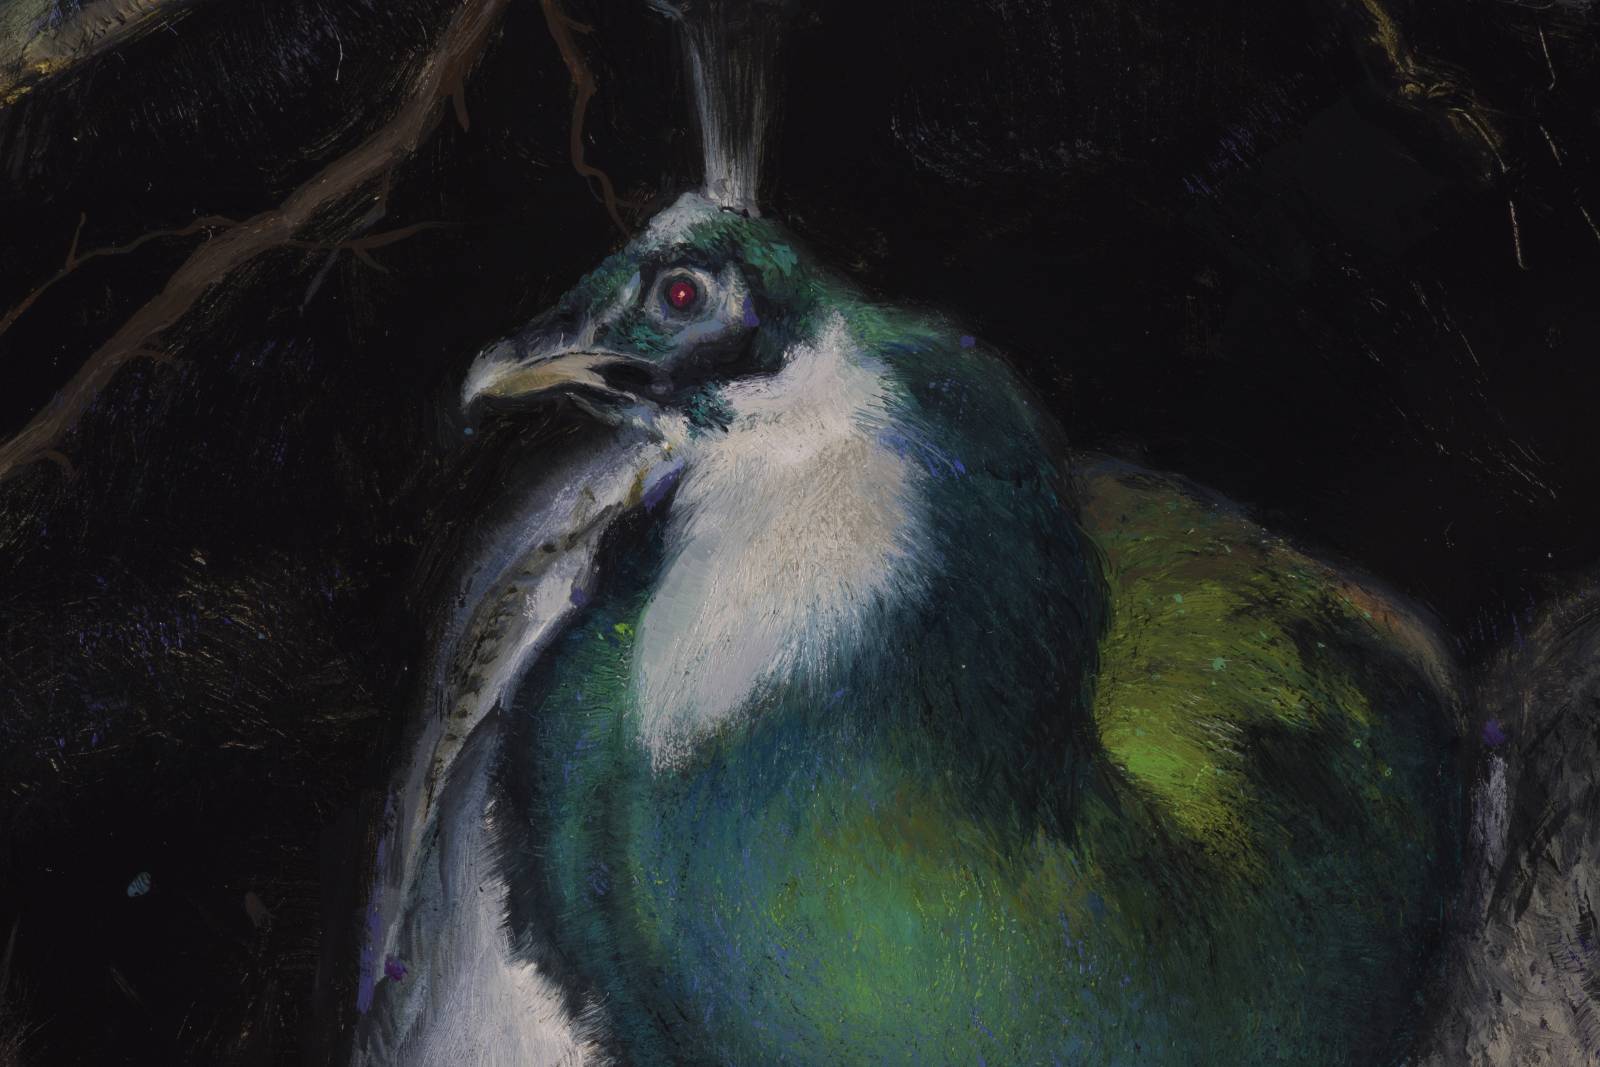
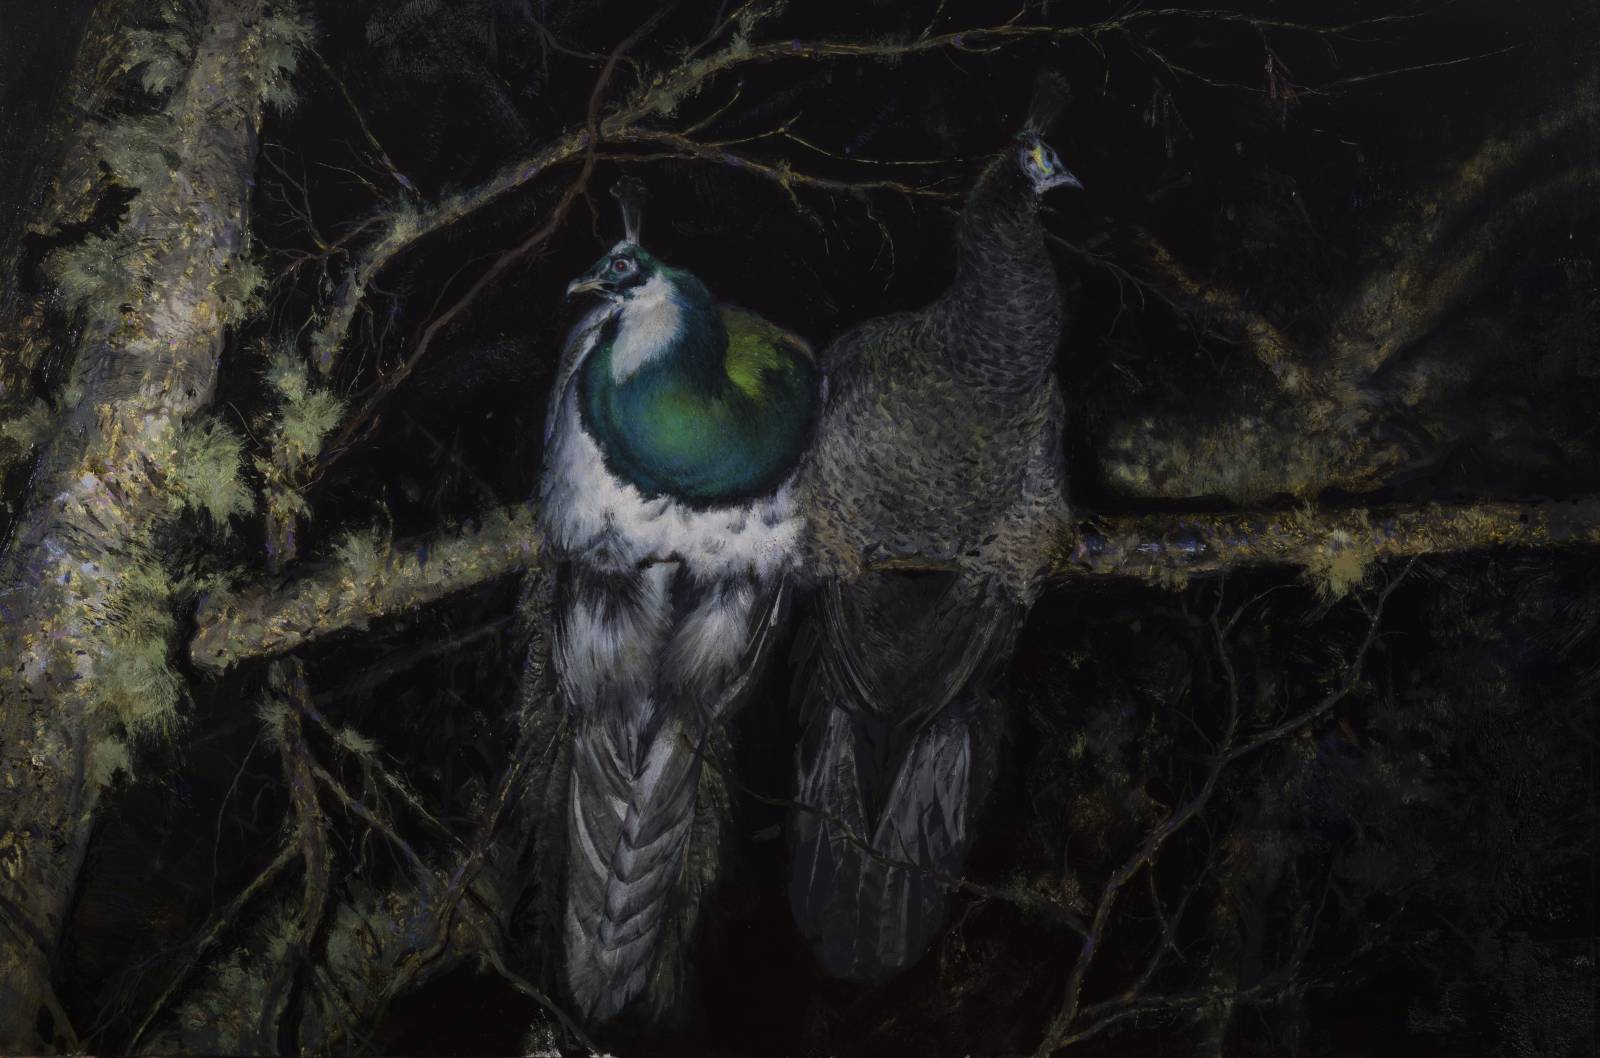
I recently started a painting of our peacocks utilizing this front lit flashlight set up. Peacocks are really cool birds. They live with the chickens, but every so often they decide they would rather sleep outside, and will fly up into the tree behind the chicken coop. They roost on the same branch, about 20 feet in the air, and huddle next to each other for warmth. I love the pop of color you get when you point the light up there. Kept thinking it might be fun to paint, and so one night I went out, set up the camera and shot a bunch of reference photos.
Think they got pretty pissed at me shining this bright ass light on them while they were trying to sleep, but they were good sports about it and I got some good usable shots, so no harm no fowl (see what I did there?).
I settled on this one in particular because of the body language. His craned neck and angry stare, her head cocked back in this sergeant madame x way..the way they’re sitting together, theres this complexity to the body language that I fund appealing. Dumped a couple of sittings into it so far, and feeling like it’s finally starting to get somewhere. Birds are hard! Its difficult fighting this urge to get too rendery with it. I don’t like to soften things too much as I tend to over do it and it loses a lot of the abstraction that I aim for when creating paintings like this. Still have to paint a bunch of twigs and branches and will have to repaint those tail feathers a few more times before settling on the look and language I’m after, but feel like we’re at least heading toward the home stretch with this one.
details of some stuff





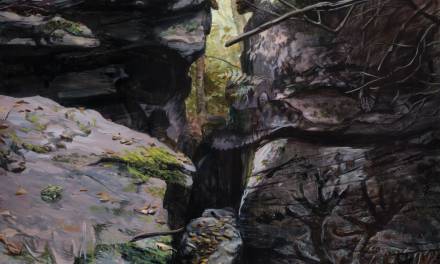
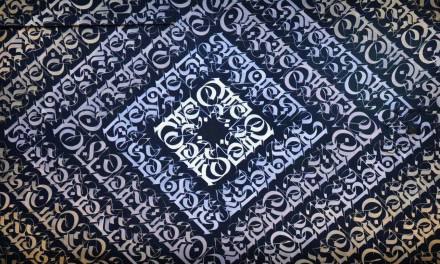

Such beautiful paintings Justin. How are you shooting them, if you don’t mind me asking? Curious how you keep the specular reflections out of all those wonderful darks.
wow thanks so much for the kind words Sam. been a big fan of your stuff for years 🙂 dug up an old FB post where id written an outline on the set up and approach to how im currently shooting my stuff and will just copy/paste here:
CAVEAT: im not a photographer, and arrived at this set up mostly through a combination of online research and trial and error. SO if Im doing something wrong, please don’t hesitate to call me out on it! im still learning and can’t begin to pretend that i know what im doing.
LIGHTS: ive been using these job site work lights i picked up a couple years ago at home depot. i have two of them that i position on either side and point both at the painting. there are tons of diagrams on the interwebs about where specifically to place them but generally ive found you just have to move stuff around until it looks good. I like these lights because they’re fairly powerful and provide a wide even wash of light, they don’t throw much heat, and are a nice neutral color. they’re also battery operated so im not tripping over cords.
https://www.farmandfleet.com/…/977535-milwaukee-m18…
POLARIZING FILM: I bought a roll of polarizing film that i cut to size and taped over the lights. https://www.amazon.com/Rosco-Cinegel-inches…/dp/B000B78216
CAMERA: shooting on a canon 5d mark IV. On top of it being an all around awesome camera, it also has a wireless feature where i can essentially use my phone as a remote which is fucking amazing and way more useful than you’d initially think, especially for shooting stuff on a tripod.
I hear its good to shoot at as low of an ISO as possible for the least amount of noise in the pics. for these paintings my setting were ISO 100, f-stop was at 16, and the these were 5 second exposures.
I was also recently told that F8 is generally the best f stop setting for lens sharpness, and that its helpful to turn on the mirror lock feature pin the camera to minimize vibration. excited to try this stuff out next 🙂
LENS: this is the macro lens ive been using https://www.bhphotovideo.com/…/Canon_2539A007_Telephoto…
its a little pricey but from my experience way worth it, especially if you’re shooting paintings a lot..the difference is immediately noticeable in how sharp and clean the pics are. plus you can shoot bugs with it.
LENS POLARIZER: this screw onto the front of the lens. if you are using polarized lights to light your painting, twist to adjust the filter and POOF! the specular highlights on the painting surface magically disappear! :O
TRIPOD AND BALL HEAD:
i have this tripod: https://www.bhphotovideo.com/…/really_right_stuff_tvc…
and this ball head:
https://www.bhphotovideo.com/…/really_right_stuff_bh_55…
after using shaky little tripods for years i finally invested in a proper tripod and head, and have to say that it again really makes a huge difference. the damn thing just doesnt move. its light, easy to set up and im liking the smoothness and precision of the ball head and arca-swiss release plates, as they hold the camera securely.
As far as setting up goes, im careful to try to keep everything at right angles in order to minimize distortion and make sure everything stays in focus. I’ll actually measure and use levels to try to keep things squared. I try to get as physically close as i can to my subject while still keeping it in frame. for the big one, I taped markers down onto the floor and moved the painting left, right, up and down, shooting it in sections, which were stitched together using photo merge in Photoshop.
i don’t think its necessary to drop 5 grand on equipment to get good pics. so long as you have a decent dslr camera, it seems to mainly be about the lens and polarizers. hope this helps!
Thank you thank you.
Beautiful stuff Justin!
are you familiar with Adolf Menzel 1815–1905, a fantastic German artist whom did these amazing drawings from life ..as well as paintings. and your paintings got me thinking of a studio wall painting he did https://commons.wikimedia.org/wiki/File:1872_Menzel_Atelierwand_anagoria.JPG – maybe you would appreciate it if you don’t know it? Otherwise nice post!