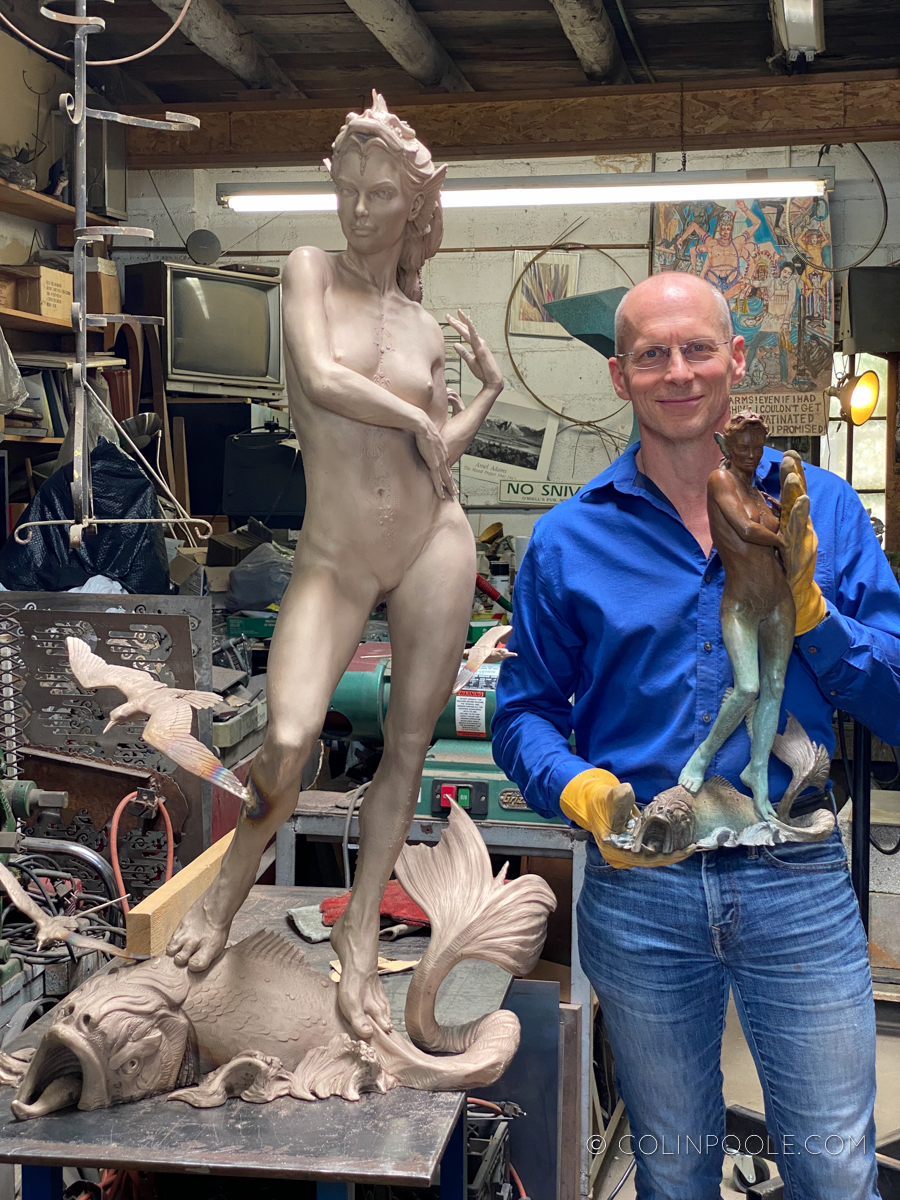
Today, I’ll share the process of enlarging a smaller version of Colin’s “Wind in the Waves” into a 3/4 life-sized bronze sculpture, plus show how we add elements that can make each bronze in an edition unique. At the end, I’ve included links for some of our favorite tool suppliers and businesses we work with for bronze casting.
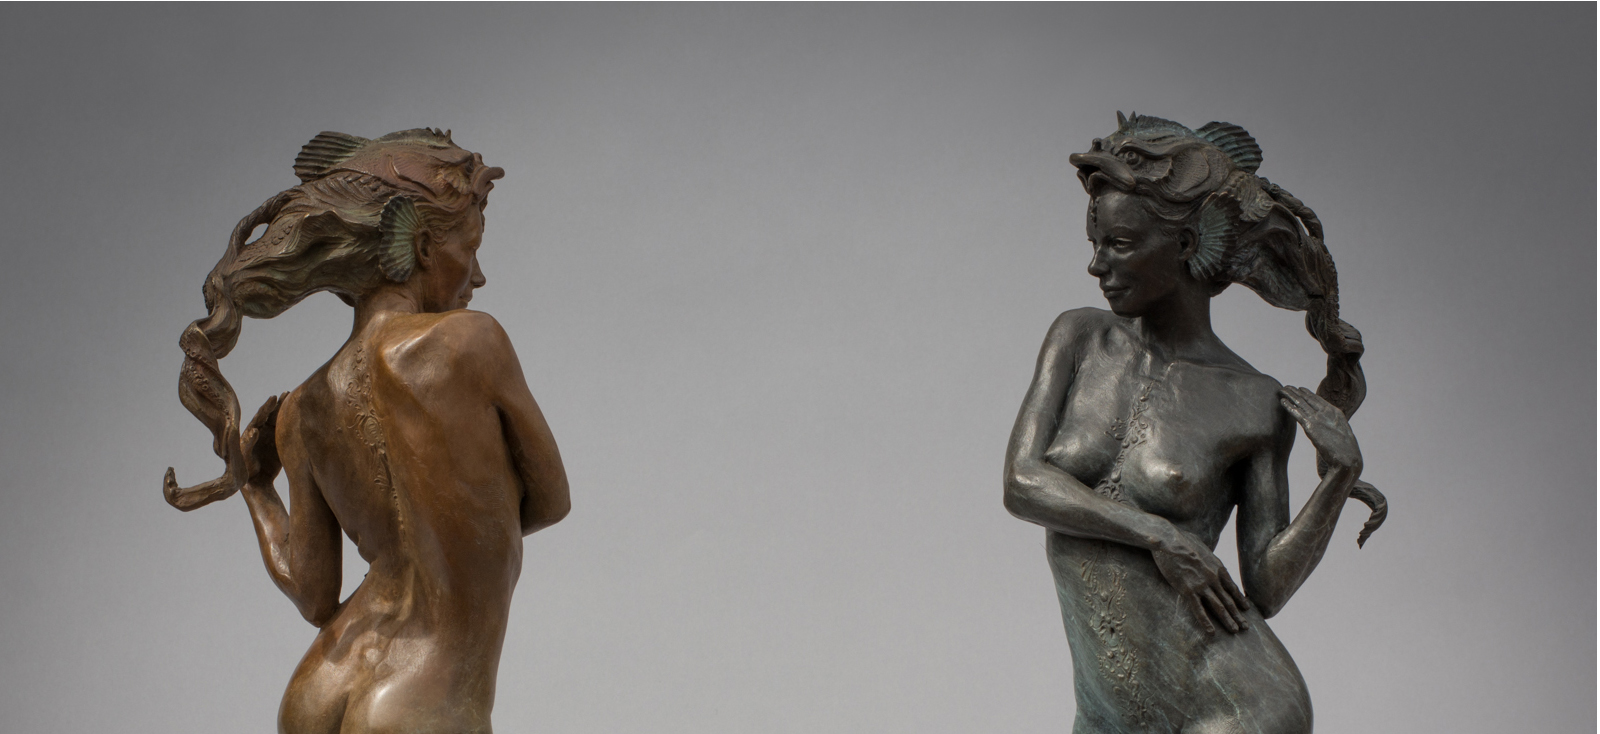
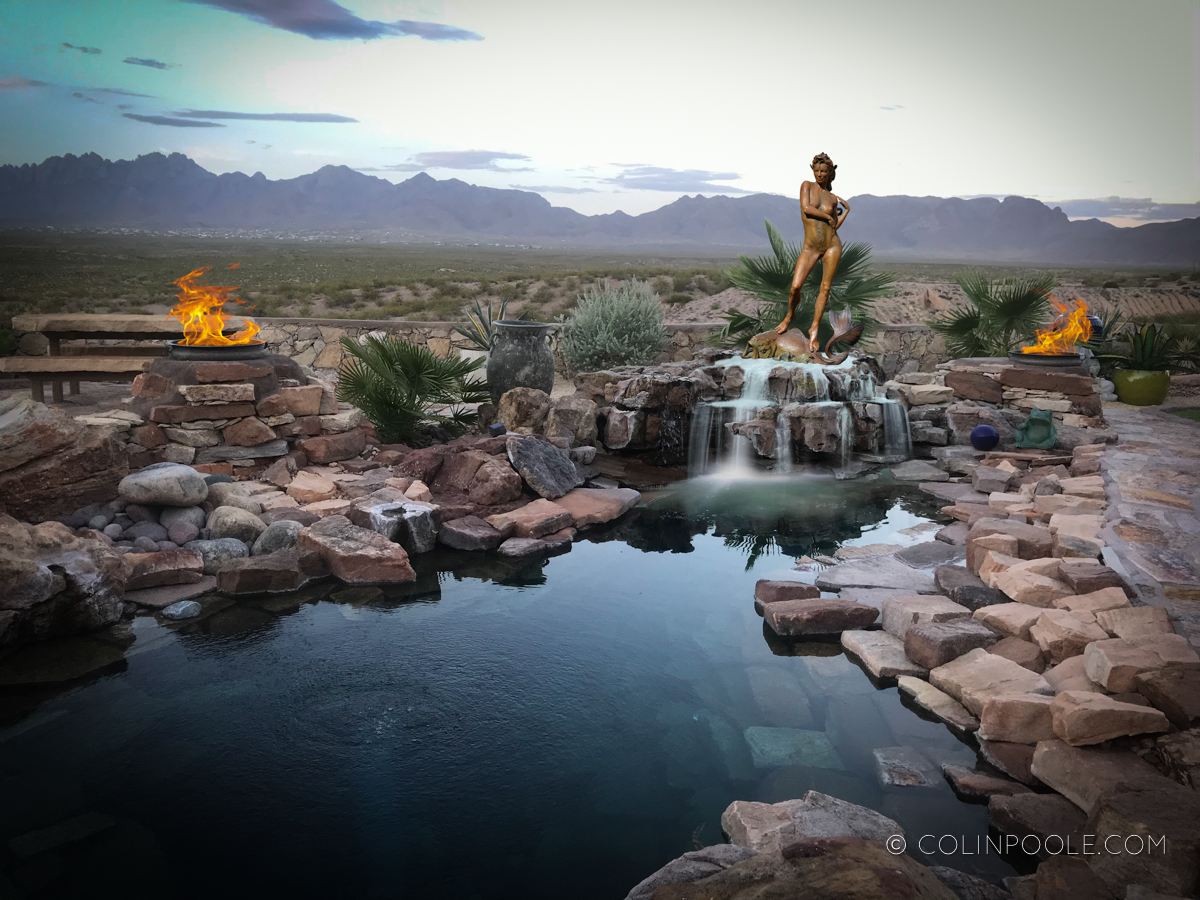
Colin’s original bronze Wind in the Waves sculpture at 21” tall, plus a mock up of the enlarged version as it might look in a water feature.
When a collector expressed interest in the larger version, Colin did a quick mock up of how the sculpture could become the focal point of the water feature at their home.
So how do we get from here to there?
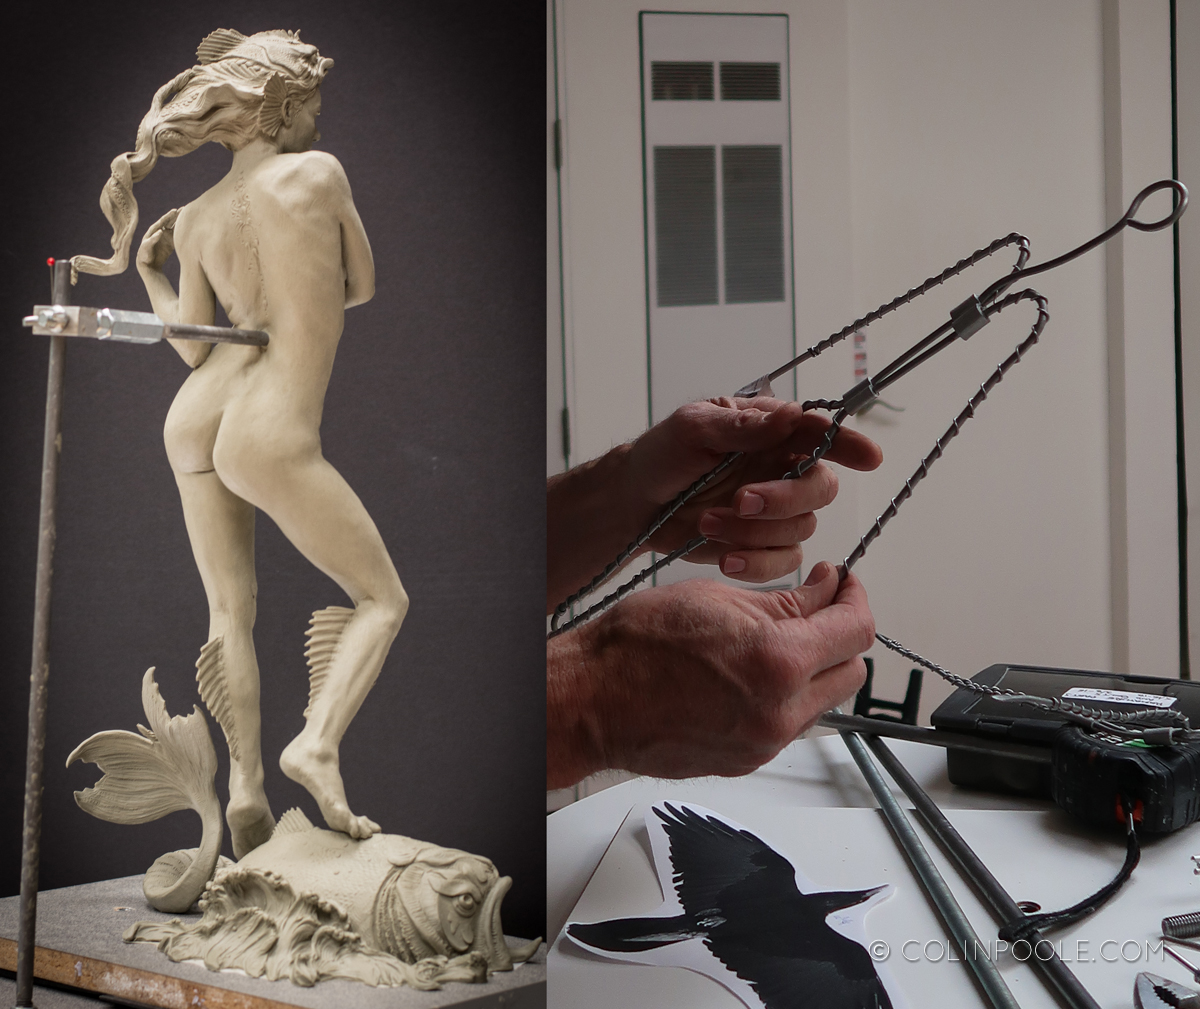
A smaller scale standing figurative sculpture for bronze is usually built on an aluminum armature, supported by an external structure attached to the base. It usually goes in the sculpture through the low back or hip.
To enlarge a sculpture back in the day, we used to use a grid system drawn on the base of both the original sculpture and on the base of the scaled up version, calipers, a plumb bob and a whole lotta eyeballing. How times have changed!
These days, the original sculpture is digitally scanned and then a foam model is milled at the desired size. If it is very large, it needs metal support structures to keep from falling over when weight of the clay is added. One of our sculptor friends was working on a 9 foot foam enlargement that hadn’t been properly supported and she ultimately had to rope the sculpture to her studio ceiling to keep it from taking a digger.
Following is a five and a half minute overview of how we go from little to big and from clay original to foam to wax to bronze, hence the “lost wax” casting method. Maybe we’ll finally get to see where the lost wax went!
PS – a note for any detail sticklers, in one section I say “bolts” where obviously, it is meant to be “nuts.” Well…nuts – mea culpa!
Here are some links for the suppliers we use for bronze casting materials.
Chavant Le Beau Touche: This clay works well in our usually warm climate. We use the regular for large areas and HM (high melt) for details like faces and hands. It’s very sticky, so gets all over everything, but it great for detail work.
https://chavant.com/le-beau-touche-1
Foredom Wax Carver: we like the variable temperature and the selection of tips, plus the compact size. https://www.foredom.net/product/k-wc-3-wax-carver-kit-7-tips-universal-voltage/
Steel tools: we have quite a collection of steel tools that we use for sculpting clay and wax that we’ve purchased from Sculpture Depot. They also have a selection of armatures, sculpting stands, clay and mold making materials and are super nice people too.
https://www.sculpturedepot.net/clay-wax-tools/product.asp?Steel_Tools
Foredom Flexible Shaft Rotary Tool: Like a Dremmel on steroids, it has a foot pedal that can control the speed of rotation plus a handset that helps prevent weight fatigue and allows for more control.
https://www.foredom.net/product/sr-hang-up-motor-metal-speed-control-m-sr-sct-choice-of-handpiece/
Enlarging: DuChateau Sculpture Services, Gary DuChateau, Loveland, CO
http://www.duchateausculpture.com/home.html
Moldmaking: Monumental Molds, Brad Neighbor, Espanola, NM
https://www.facebook.com/MonumentalMolds/
Foundries:
MADD Casting, Berthoud, CO
http://www.maddcastings.com/
Art Castings of Colorado
https://artcastings.com/







That is amazing and fascinating! What an intense but rewarding looking process and it came out looking fantastic. Well done to you all.
Thanks so much Levi! It’s great to hear that you enjoyed seeing the process. It can indeed be pretty intense. Lots of work but no matter how many times we make a sculpture this way, it still always seems a tiny bit of magic when I see the finished bronze. 🙂