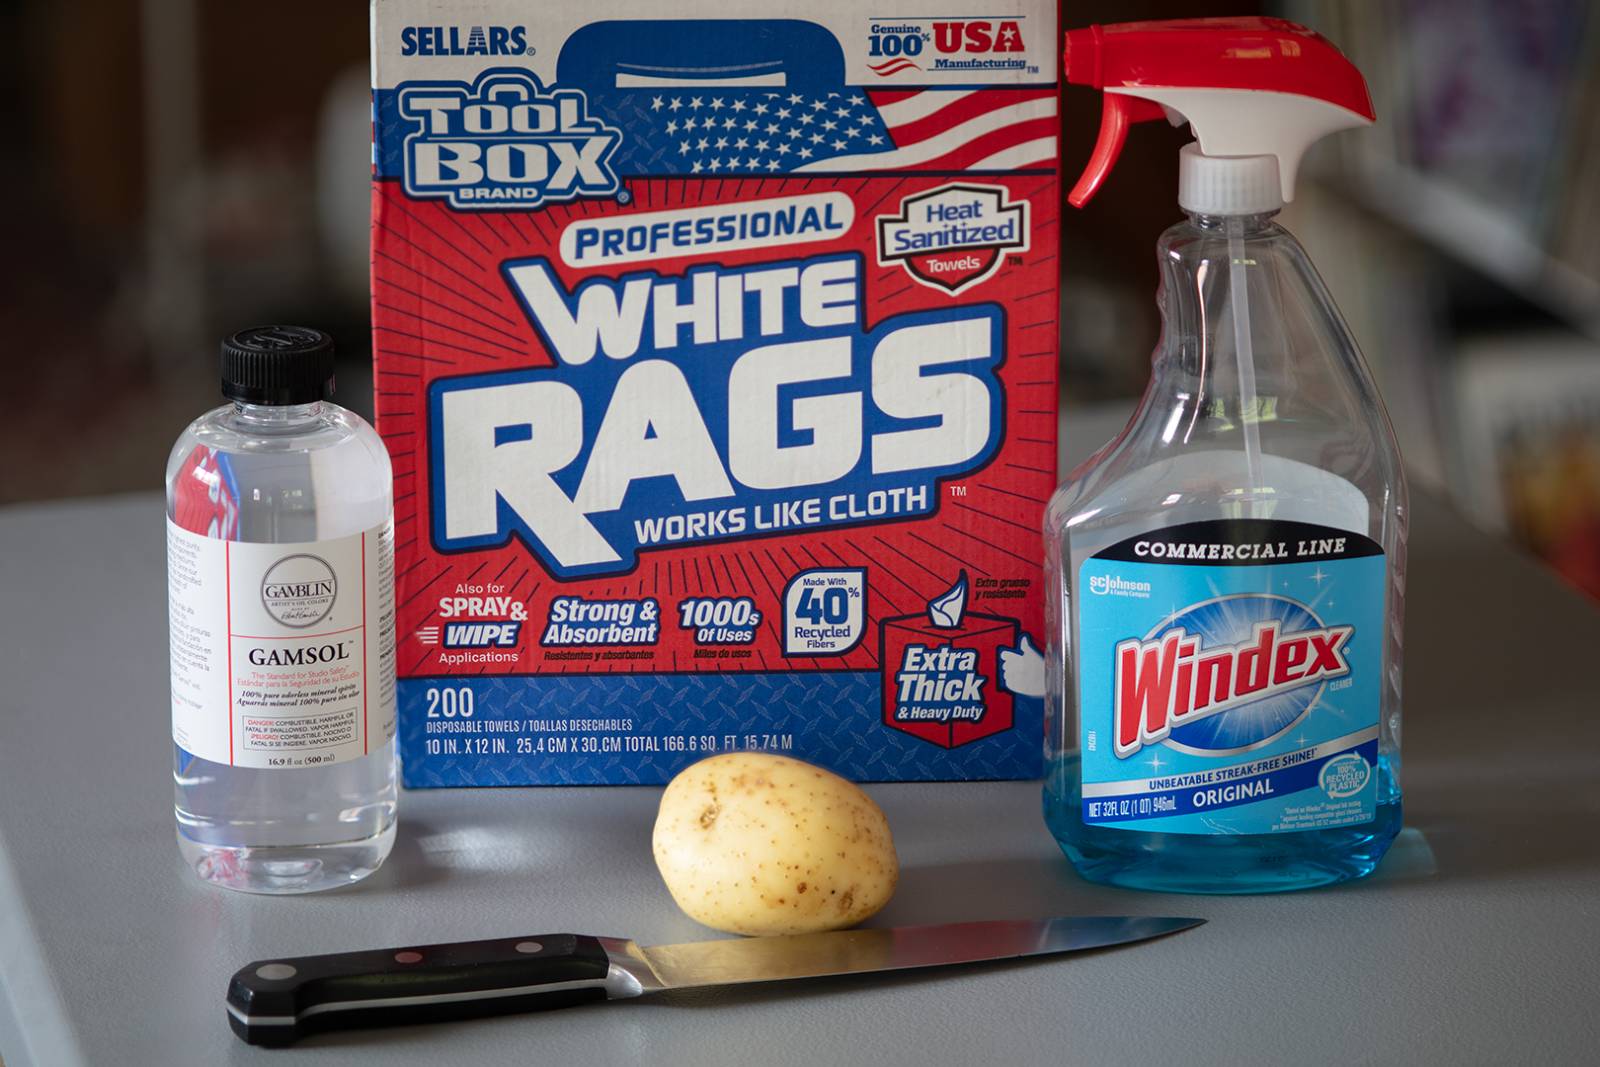
Why Varnish, and Why Does It Go Wrong?
I’ve been painting in oils for over twenty years, and one of the most persistent annoyances is varnish that does not want to bind to the surface properly. I have developed several remedies for all varieties of situations though, so look to this list as a solution guide if you’re having similar issues.
Disclaimer: I’m not a scientist and certainly not a chemist. Just a painter who has found some ways to deal with this common problem. These are simply the practices I use, and I’ll note steps where some folks advise caution.
Briefly, the reason to varnish is two-fold: to bring the vibrancy back to the pigments and to protect the painting. Without varnish, the surface of a dried oil painting is dull and values and colors may be muted, and these effects can be uneven. When the varnish goes on, all those colors and values pop back to life and give the piece a richness and shine which is extremely satisfying to watch. I’m sure this is why the “varnish porn” videos on social media where an artist pours a small lake of varnish onto the surface of their painting became so popular. First tip: DO NOT DO THIS. Because the second job of varnish is to protect a painting, and a proper varnish is removable. This means, you want to apply only a necessary amount. Pouring on gobs of it is likely to result in an uneven, sticky mess and will be more difficult to remove. Instead, apply thinly with a brush so that it’s just covered in an even layer.

The unvarnished painting, looking a bit matte and muted
Because the varnish is removable*, it’s advised to not apply a varnish to a painting that isn’t fully cured. Besides that you might end up smearing any not-quite-set paint, it could also cause problems if ever removed later for cleaning. I use Gamvar (varnish) and Gamsol (solvent) for this because these products are designed to allow oils to continue curing if applied a bit earlier that recommended. Also, you never want to paint on top of varnish if you need to rework something. Instead, remove the varnish and then paint. If you need to put down an intermediate layer, I’d recommend oiling out the surface (plenty of resources elsewhere on this) or a Retouch Varnish that is meant to be temporary.

a freshly applied varnish which is not adhering properly
And now we get to the problem: when the varnish does not sick. This is a rare issue for some painters and a constant frustration for others. It depends on your surfaces, technique, and maybe some dumb luck. For me, it is a pretty regular occurrence. When you brush the varnish on, it might immediately bead up or pull away from parts of the surface. Or you might see it go on fine only to discover later that small areas of resistance formed while it was drying, leaving streaks or spots of unvarnished surface. What is happening is surface tension. On a very very small scale, the varnish is not finding enough tooth to hold on in some areas and so it rolls to the side onto other areas where it can rest.
Before Varnishing: Prevention Methods
Method 1: Windex
EDIT: Note that a comment bellow strongly advises against using Windex over an acrylic painting. I work in oils and my experience here is only relevant to oil paintings.
This is a very simple and effective way to get ahead of the problem, though it is not universally praised. Some artists warn against this method, so proceed at your own risk. I have not personally found any problems in doing this, but other folks have strong counter-opinions.
Before varnishing, you simply wipe down the surface with a Windex wetted lint-free paper towel. This cleans the surface while the ammonia in the Windex also bites into the surface ever so slightly to add more tooth for the varnish to grab on to. Of course, the effect is too small to see or feel, but it certainly makes a difference. Allow to dry and then apply the final varnish.
Method 2: Solvent or Solvent/Varnish mixture
Similar to the Windex method, you are pre-treating the surface. You can brush on either solvent or a 50/50 mix of solvent and varnish, and then gently rub this off again with a lint free paper towel. Allow to dry and then apply the final varnish.
During Varnishing: Damage Control
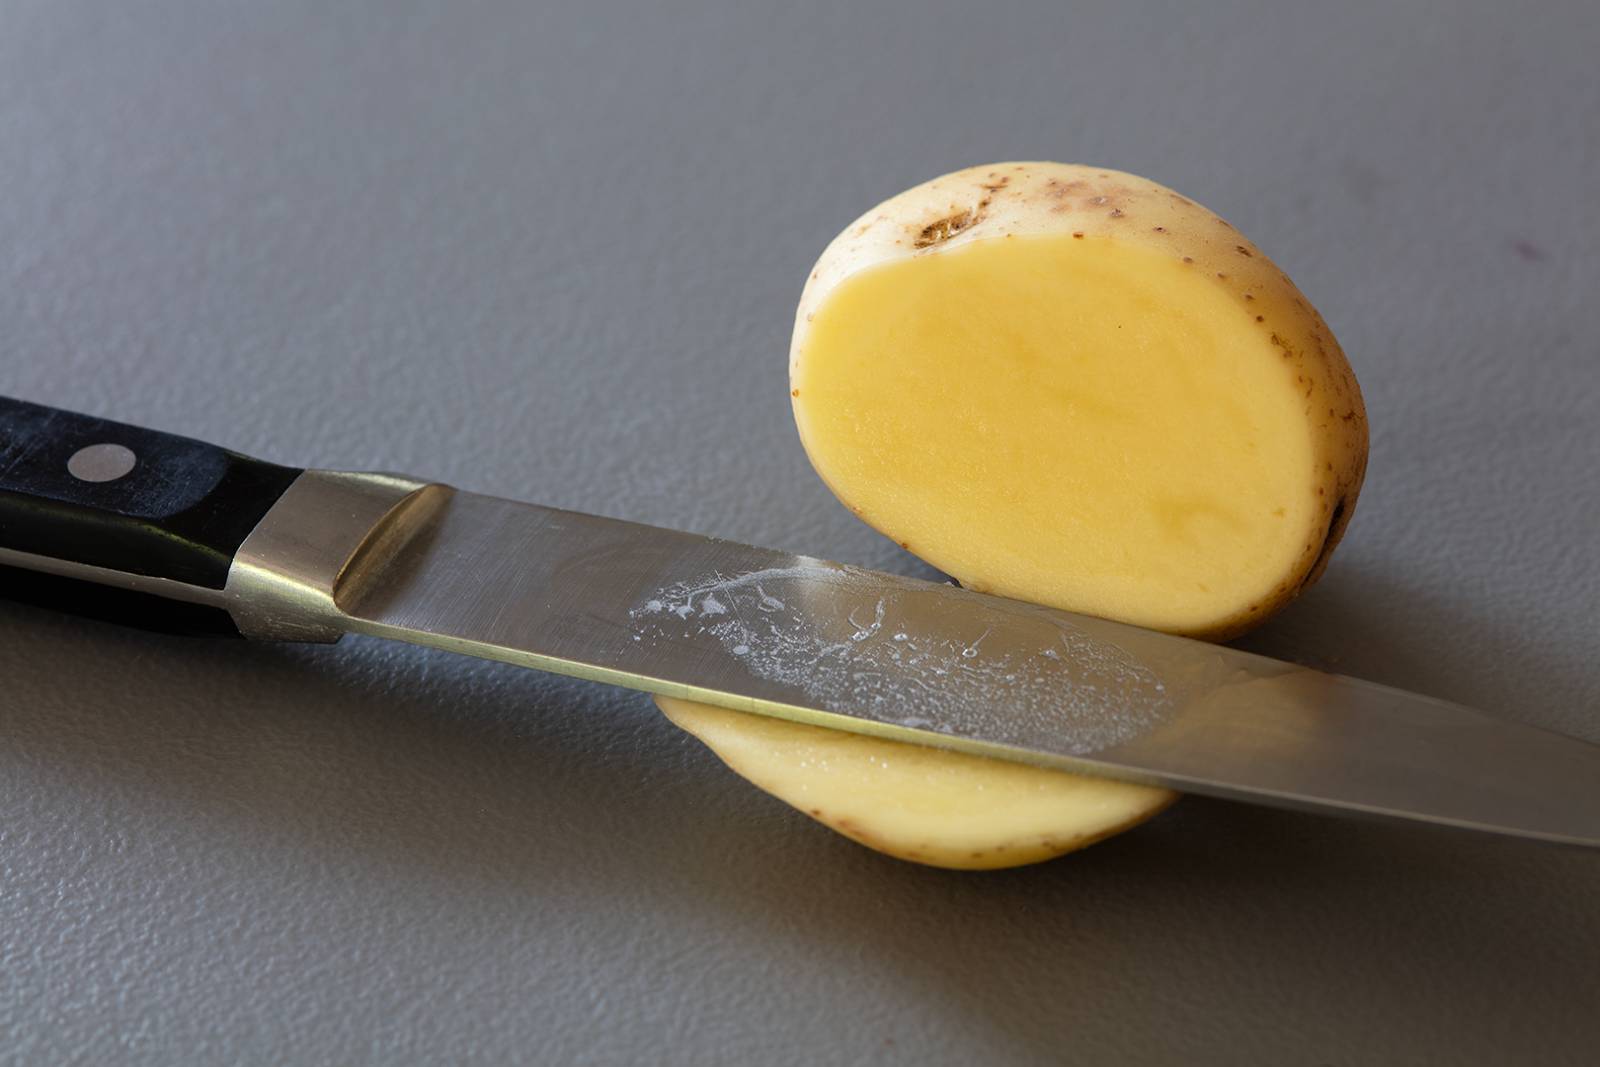
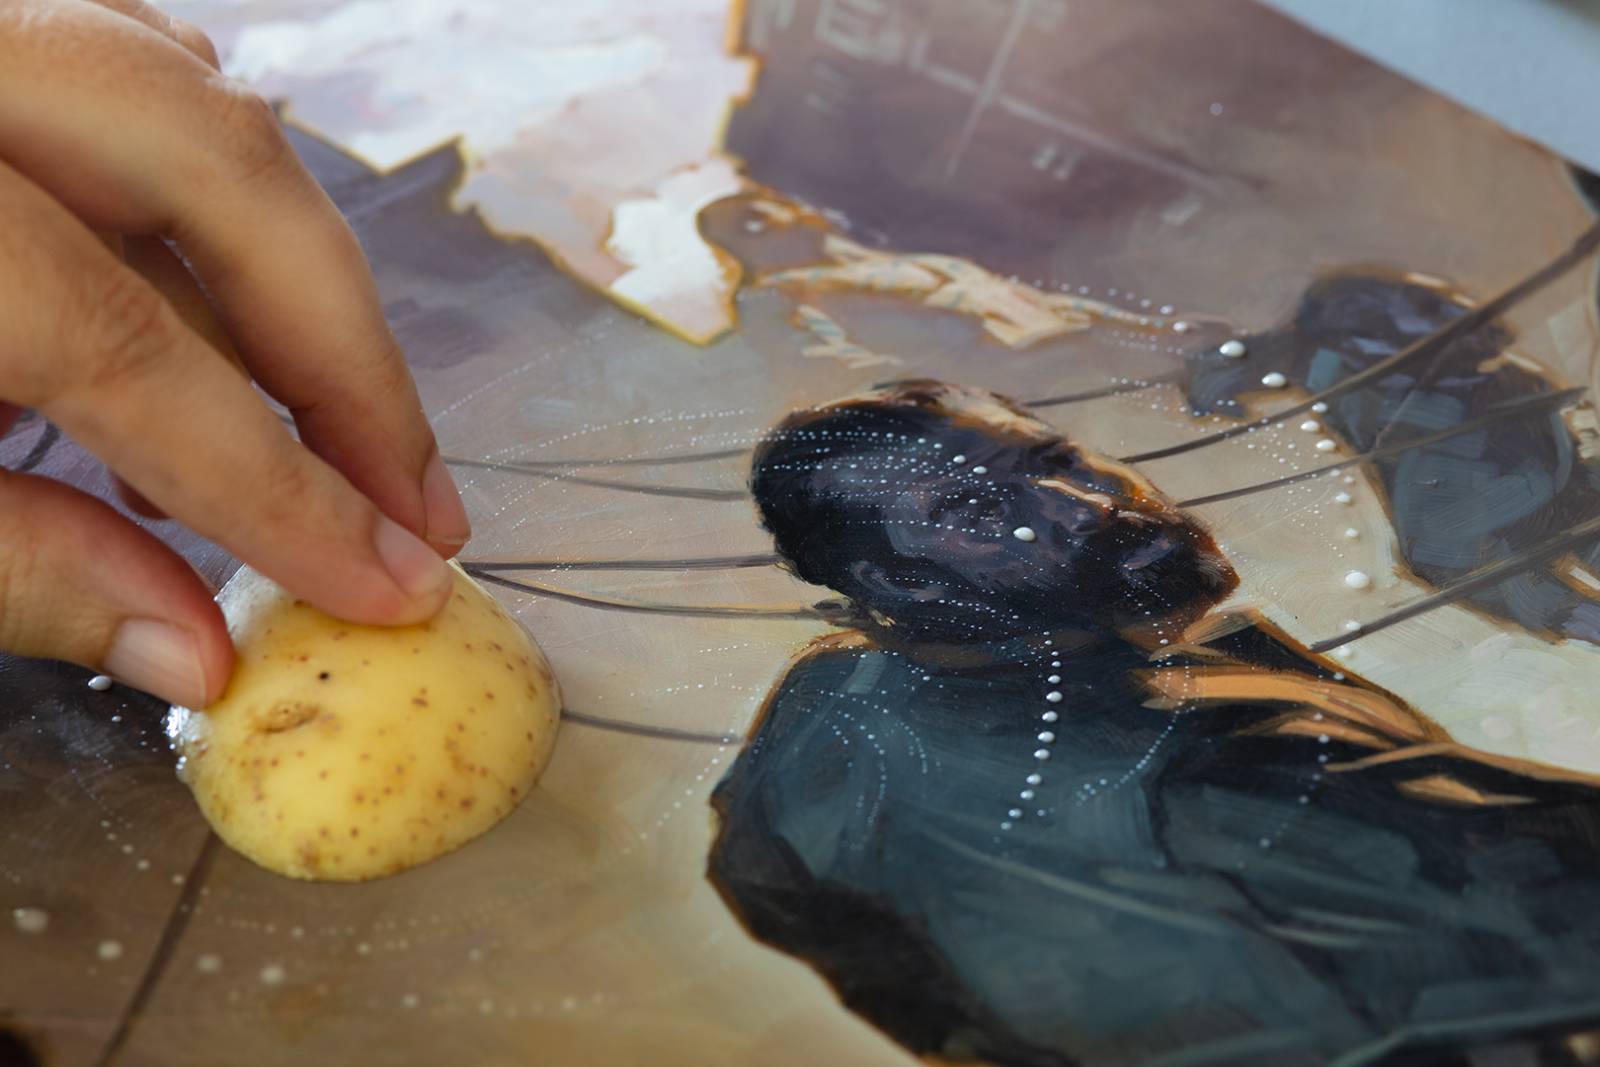
Method One: The Potato
When you apply your varnish and see the surface start to bead, the most effective solution I’ve found is to rub it with a potato. Slice the potato and then rub the wet, starchy inside all over the painting. I go for circular swirls, covering all areas of the painting and will use multiple slices of potato if necessary. Don’t be afraid to apply a little pressure. You want to allow this 10-30 minutes to settle, but don’t wait too long. Excessive starch can harden and leave texture if left to fully dry. Rebrush the painting but do not add more varnish. Simply use your varnish brush to smooth out the already wet surface.
Method Two: The Paper Towel
If I don’t have a potato on hand, I will usually just wipe down the surface with a lint free paper towel. Gently rub the full surface, taking up as much varnish as you can and do this evenly across the entire surface. Allow the surface to dry and evaluate if the result is sufficient or if it needs a new thin layer added. Usually the second layer goes on pretty well as this is similar to prepping the surface with a solvent/varnish mix.

after the potato rub, but before being rebrushed
After Varnish: Clean-Up
The most frustrating scenario for me is thinking that the varnish took, only to find small areas of resistance the following day in the now dried surface. The best course of action is to clean the surface and varnish again. This is an example of why you want the painting to be adequately dry before varnishing, to avoid any paint lifting out. Brush the surface with solvent (Gamsol if using Gamvar) and then lightly rub it with a lint free paper towel until the surface is even and feels clean of varnish. Allow the surface to dry, and then reapply. If you wish, you can also treat with Windex (see above) before adding the new varnish.

rebrushed after the potato rub, now with much better adhesion
Worst Case Scenarios
I’ve outlines how to get ahead of varnish resistance, how to deal with it in the moment, and how to handle it after the fact. But there is one other situation you might face which is, in my opinion, the worst case scenario and one to be avoided if at all possible. This is what to do if your painting ISN’T fully dry.
If you discover areas that beaded in the dried varnish and don’t trust your paint to be dry enough to remove the varnish, you can Windex the varnished surface and reapply. I should note that this is not proper by any means and very much a proceed-at-your-own-risk situation. If the area is discreet, you can also spot apply carefully to just the affected area.
If the absolute worst happens and the painting starts to dissolve mid-varnish… all I can say is “bummer.” I’ve been there more than once and my language in the moment was stronger than “bummer,” but unfortunately there is little you can do at this point. If it’s not enough to disrupt the painting, you can try to just brush it out gently and let it be. Maybe it’s just a little streak from a highlight that you can carefully brush away. If it’s significant, you may have to remove the varnish, allow it to dry, and then repaint any areas that were damaged. So the best tip here is DO NOT VARNISH A WET PAINTING EVER AGAIN.
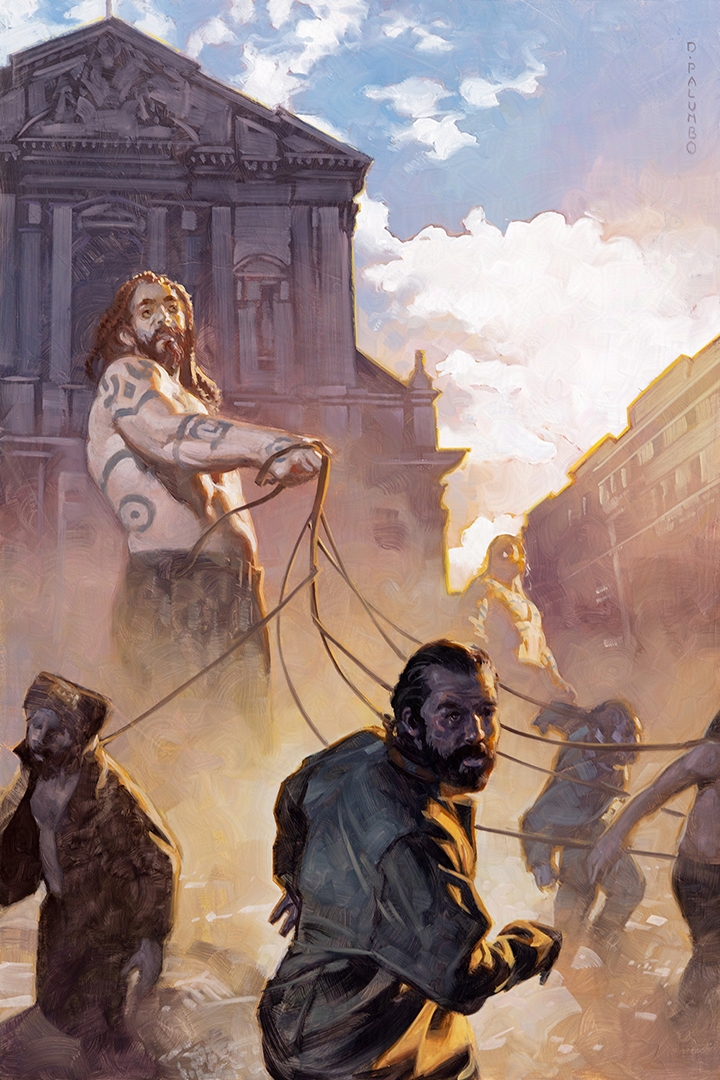
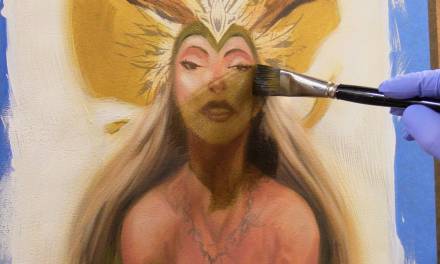
The Hunting Party – 12×18 inches, oil on panel, 2022, interior illustration for The Blacktongue Thief (Midworld Press edition) by Christopher Buehlman
*some artists will use non-removable materials such as Galkyd in place of a varnish. The effect is similar, but it can never be removed for cleaning or re-working. This is a up to the artist, but I personally prefer a removable topcoat.


How strange that this is a regular occurrence for you. Skin oils might cause paint resistance if you touch the surface a lot, otherwise there must be something about your technique. Kneaded eraser residue? I’m sure you have considered all the potential culprits already though. Traditionally the potato method is known as a remedy during the painting process itself; for when oil paint does not apply well after several paint layers.
By the way, never ever try spraying Windex on acrylic paintings!
I assume it’s because I always work on panel combined with my technique (relatively thin application using synthetic brushes) and likely other factors like what mediums I use and how much, etc. I definitely know a number of other painters who also deal with this regularly.
Noted on windex on acrylic, will make that clear in the above article!